About a year ago, I embarked on a mission to build a music studio in my backyard. This would be a space where I could be completely isolated from other distractions, to get absorbed in the creative process, primarily to write music, to play/practice, or to simply 'be' without being overheard or interrupted by other responsibilities or stimuli.
Aside from the benefits of having a space dedicated solely to creativity, this project gave me another satisfying experience—conceiving and making something from scratch, while learning the skills to see it through to completion.
For starters, I knew I wanted a space where I could take my primary "writing rig" (which has lived in my office at Tapspace HQ for over 10 years) and bring it home, allowing me some geographical separation of my own composition projects and the work I do for Tapspace. As Tapspace has grown, finding undistracted times to compose at the office became increasingly difficult. Also, since Sara moved in with me 3 years ago, it's been less feasible to actually have various instruments strewn about the house and as a result, I found myself less compelled to practice or simply play my drums for the sheer pleasure of playing. My backyard studio would be a place where I could center and dedicate these important parts of my life, while conceiving of it, literally, from the ground up.
In dreaming of a sort of studio that I could put in my backyard, the first thought I had was that it could be in a small building—like a sound-treated shed. So I did what anyone would do and googled "studio shed" and lo and behold, there's a pretty cool company in Colorado called Studio Shed, with a slick, web-based configurator and all sorts of inspiring ideas.
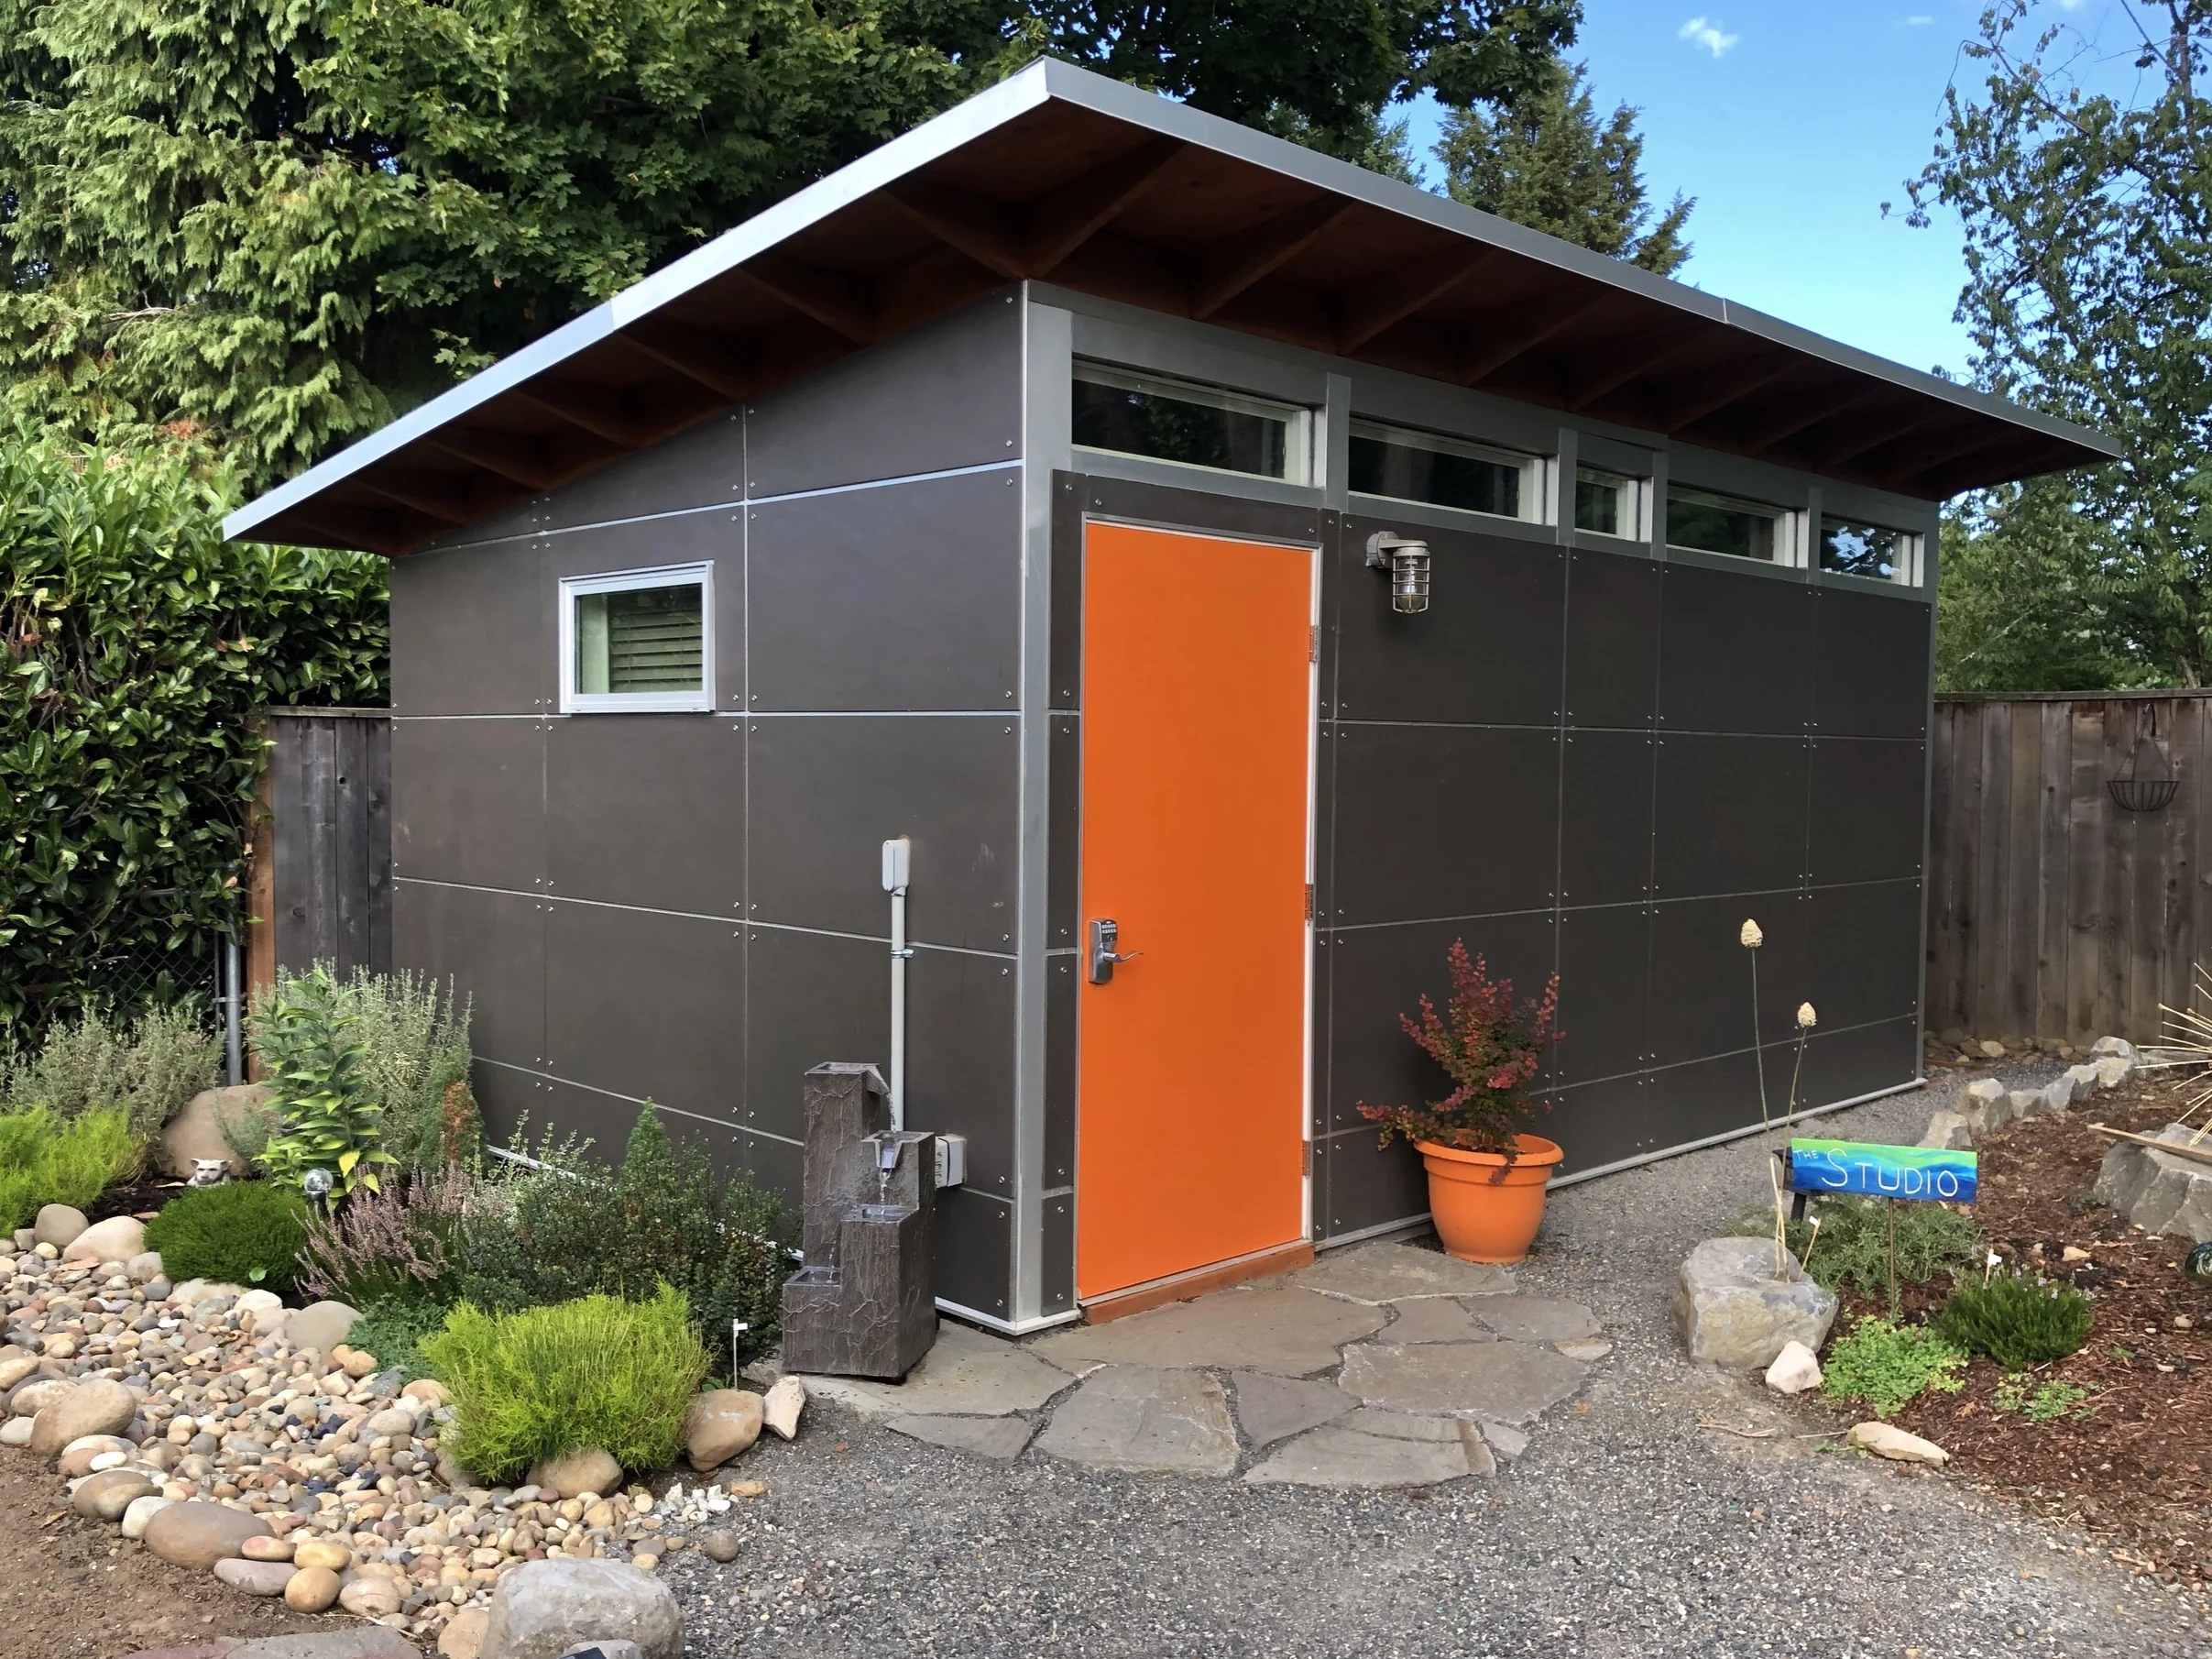
I didn't want the hassle of getting a building permit to make this dream happen. In Portland, Oregon, where I live, local ordinance allows you to build a structure on your property so long as its internal dimensions don't exceed 200 square feet. (Note: there are other requirements regarding height and setbacks, and these will obviously vary from city to city). Having a decently-sized corner in my backyard in which I envisioned this building, this meant that I could opt for their 'signature series' model in a 12x18 footprint. I spent hours on their site dreaming up all sorts of cool configurations, most of which included all sorts of windows for natural light. But with sound control being of primary importance, I finally settled on a design that would have one row of windows at the top, and one small window on the short side of the building.

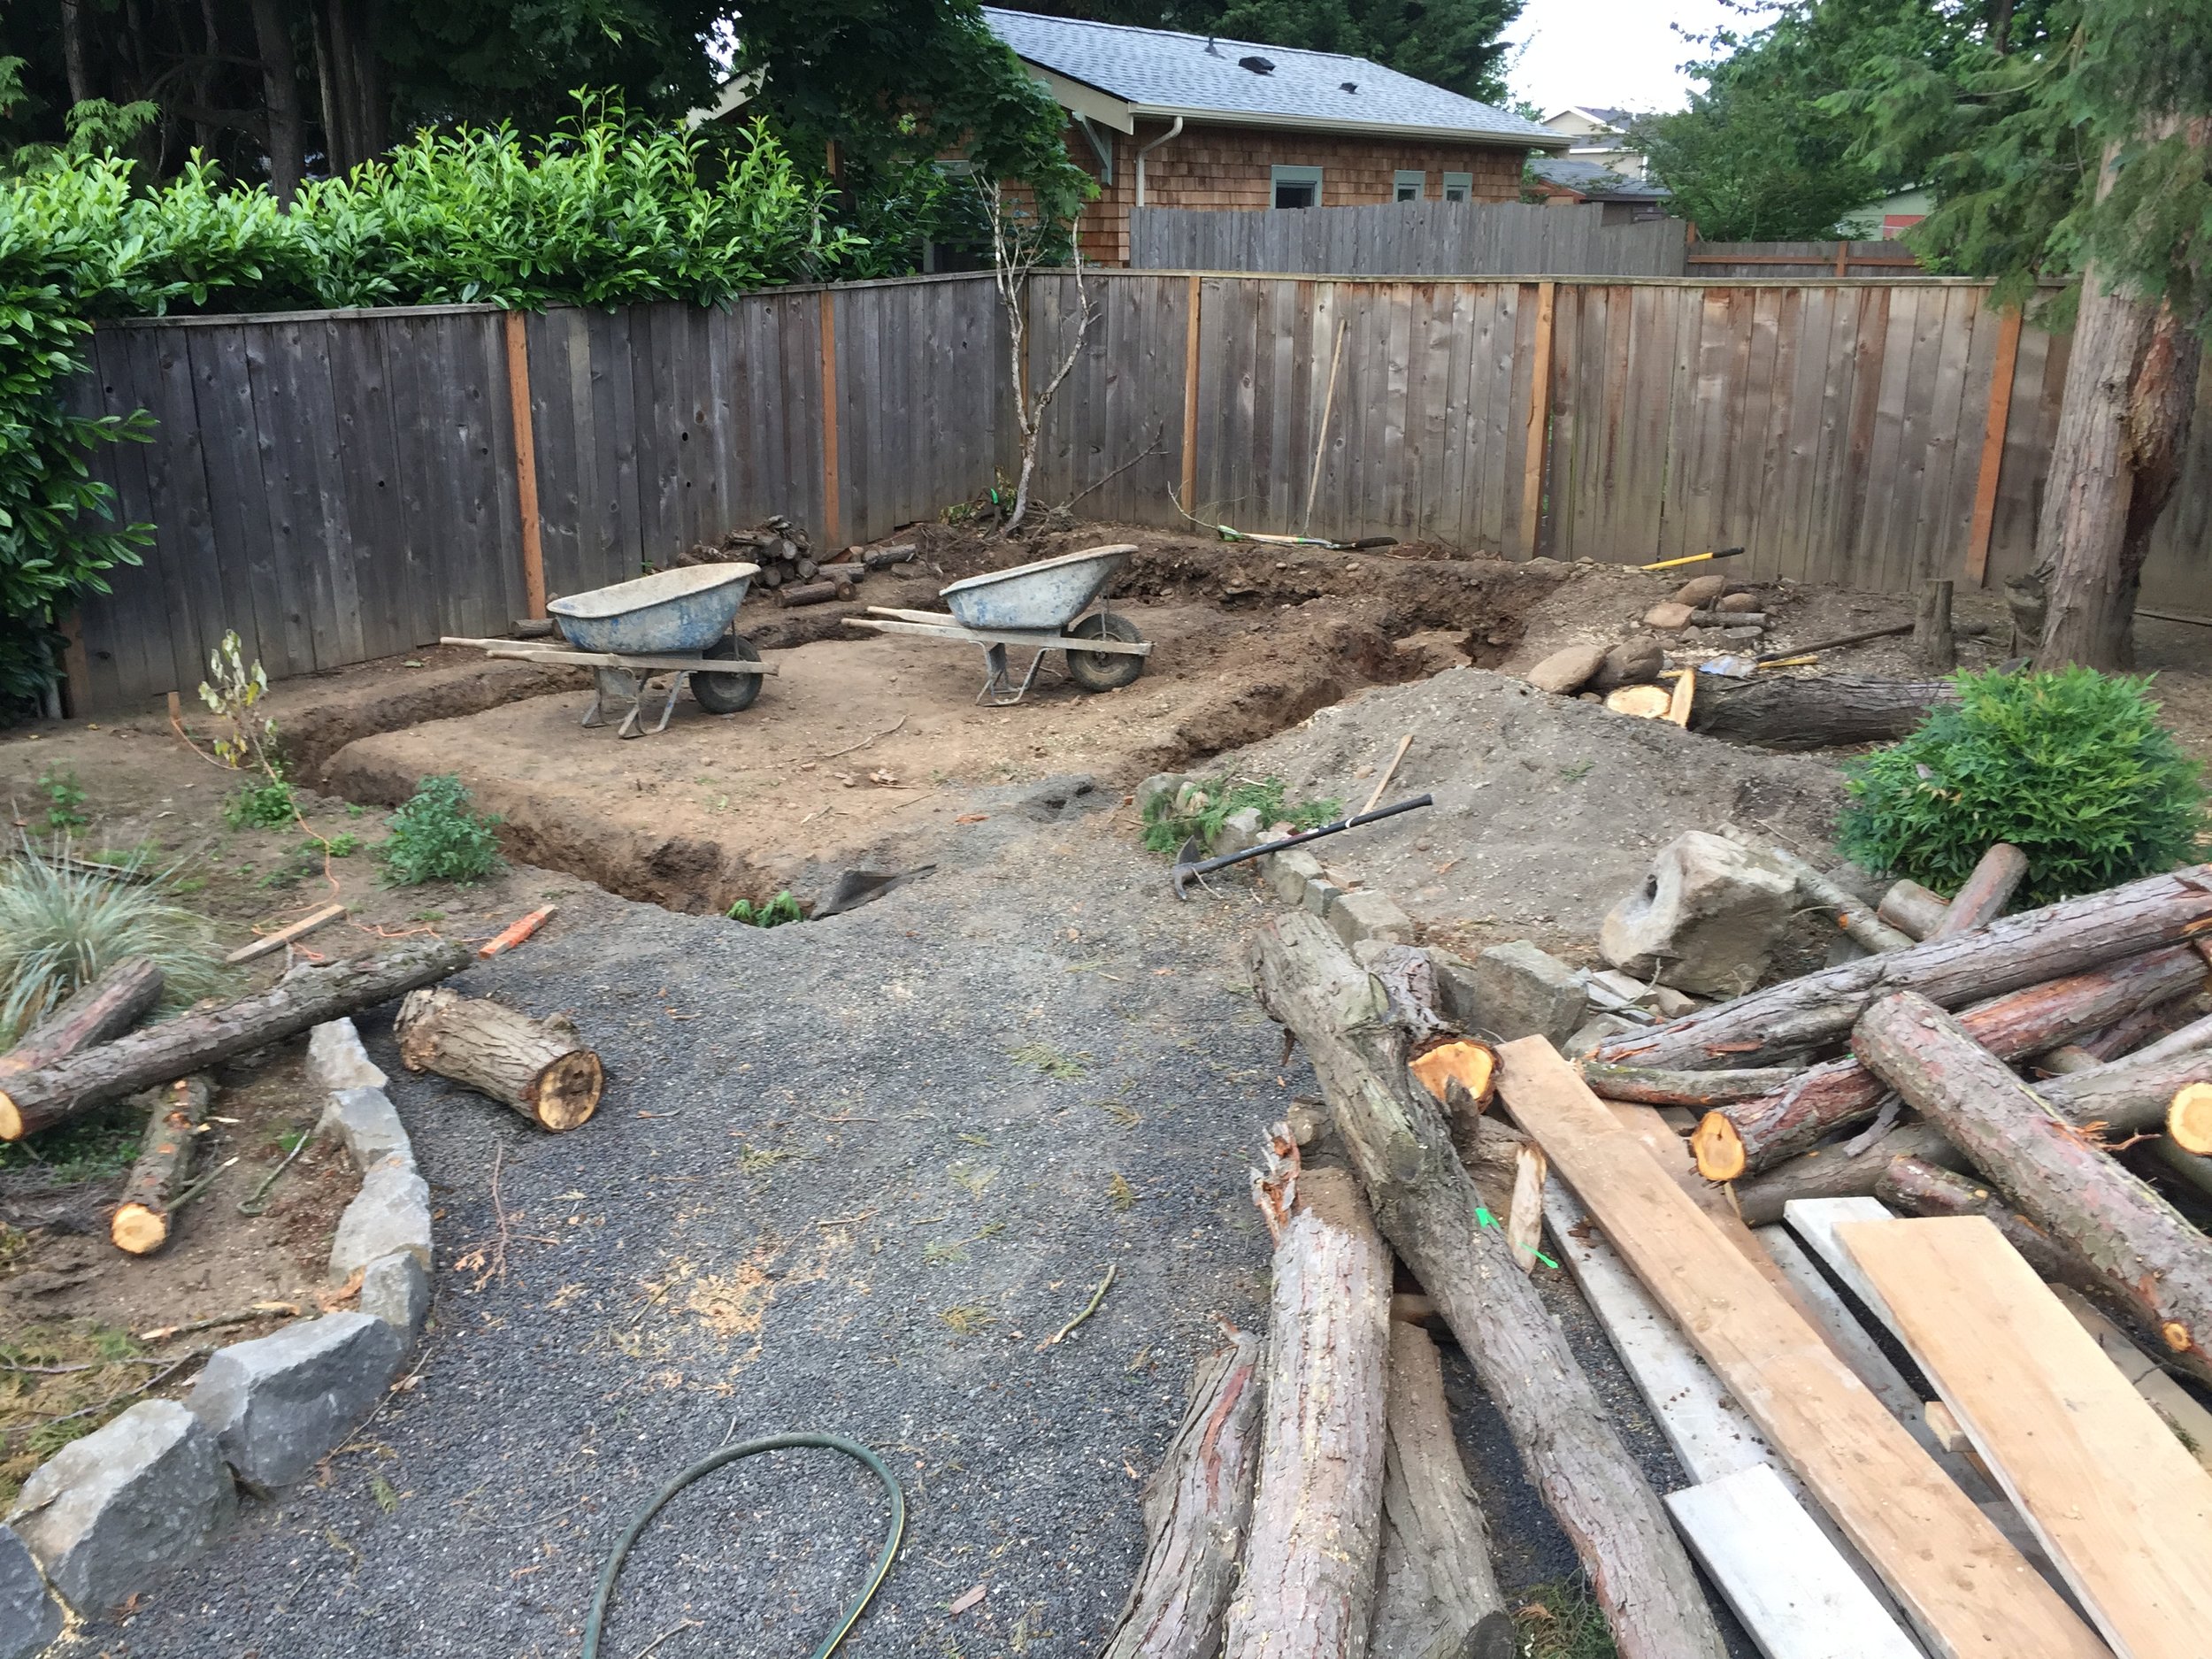
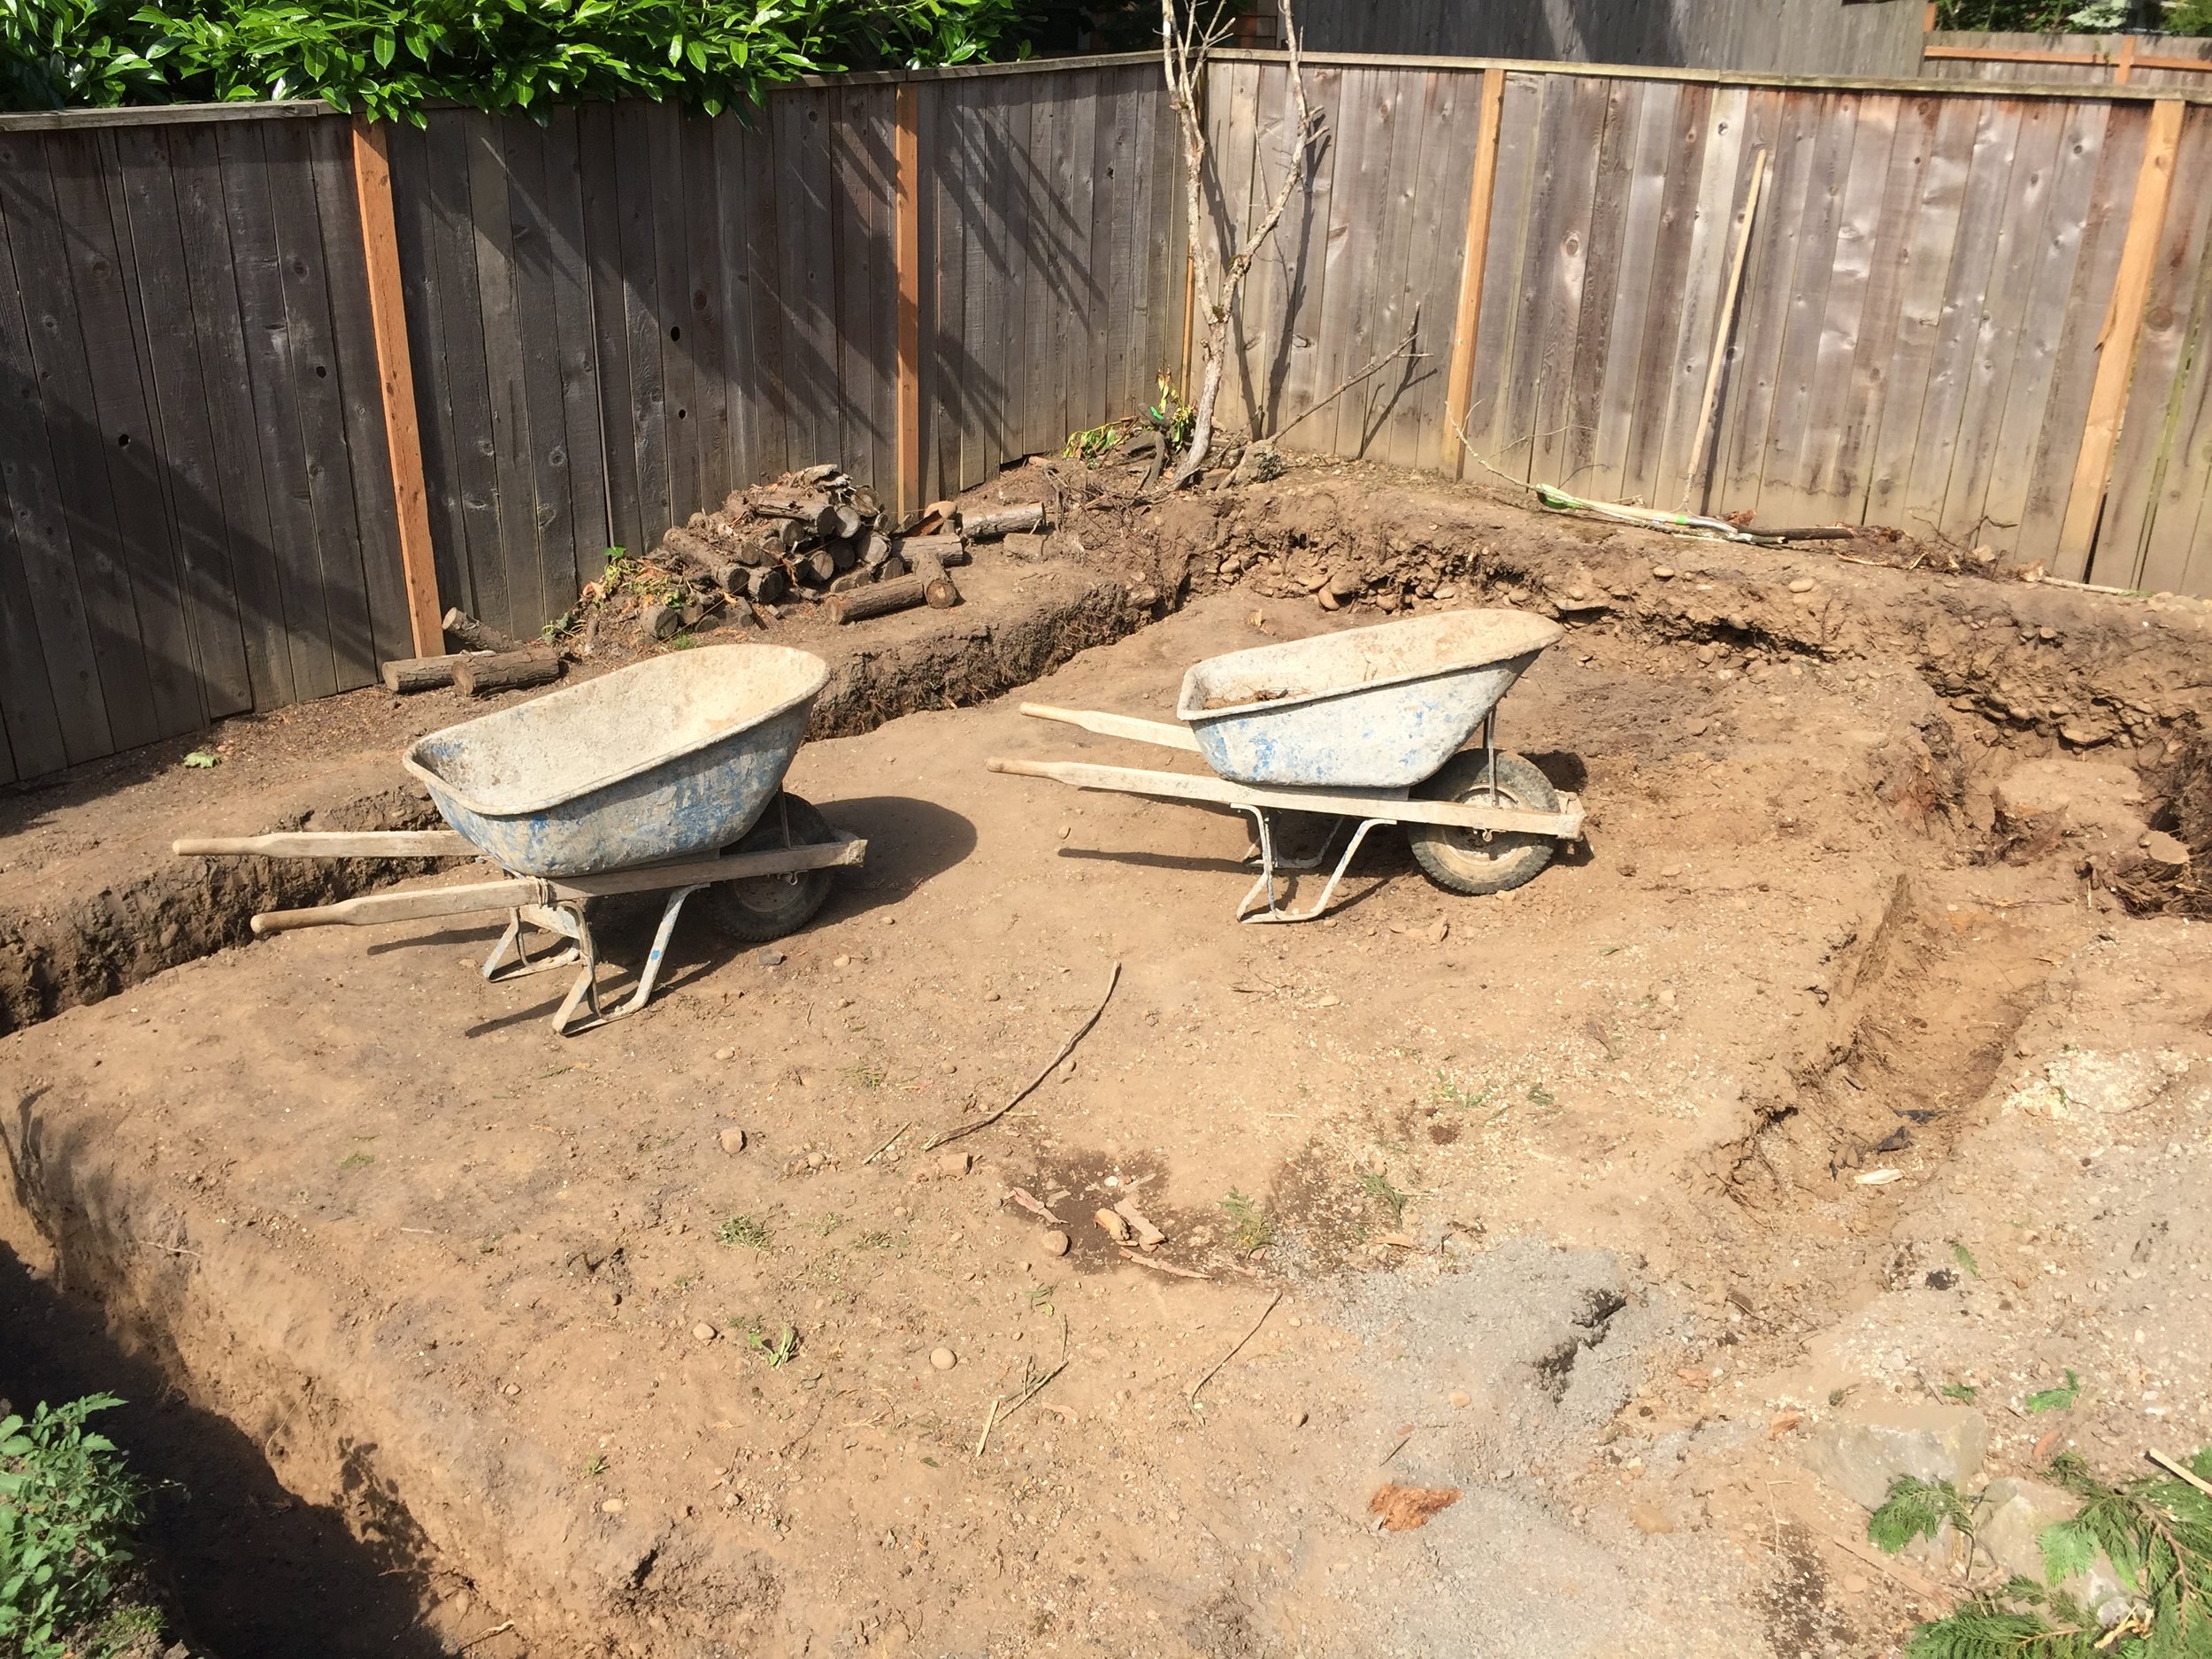
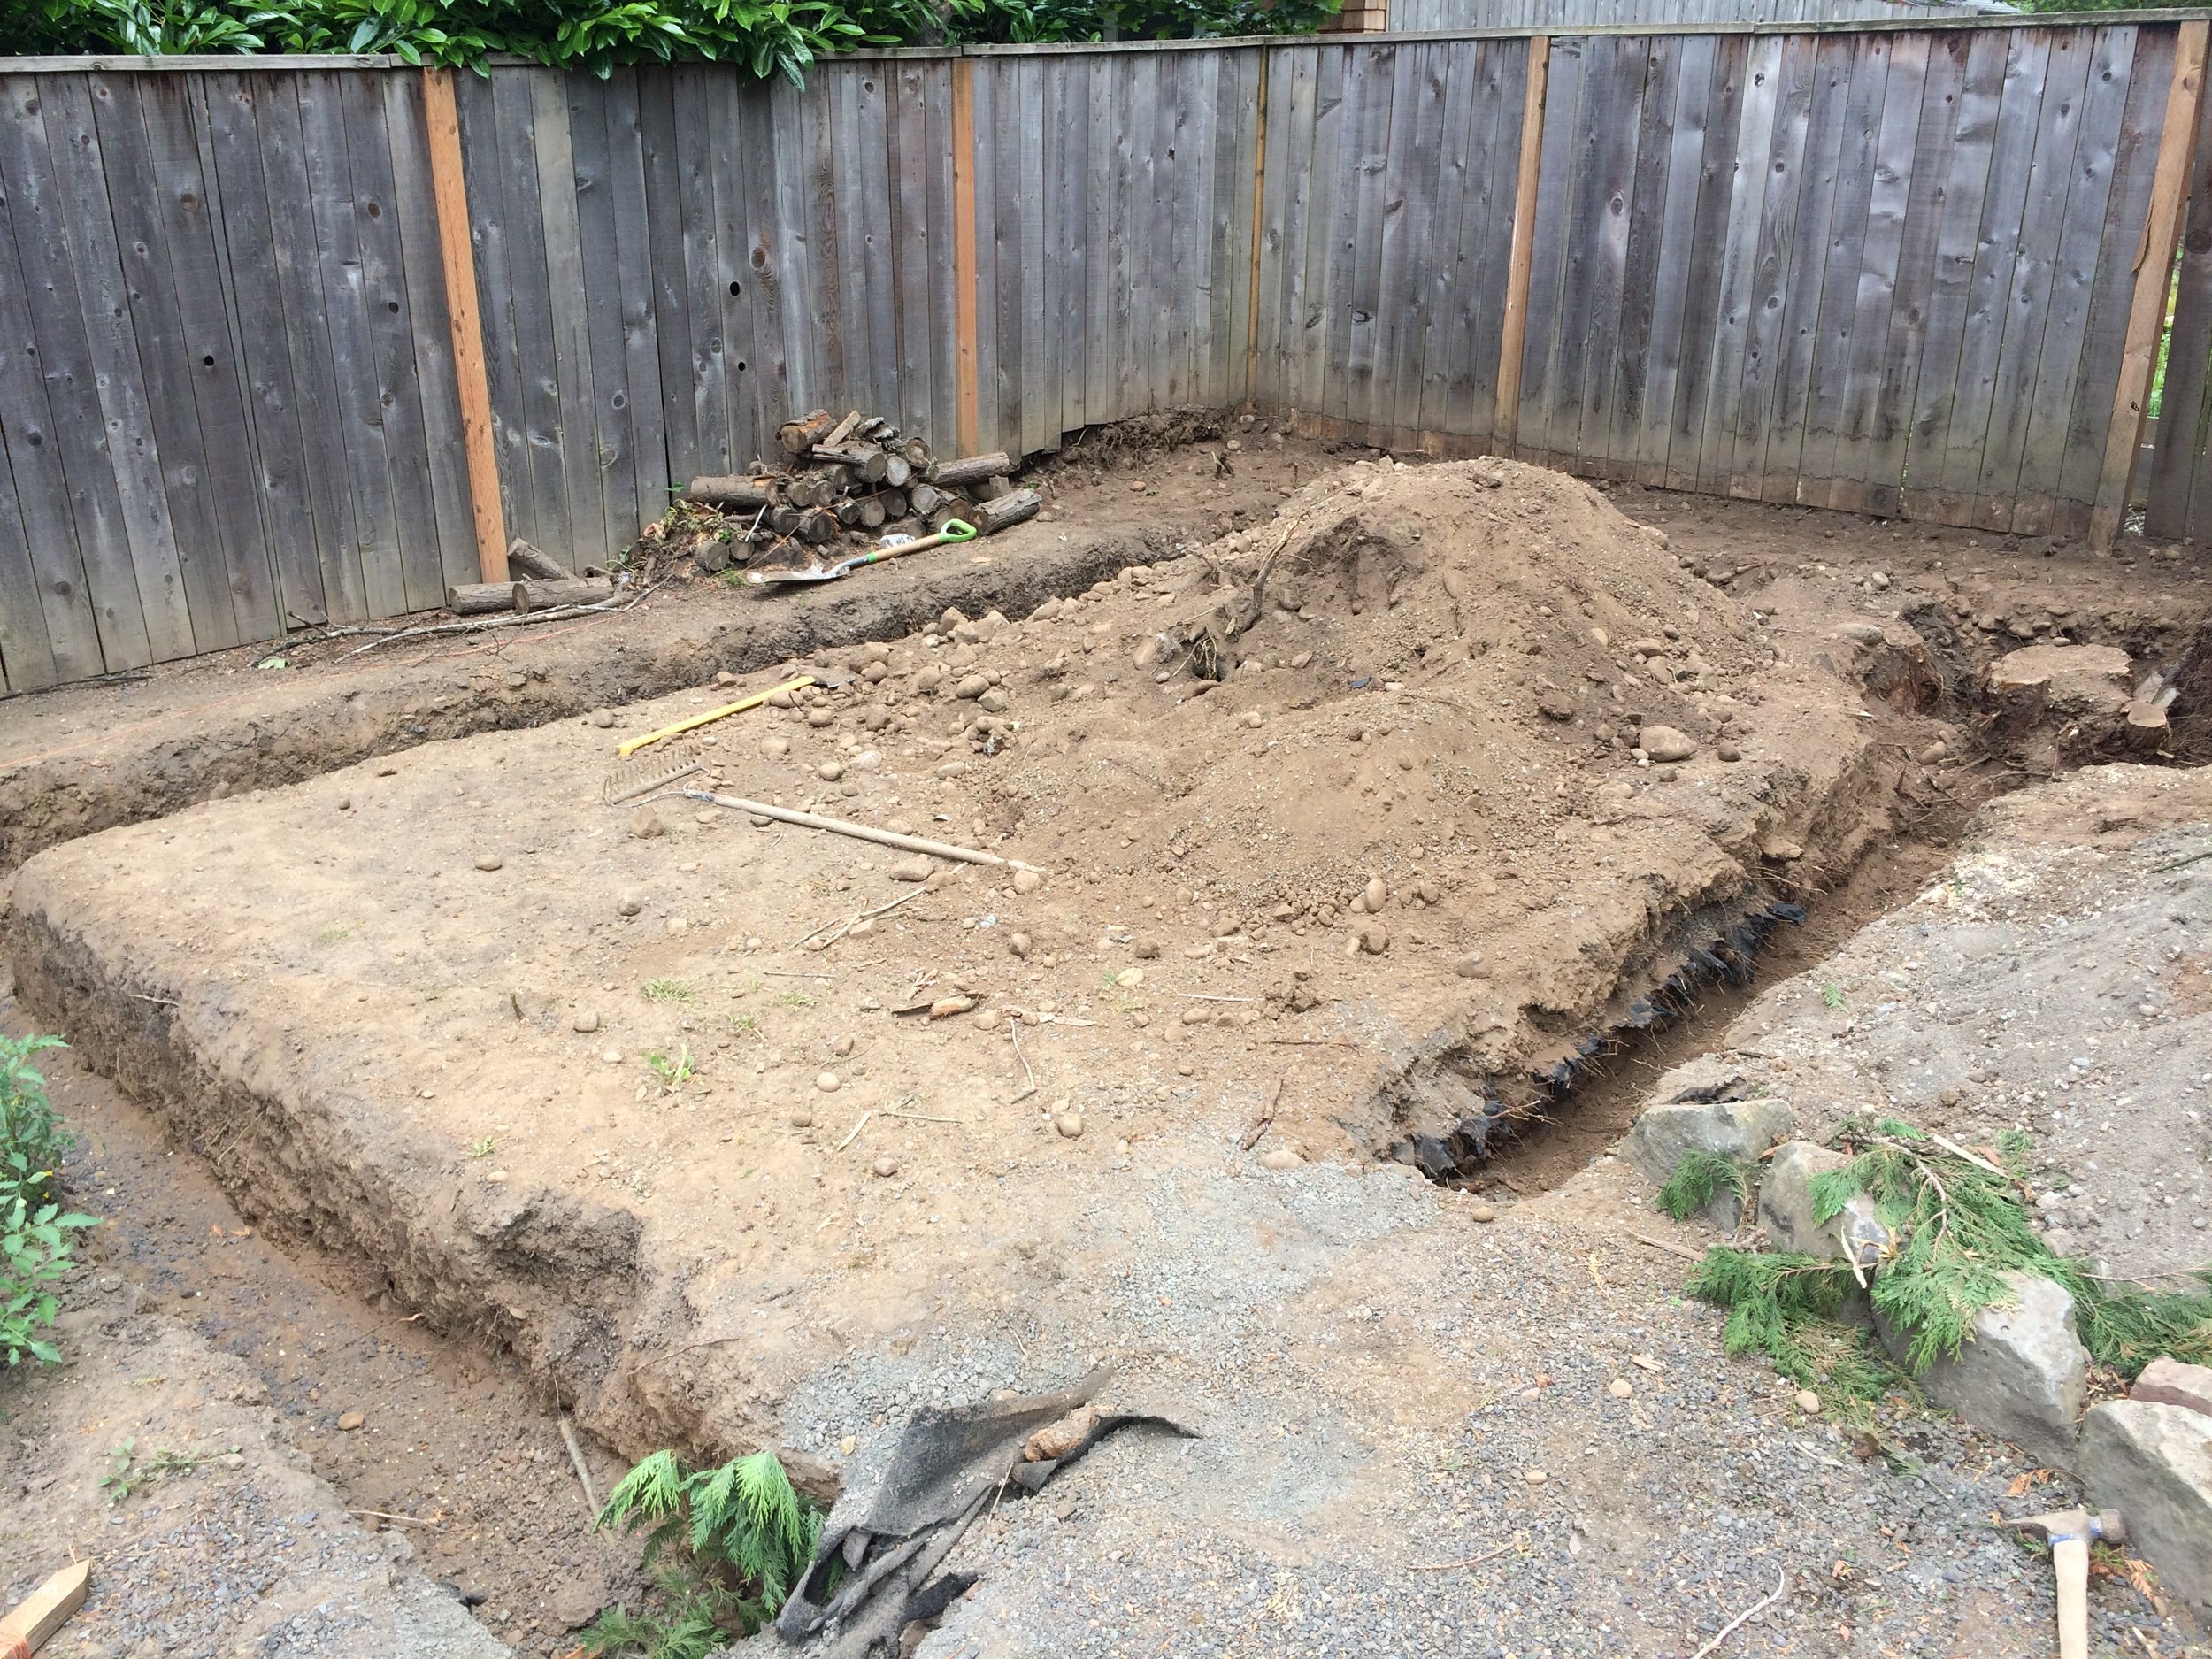
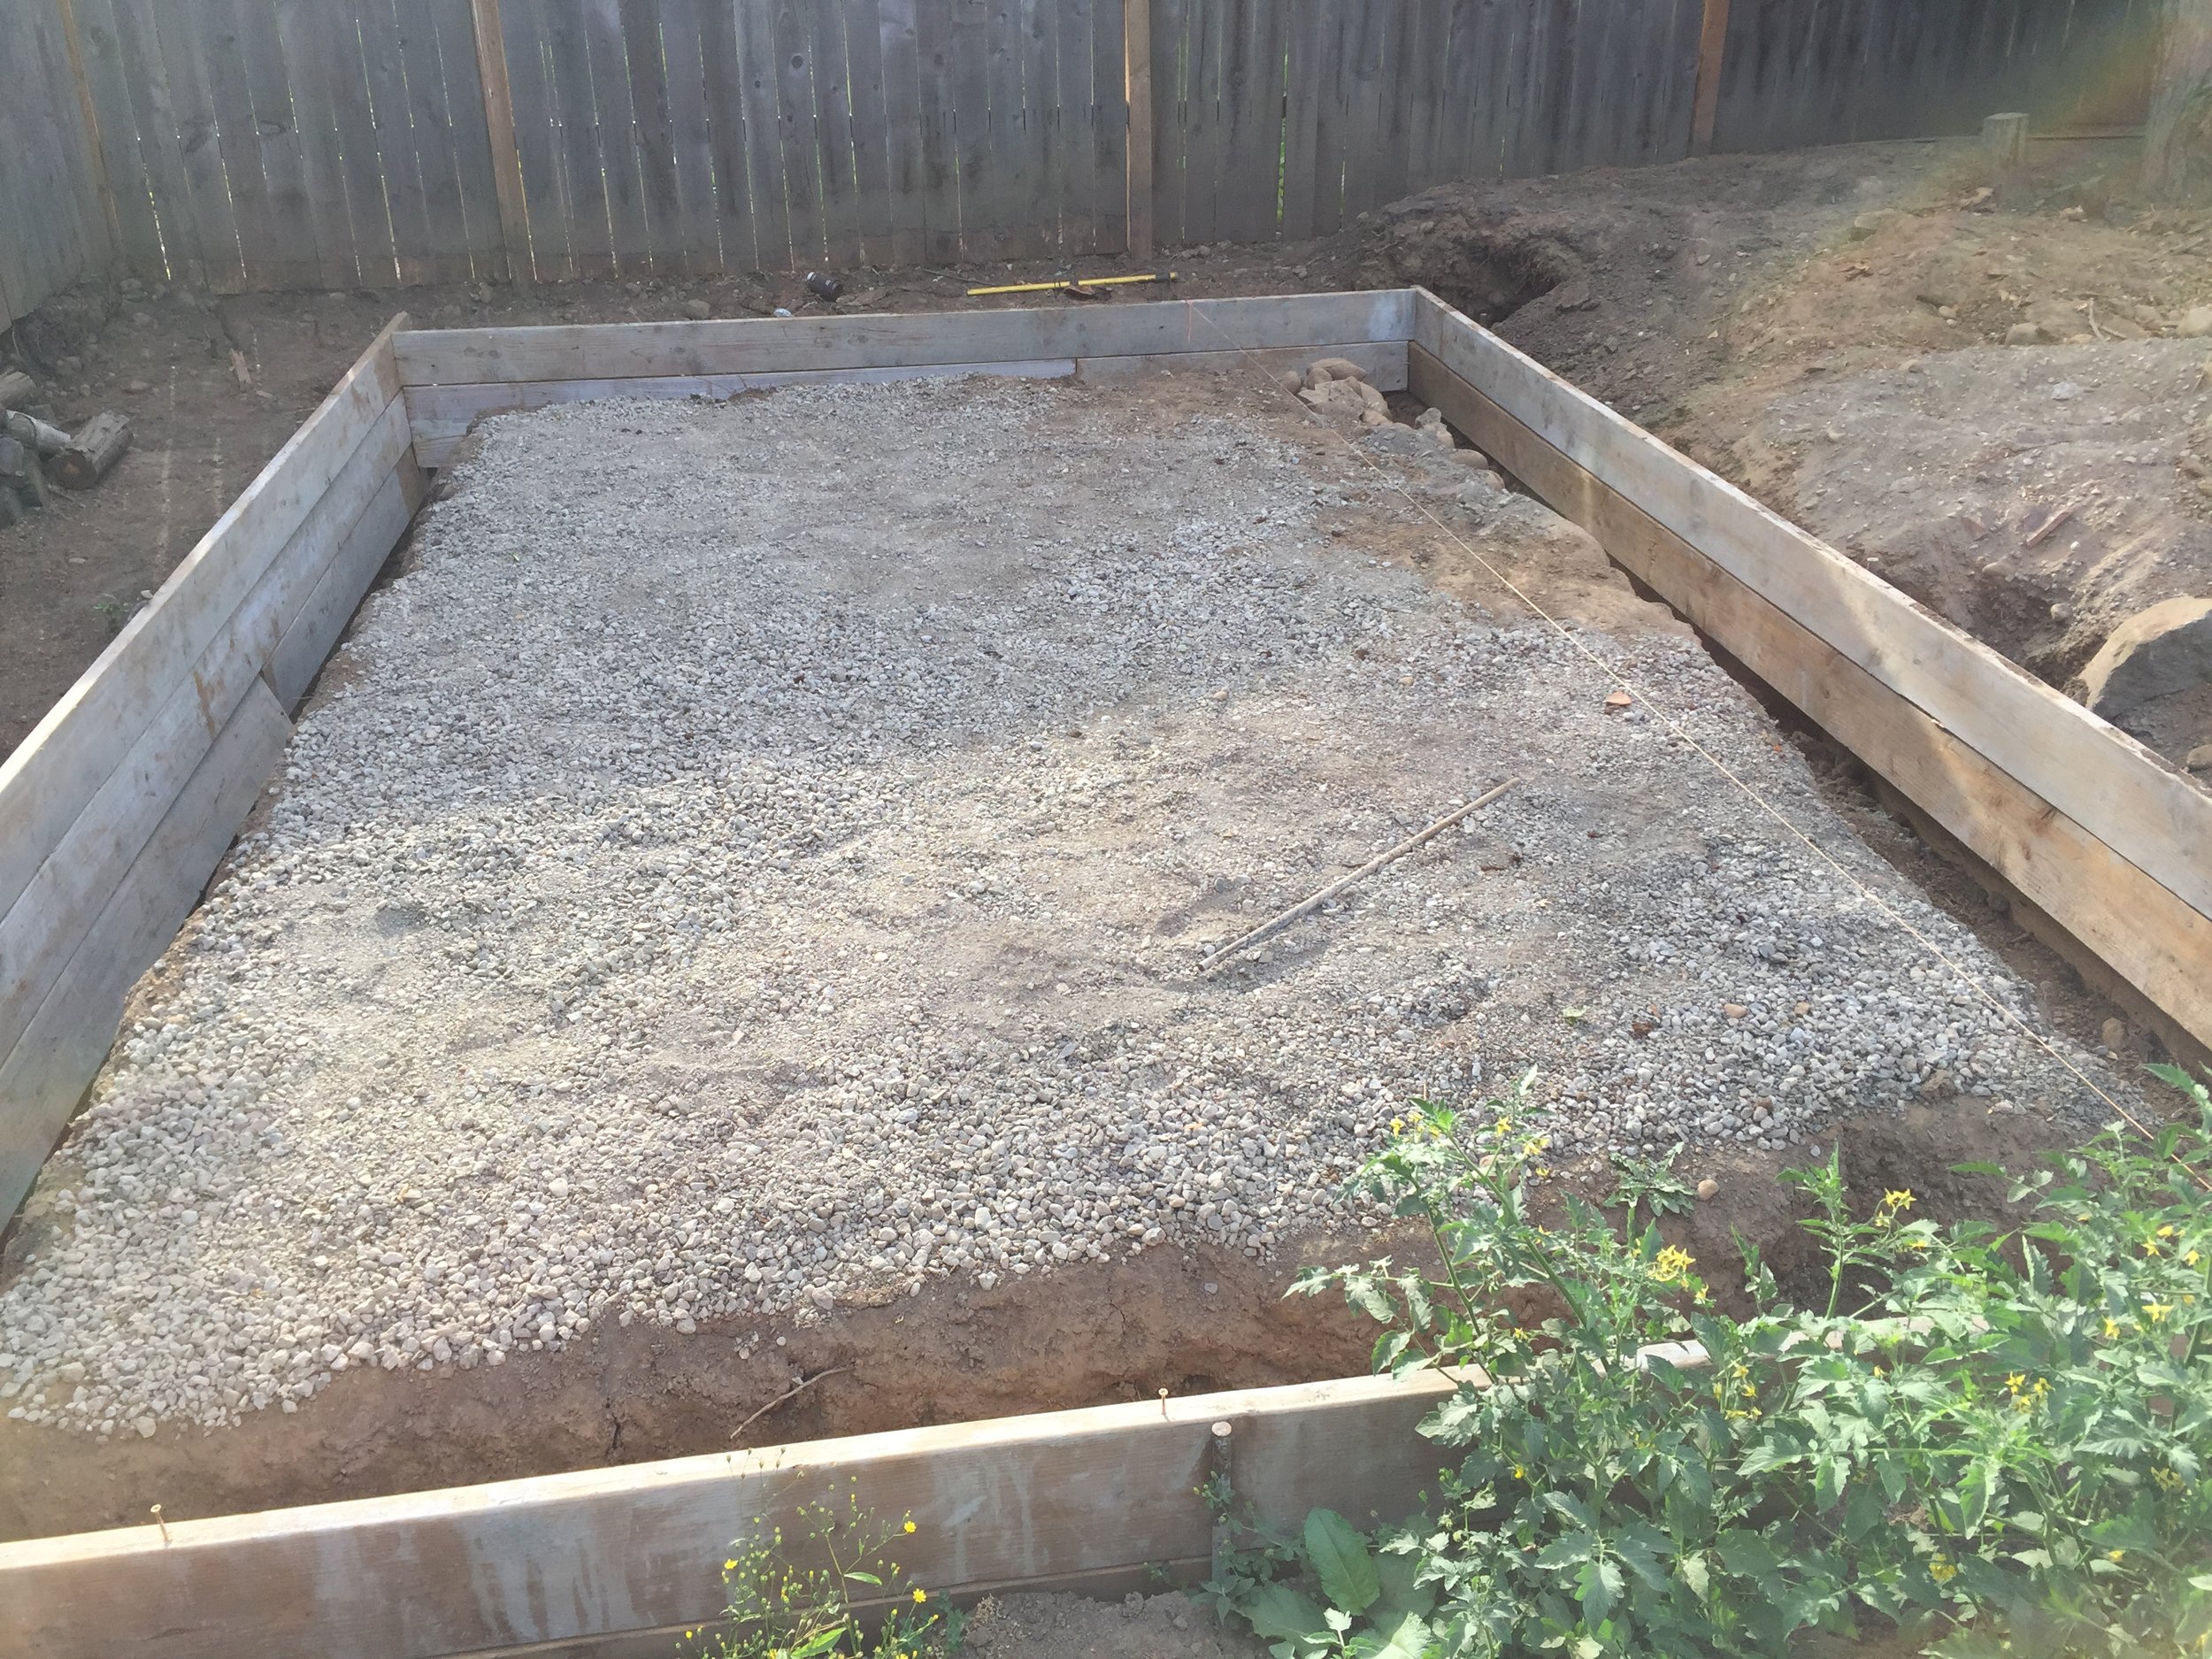
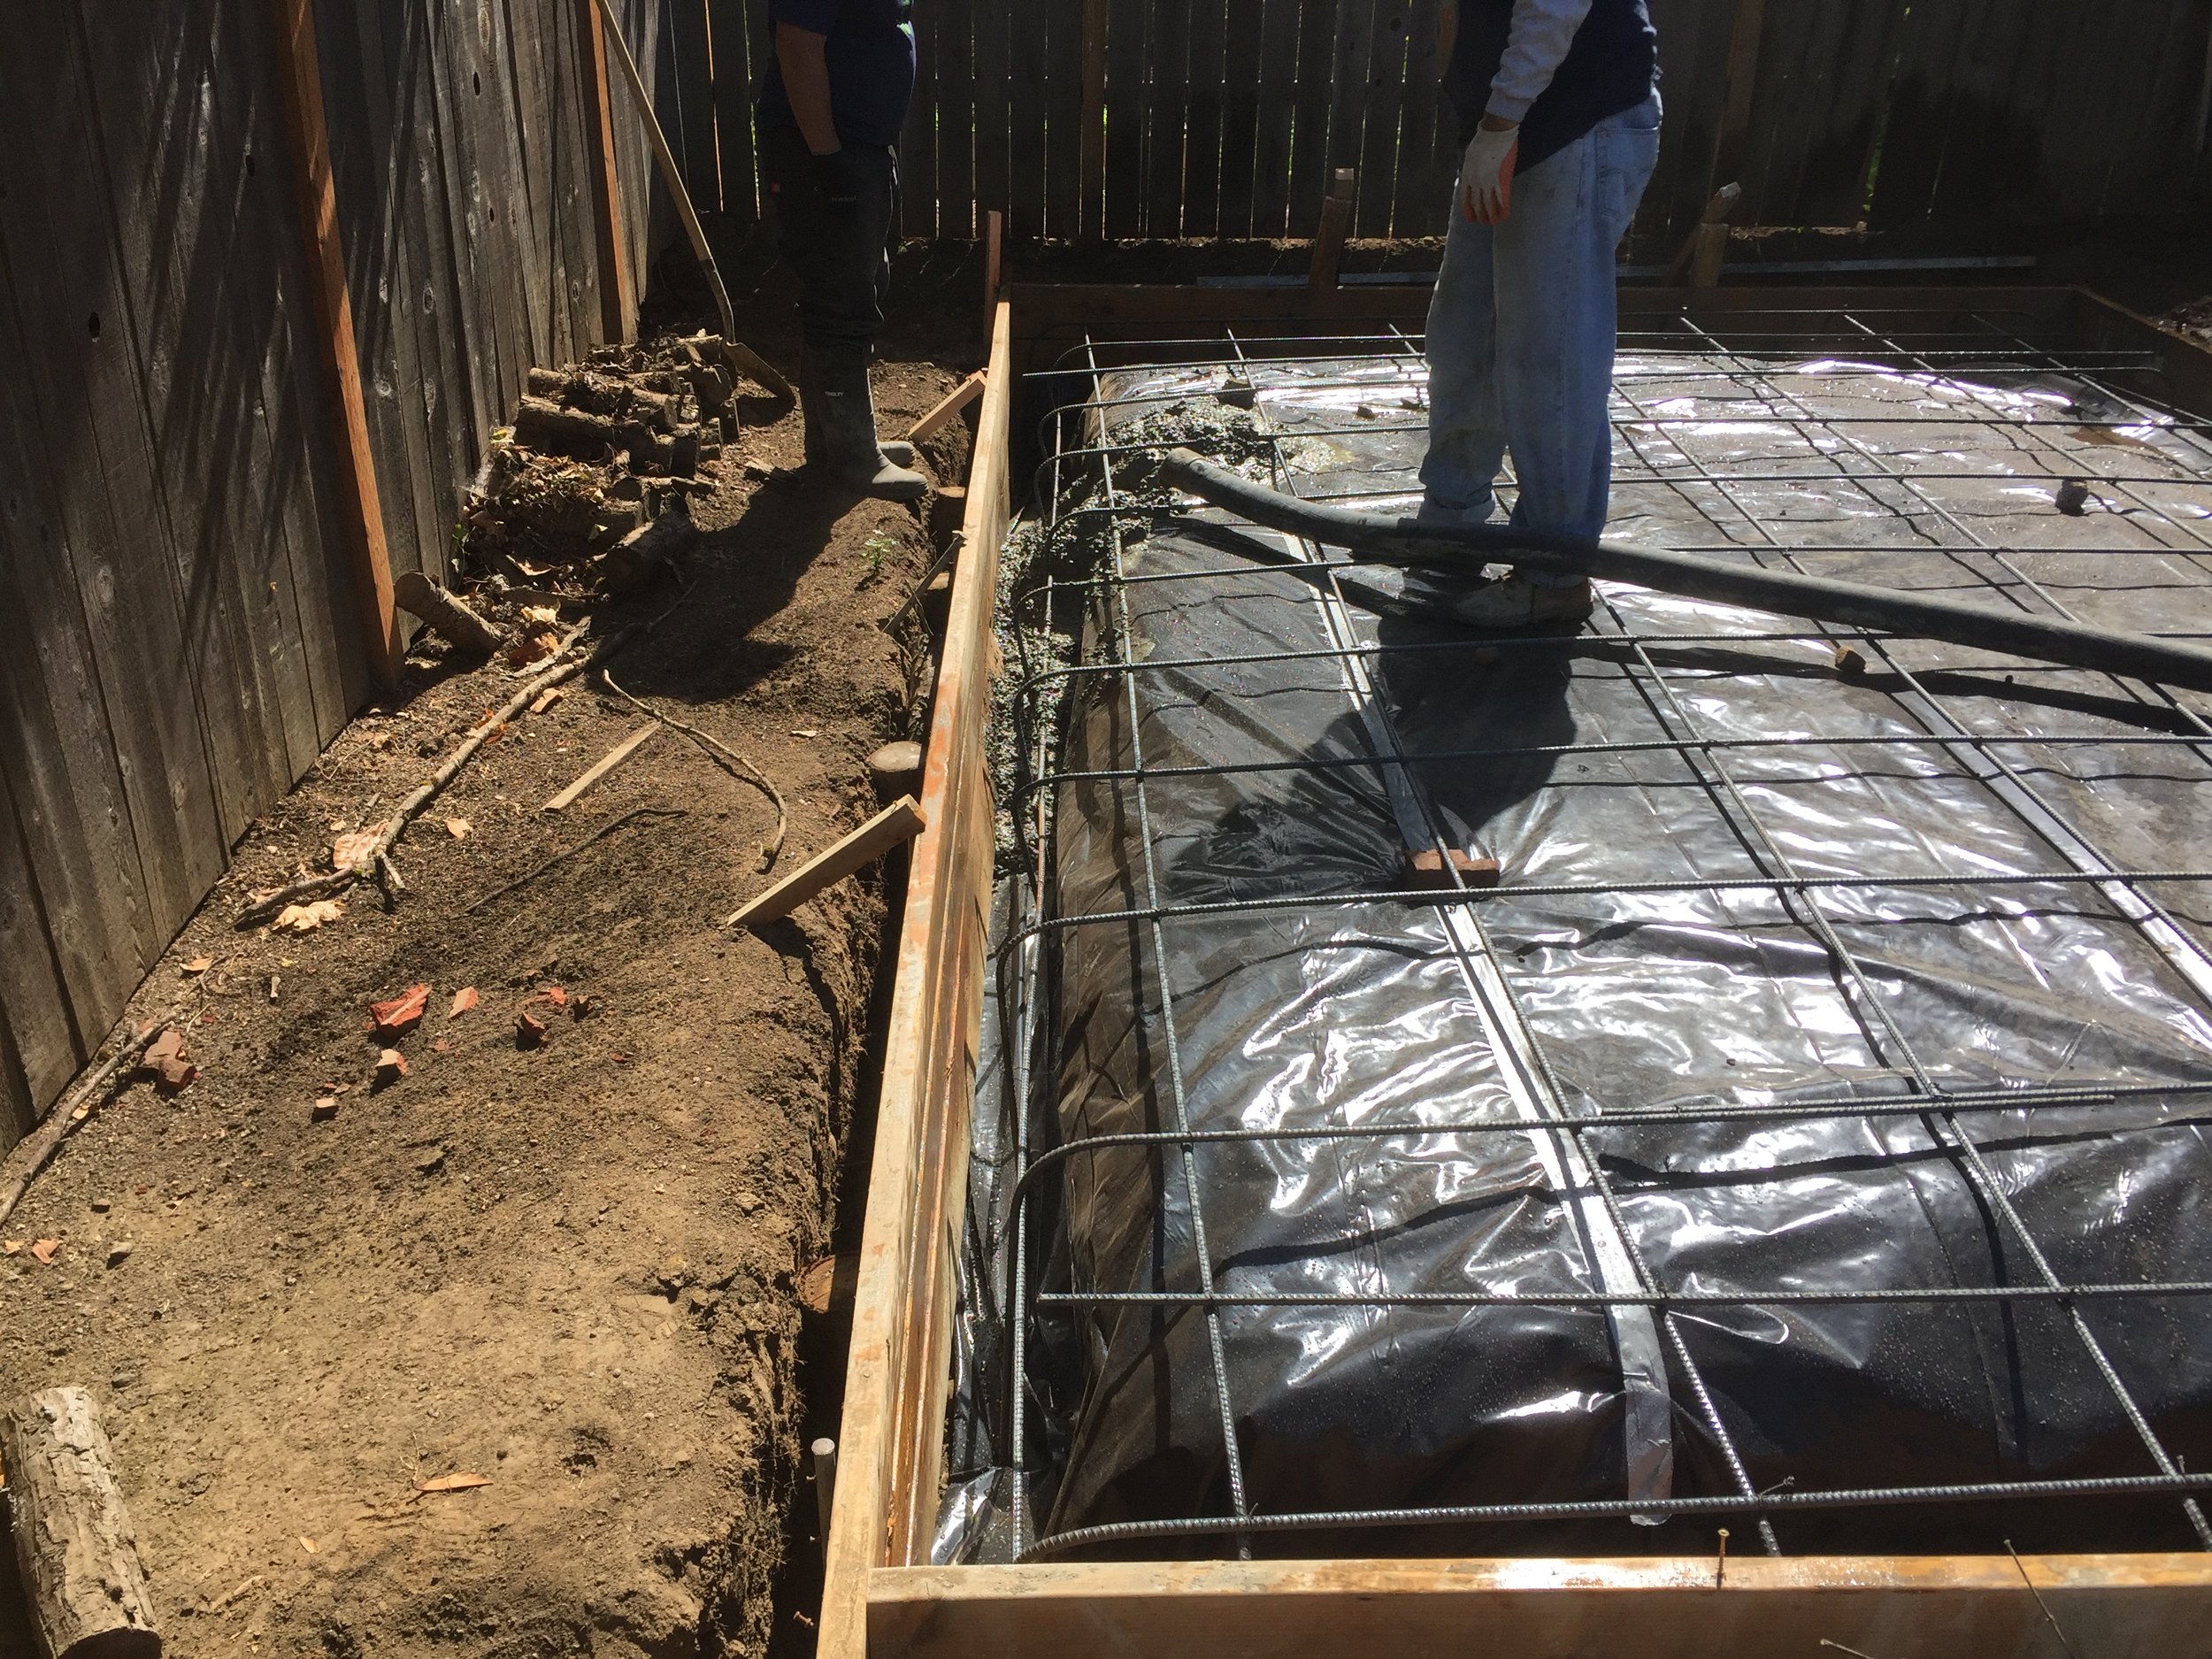
Before you can order one of these buildings, you have to have a plan for the foundation. For sound control, I opted for a concrete slab rather than a pier foundation. In order to get a slab poured, I had to have a cedar tree removed so excavation could take place.
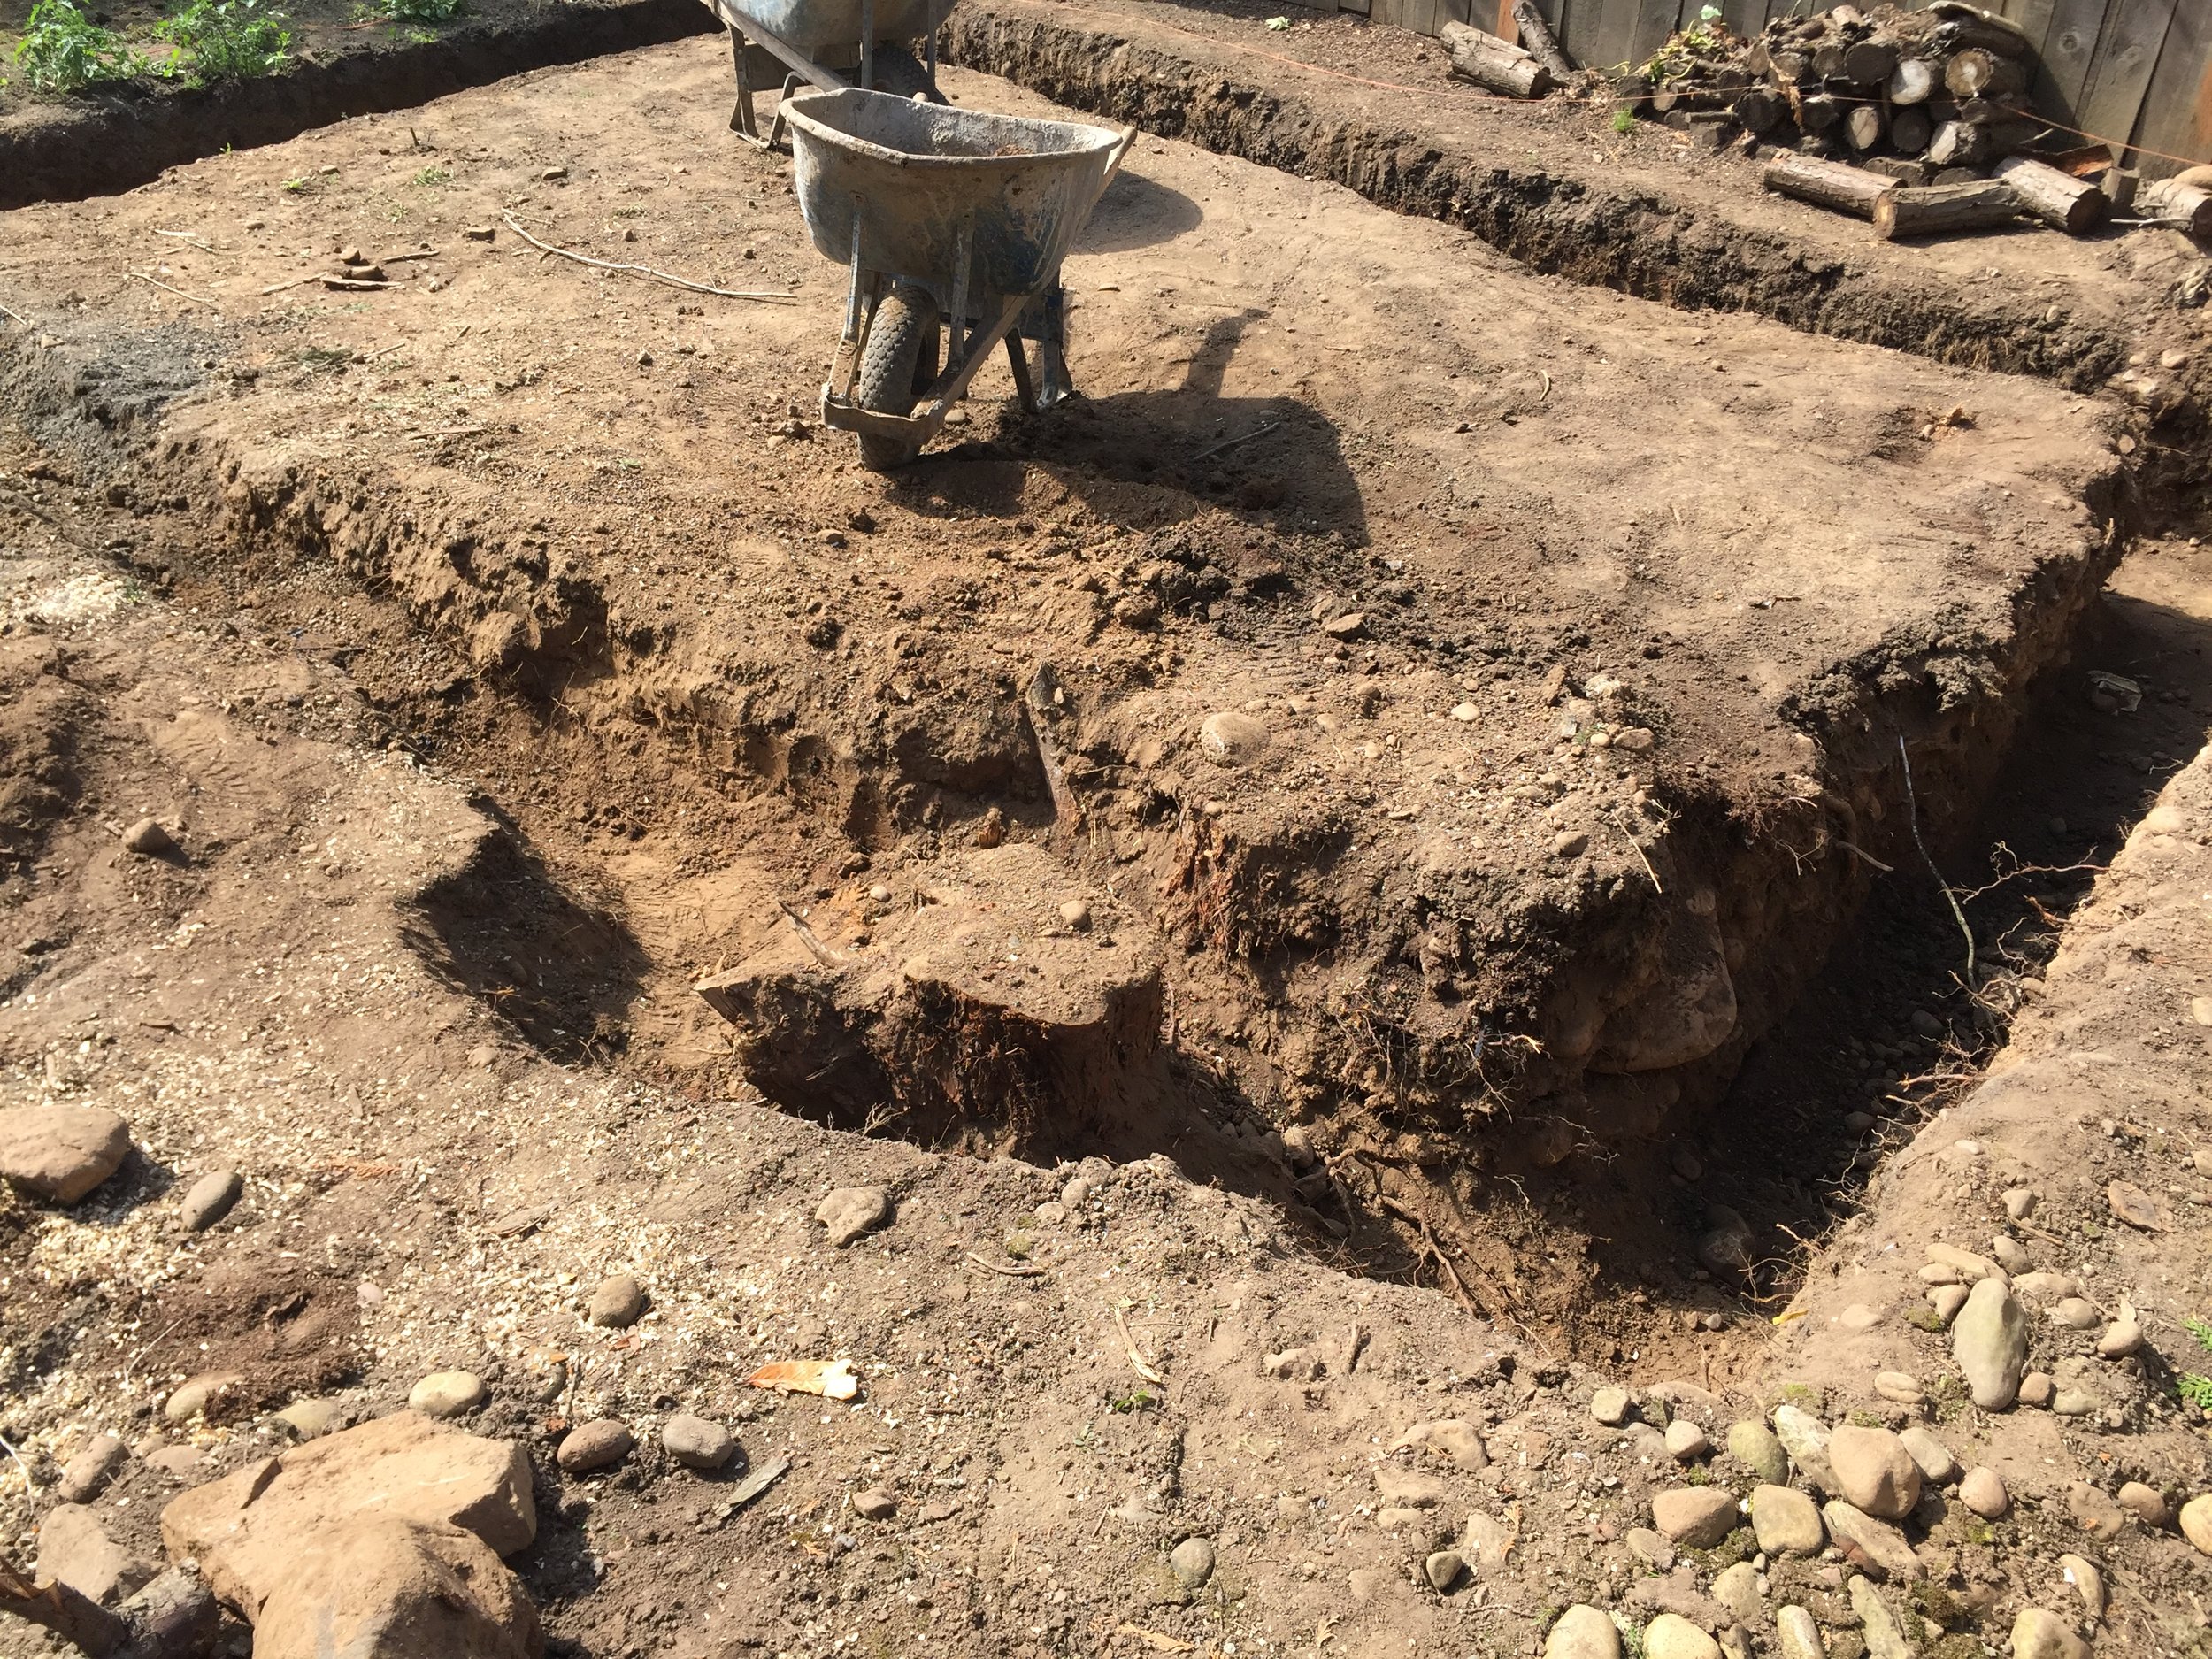
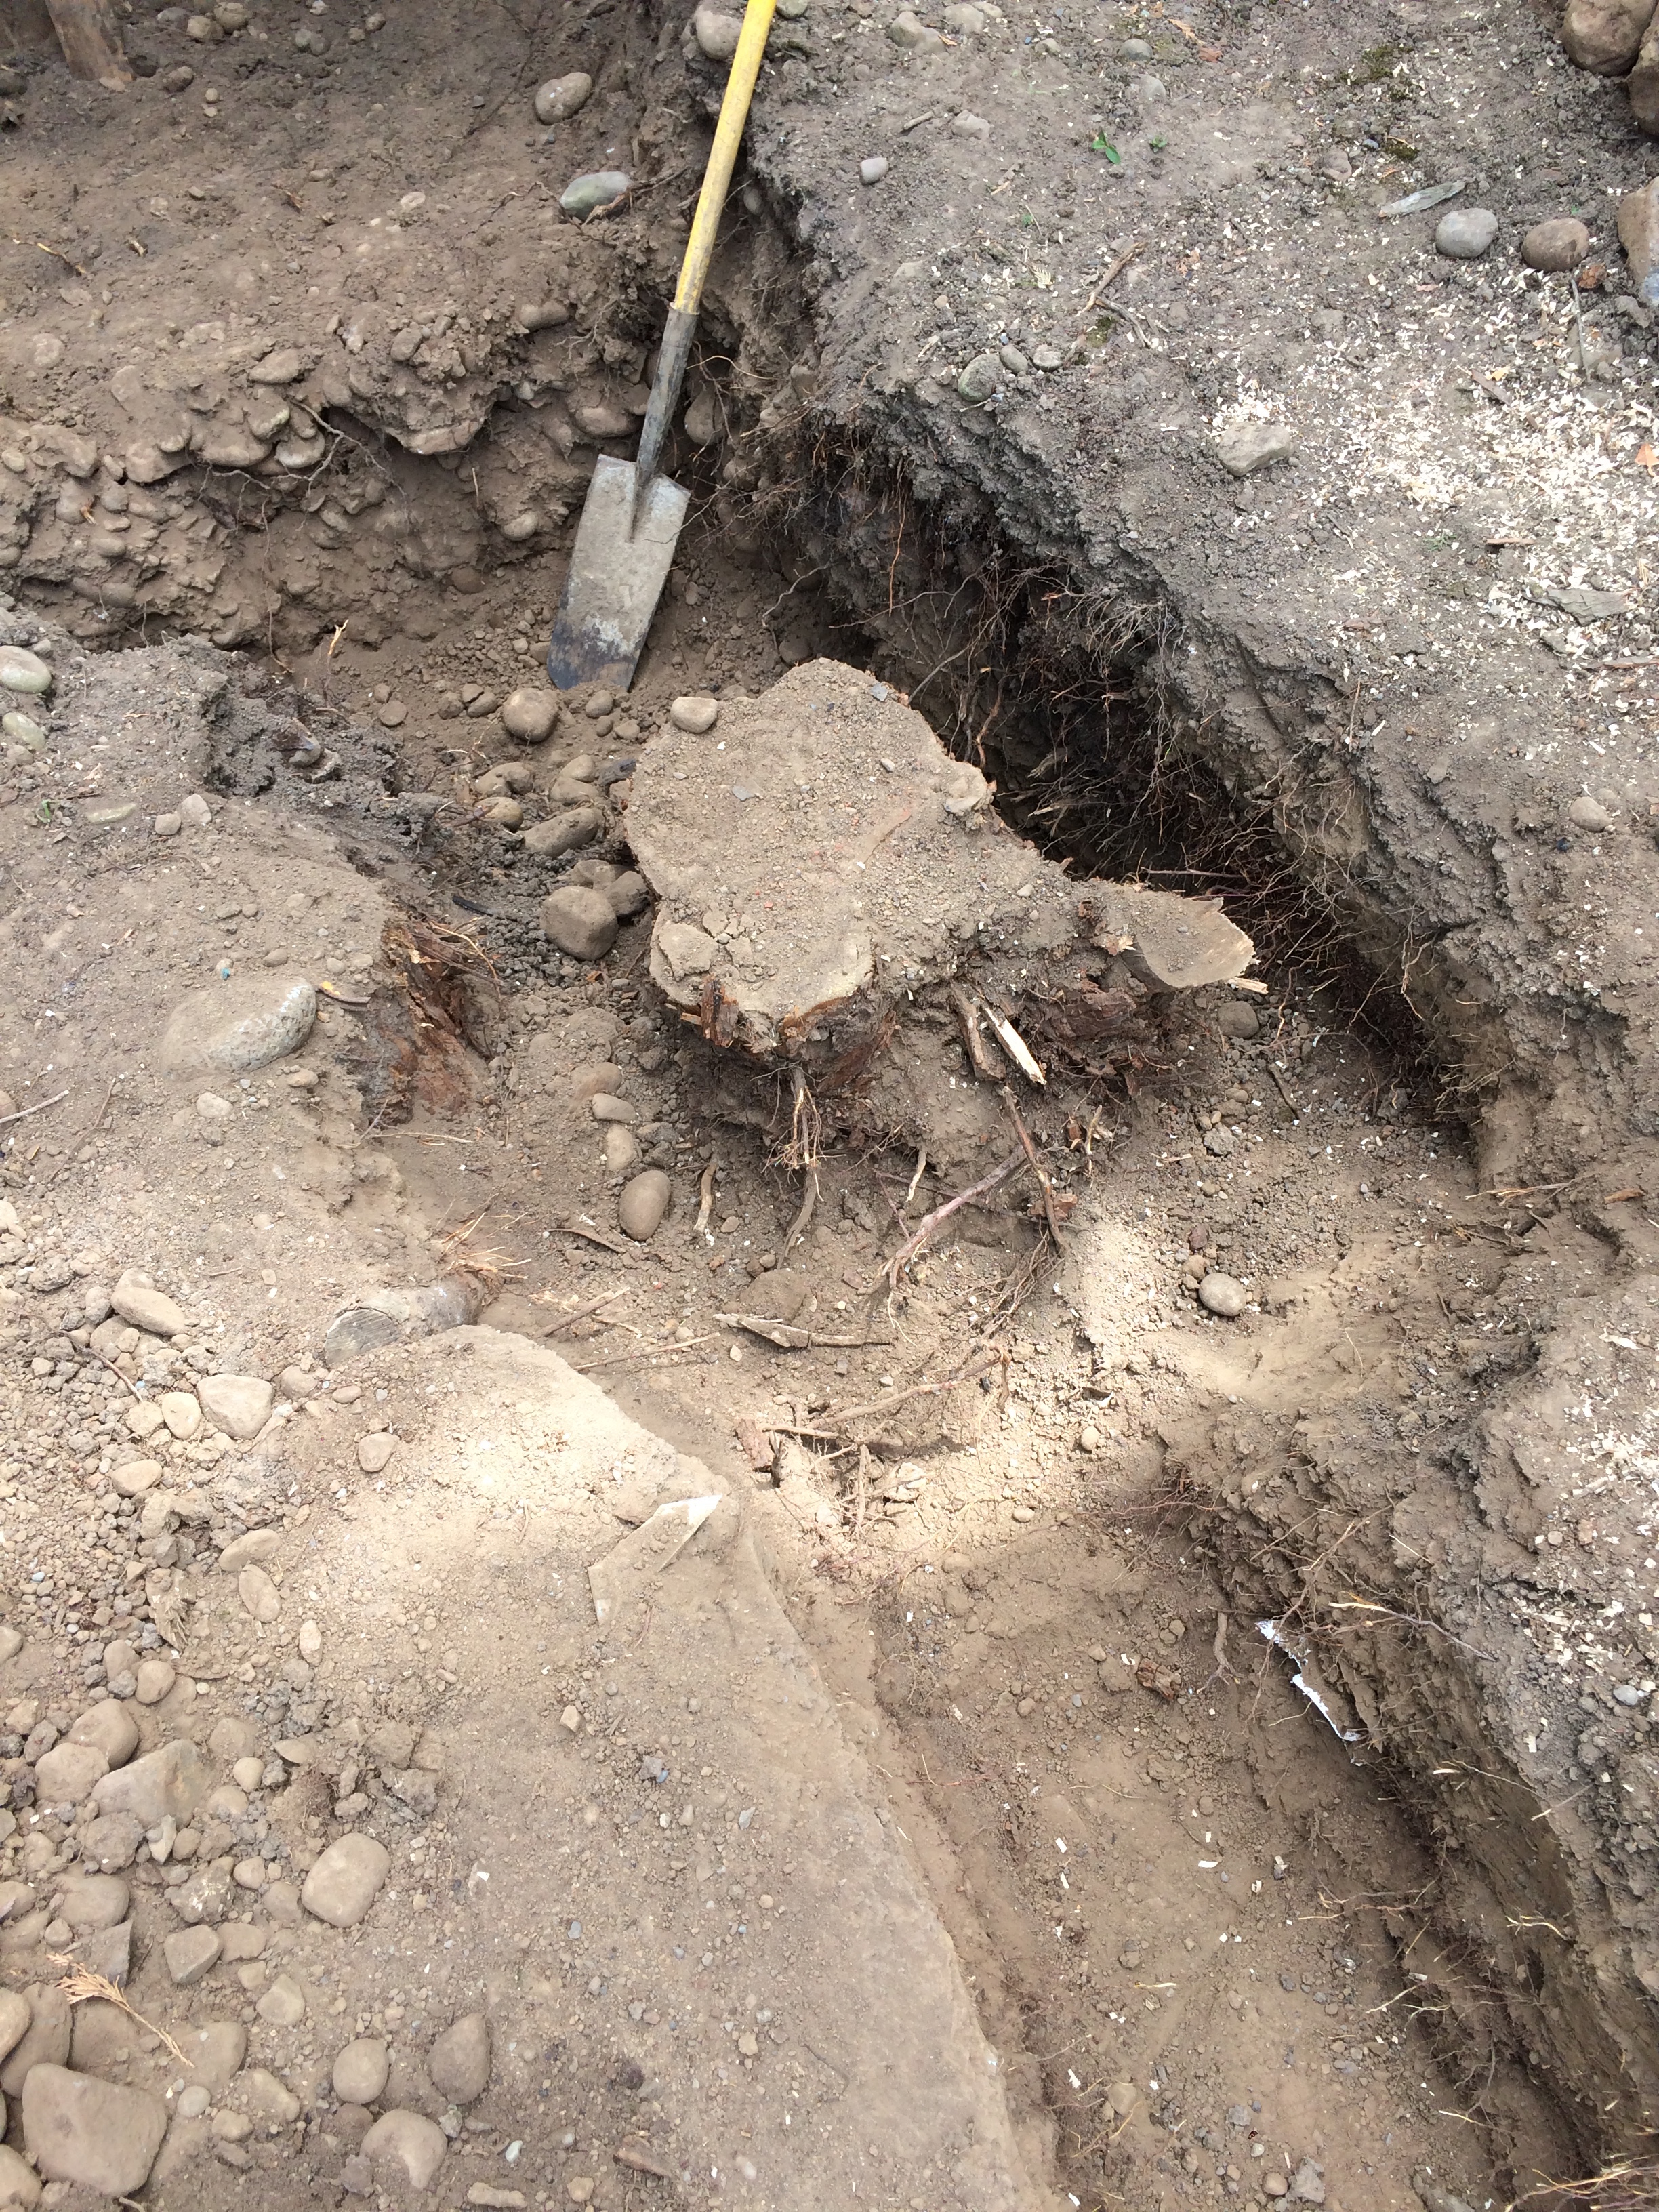
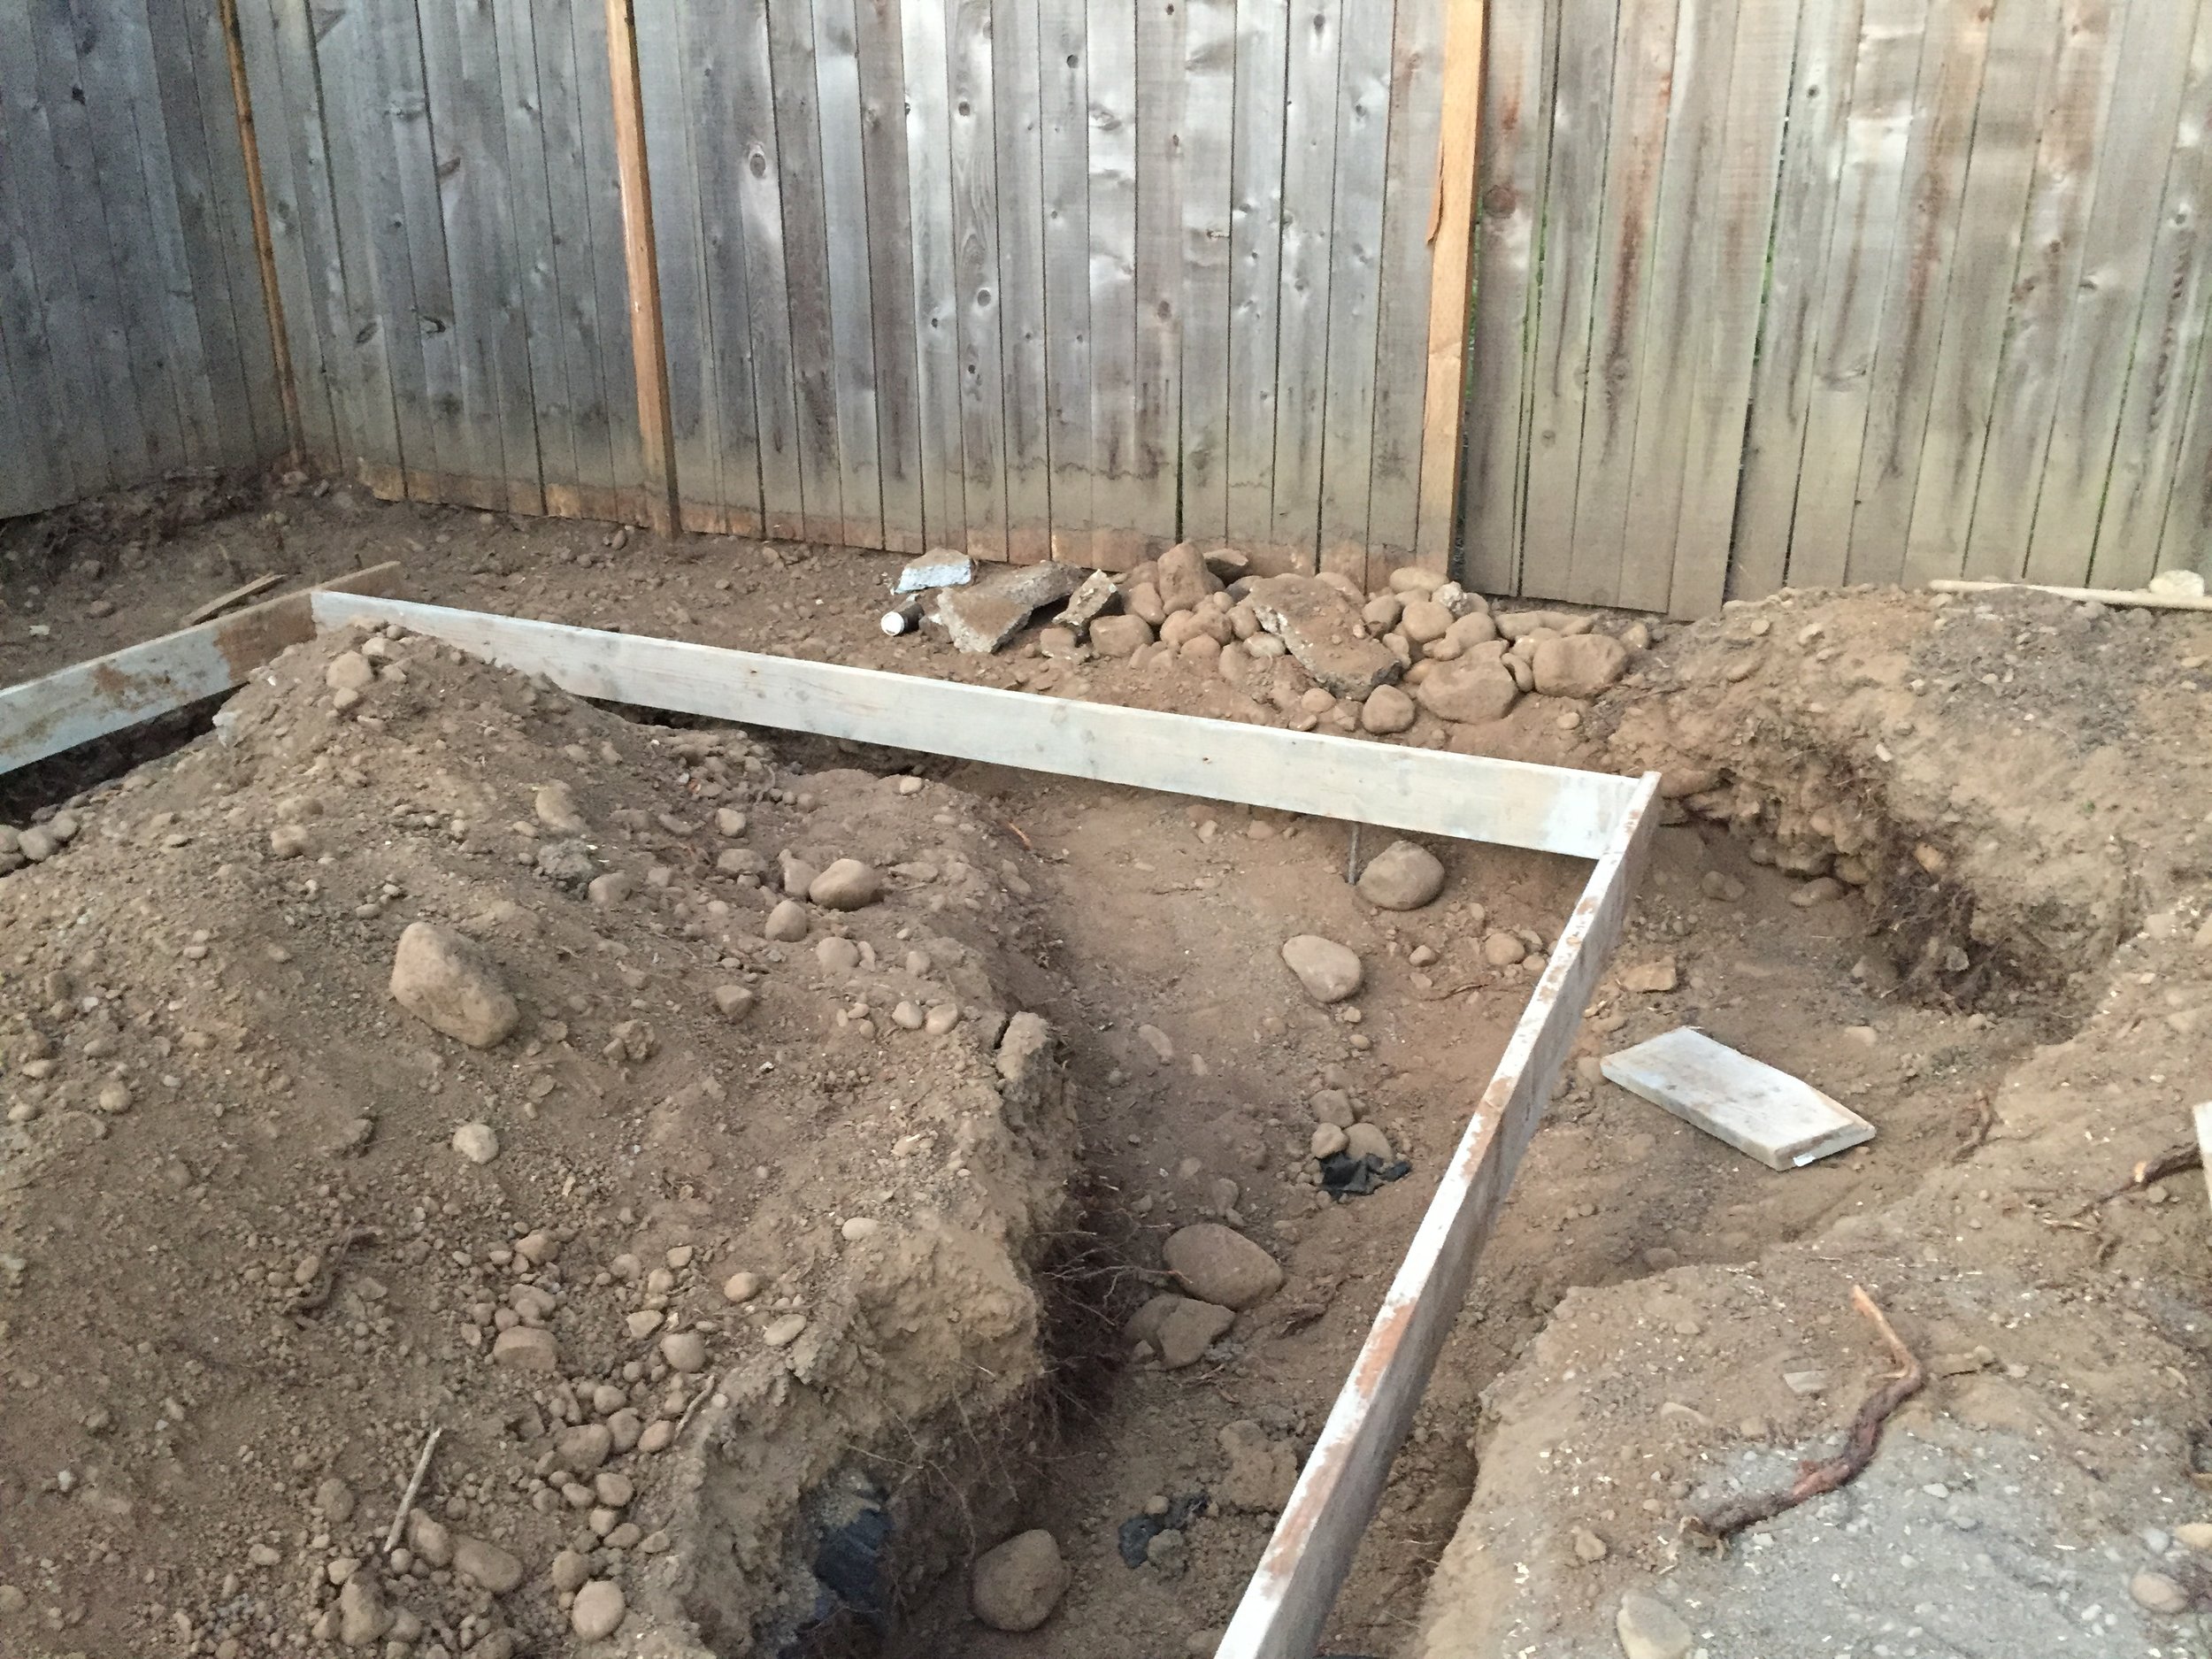
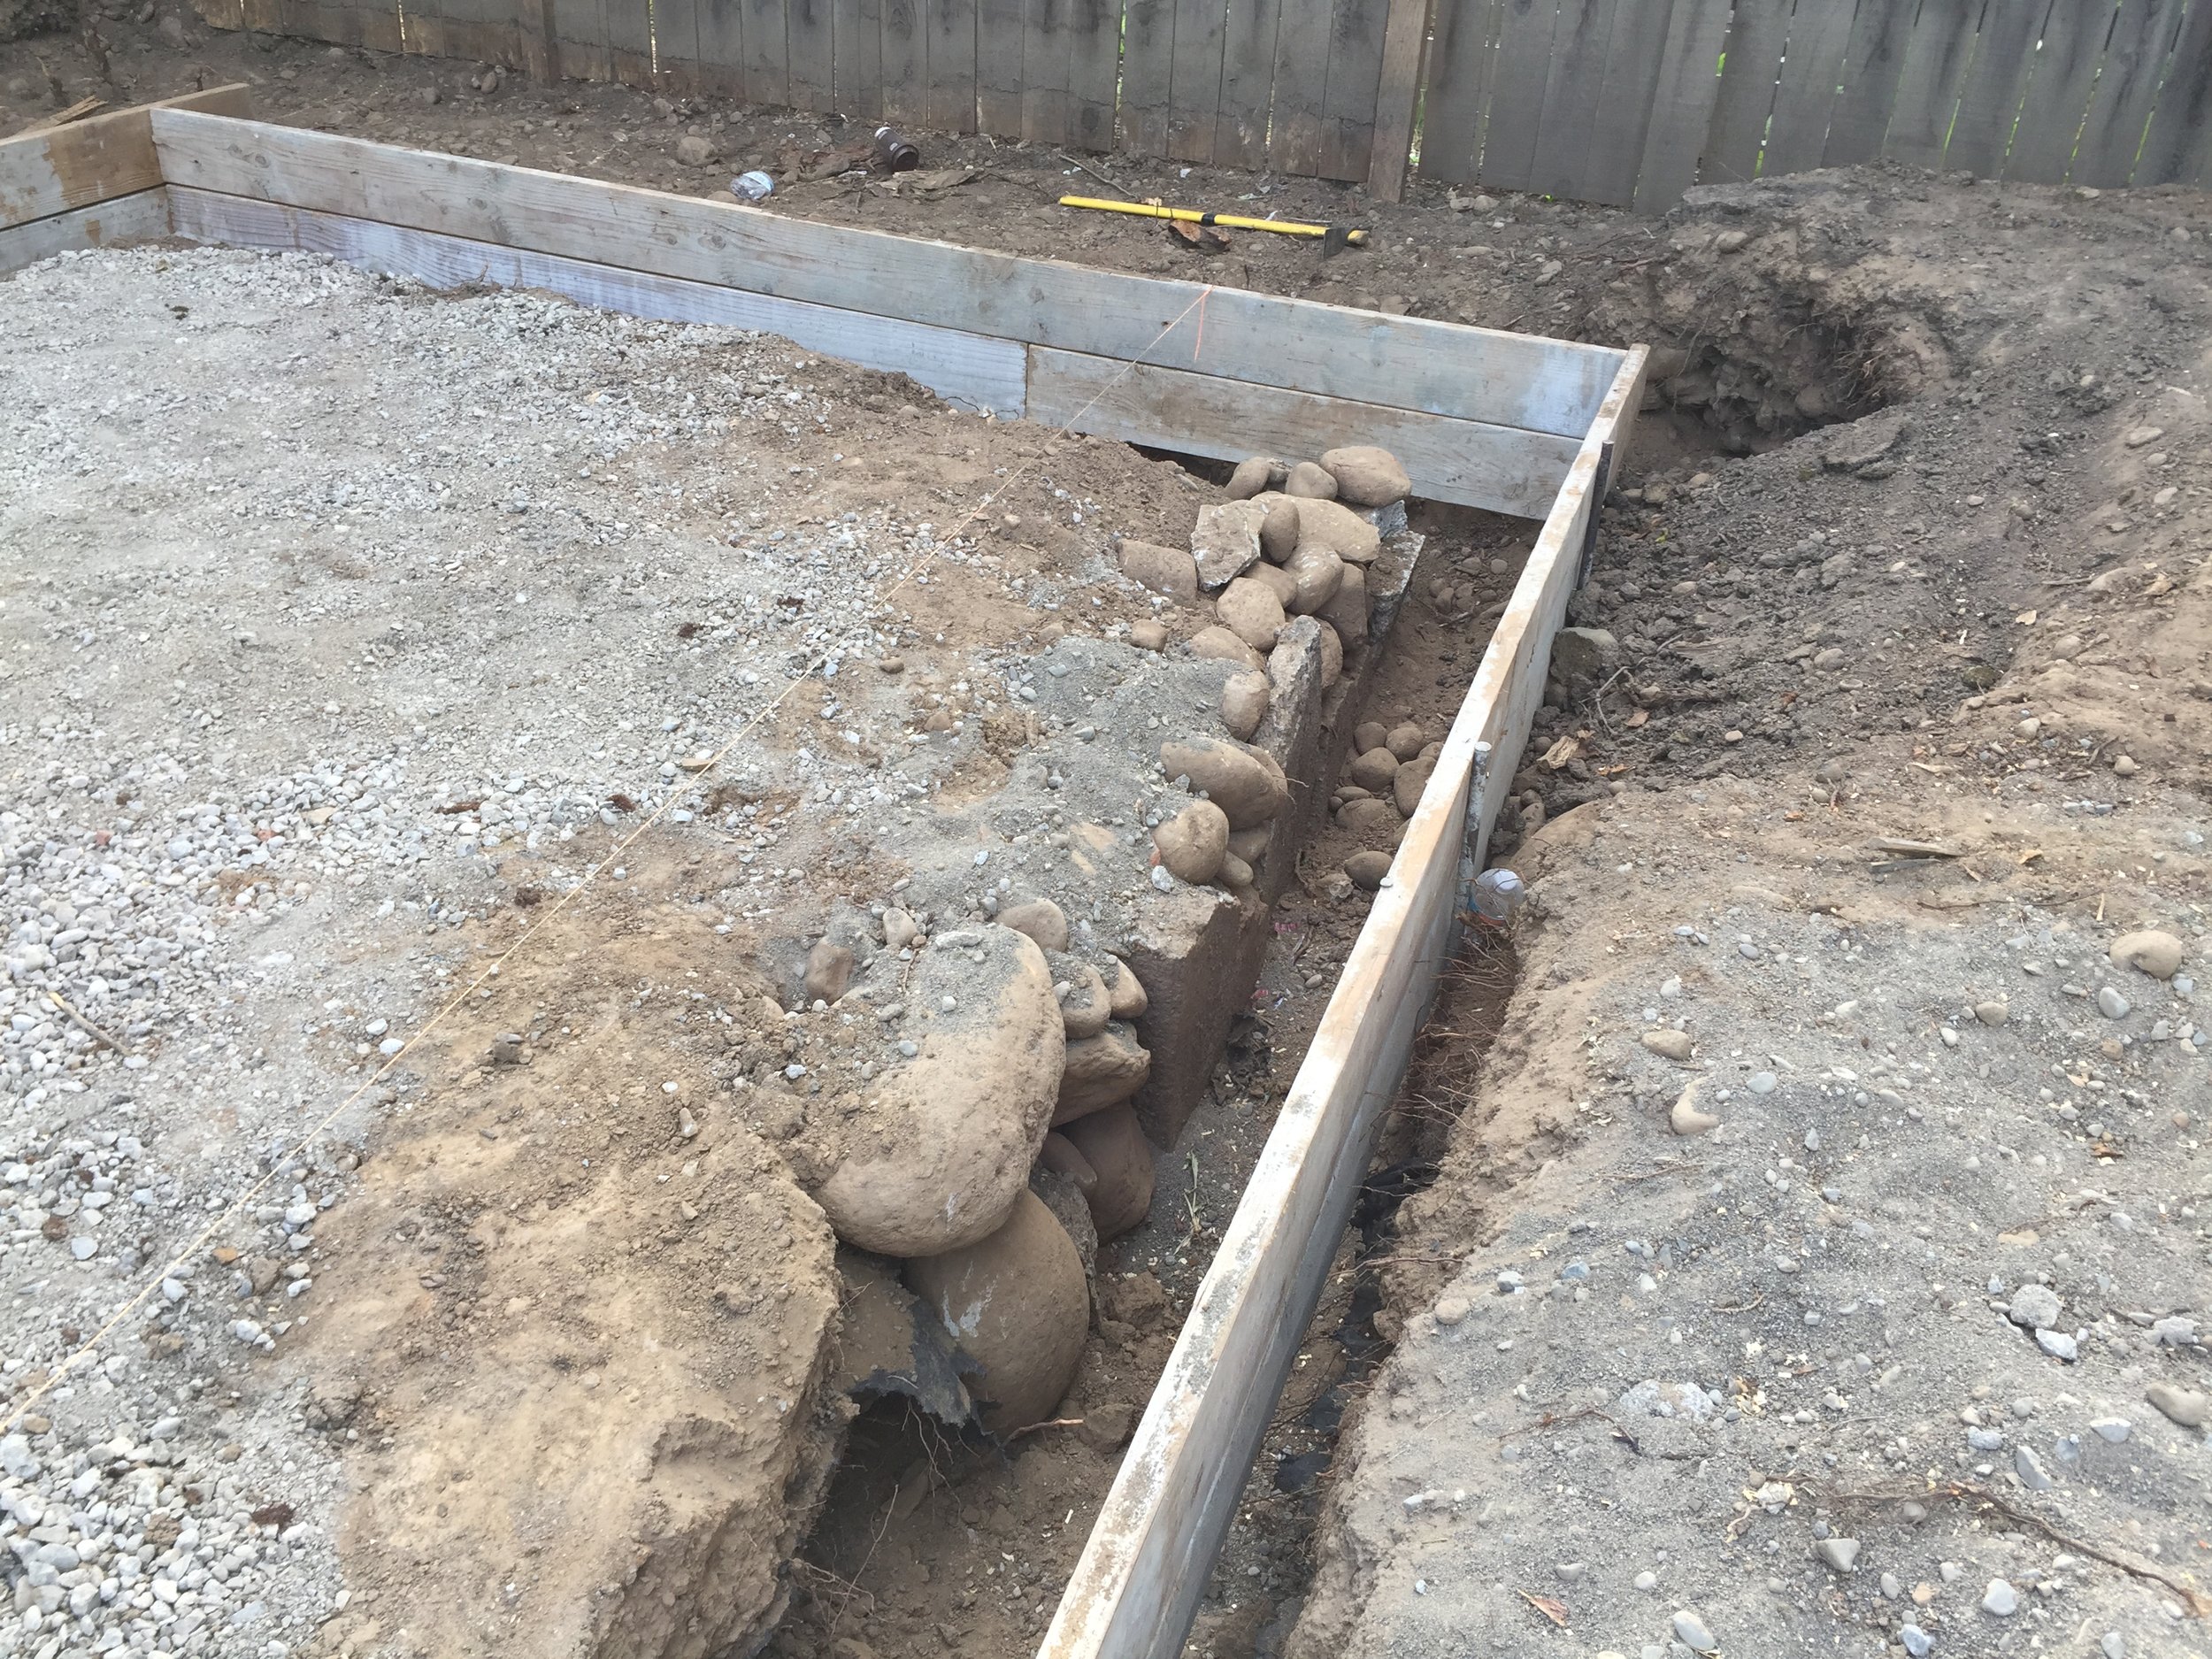
Having the foundation laid was probably the biggest pain of this whole process - mostly because I hired someone who wasn't very good at communicating, but who quoted me a low price. As I quickly learned from contacting many different concrete contractors, pouring a mono-slab foundation is rather expensive. A mono slab is essentially a foundation in which the footers go down into the ground 18" and get poured at the same time as the top (flat) part on which the floor is installed. The biggest challenge was removing the large stump and root system from the tree that was taken out. If too much organic material is left in the soil beneath the slab foundation, it will eventually rot, the ground will settle, and the foundation can destabilize and crack. In my location, we weren't able to bring in heavy excavation machinery, so the contractor had all excavation and stump/root removal done by hand. This process should have taken about three days, and ended up taking nearly a month.
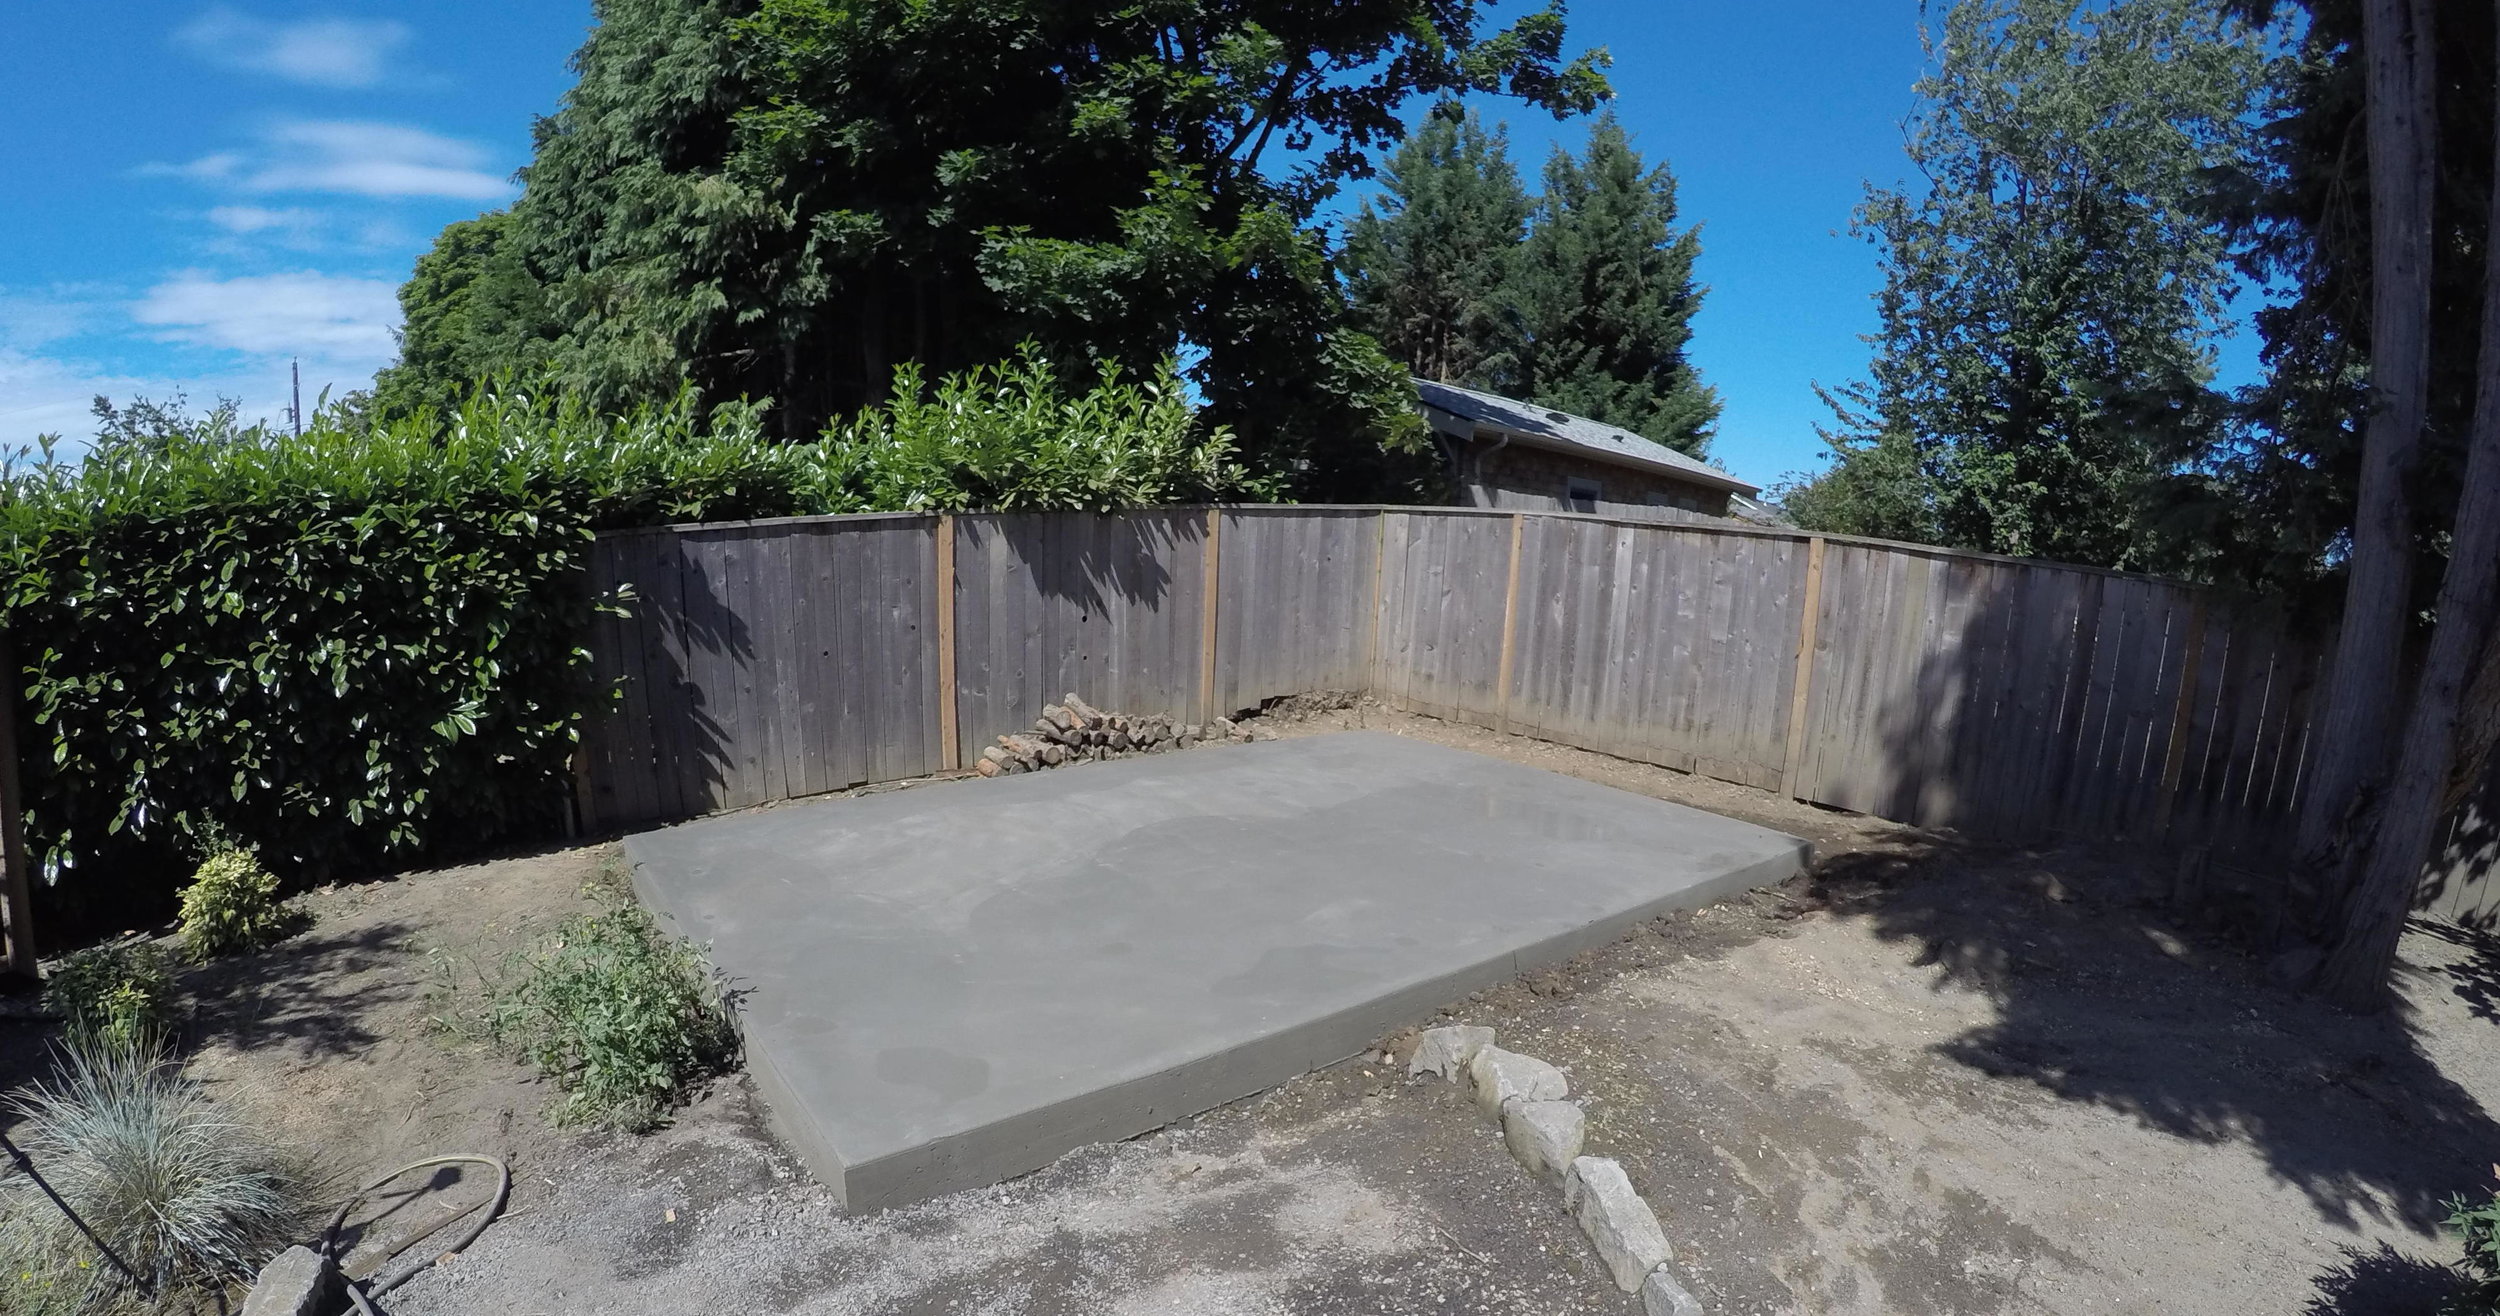
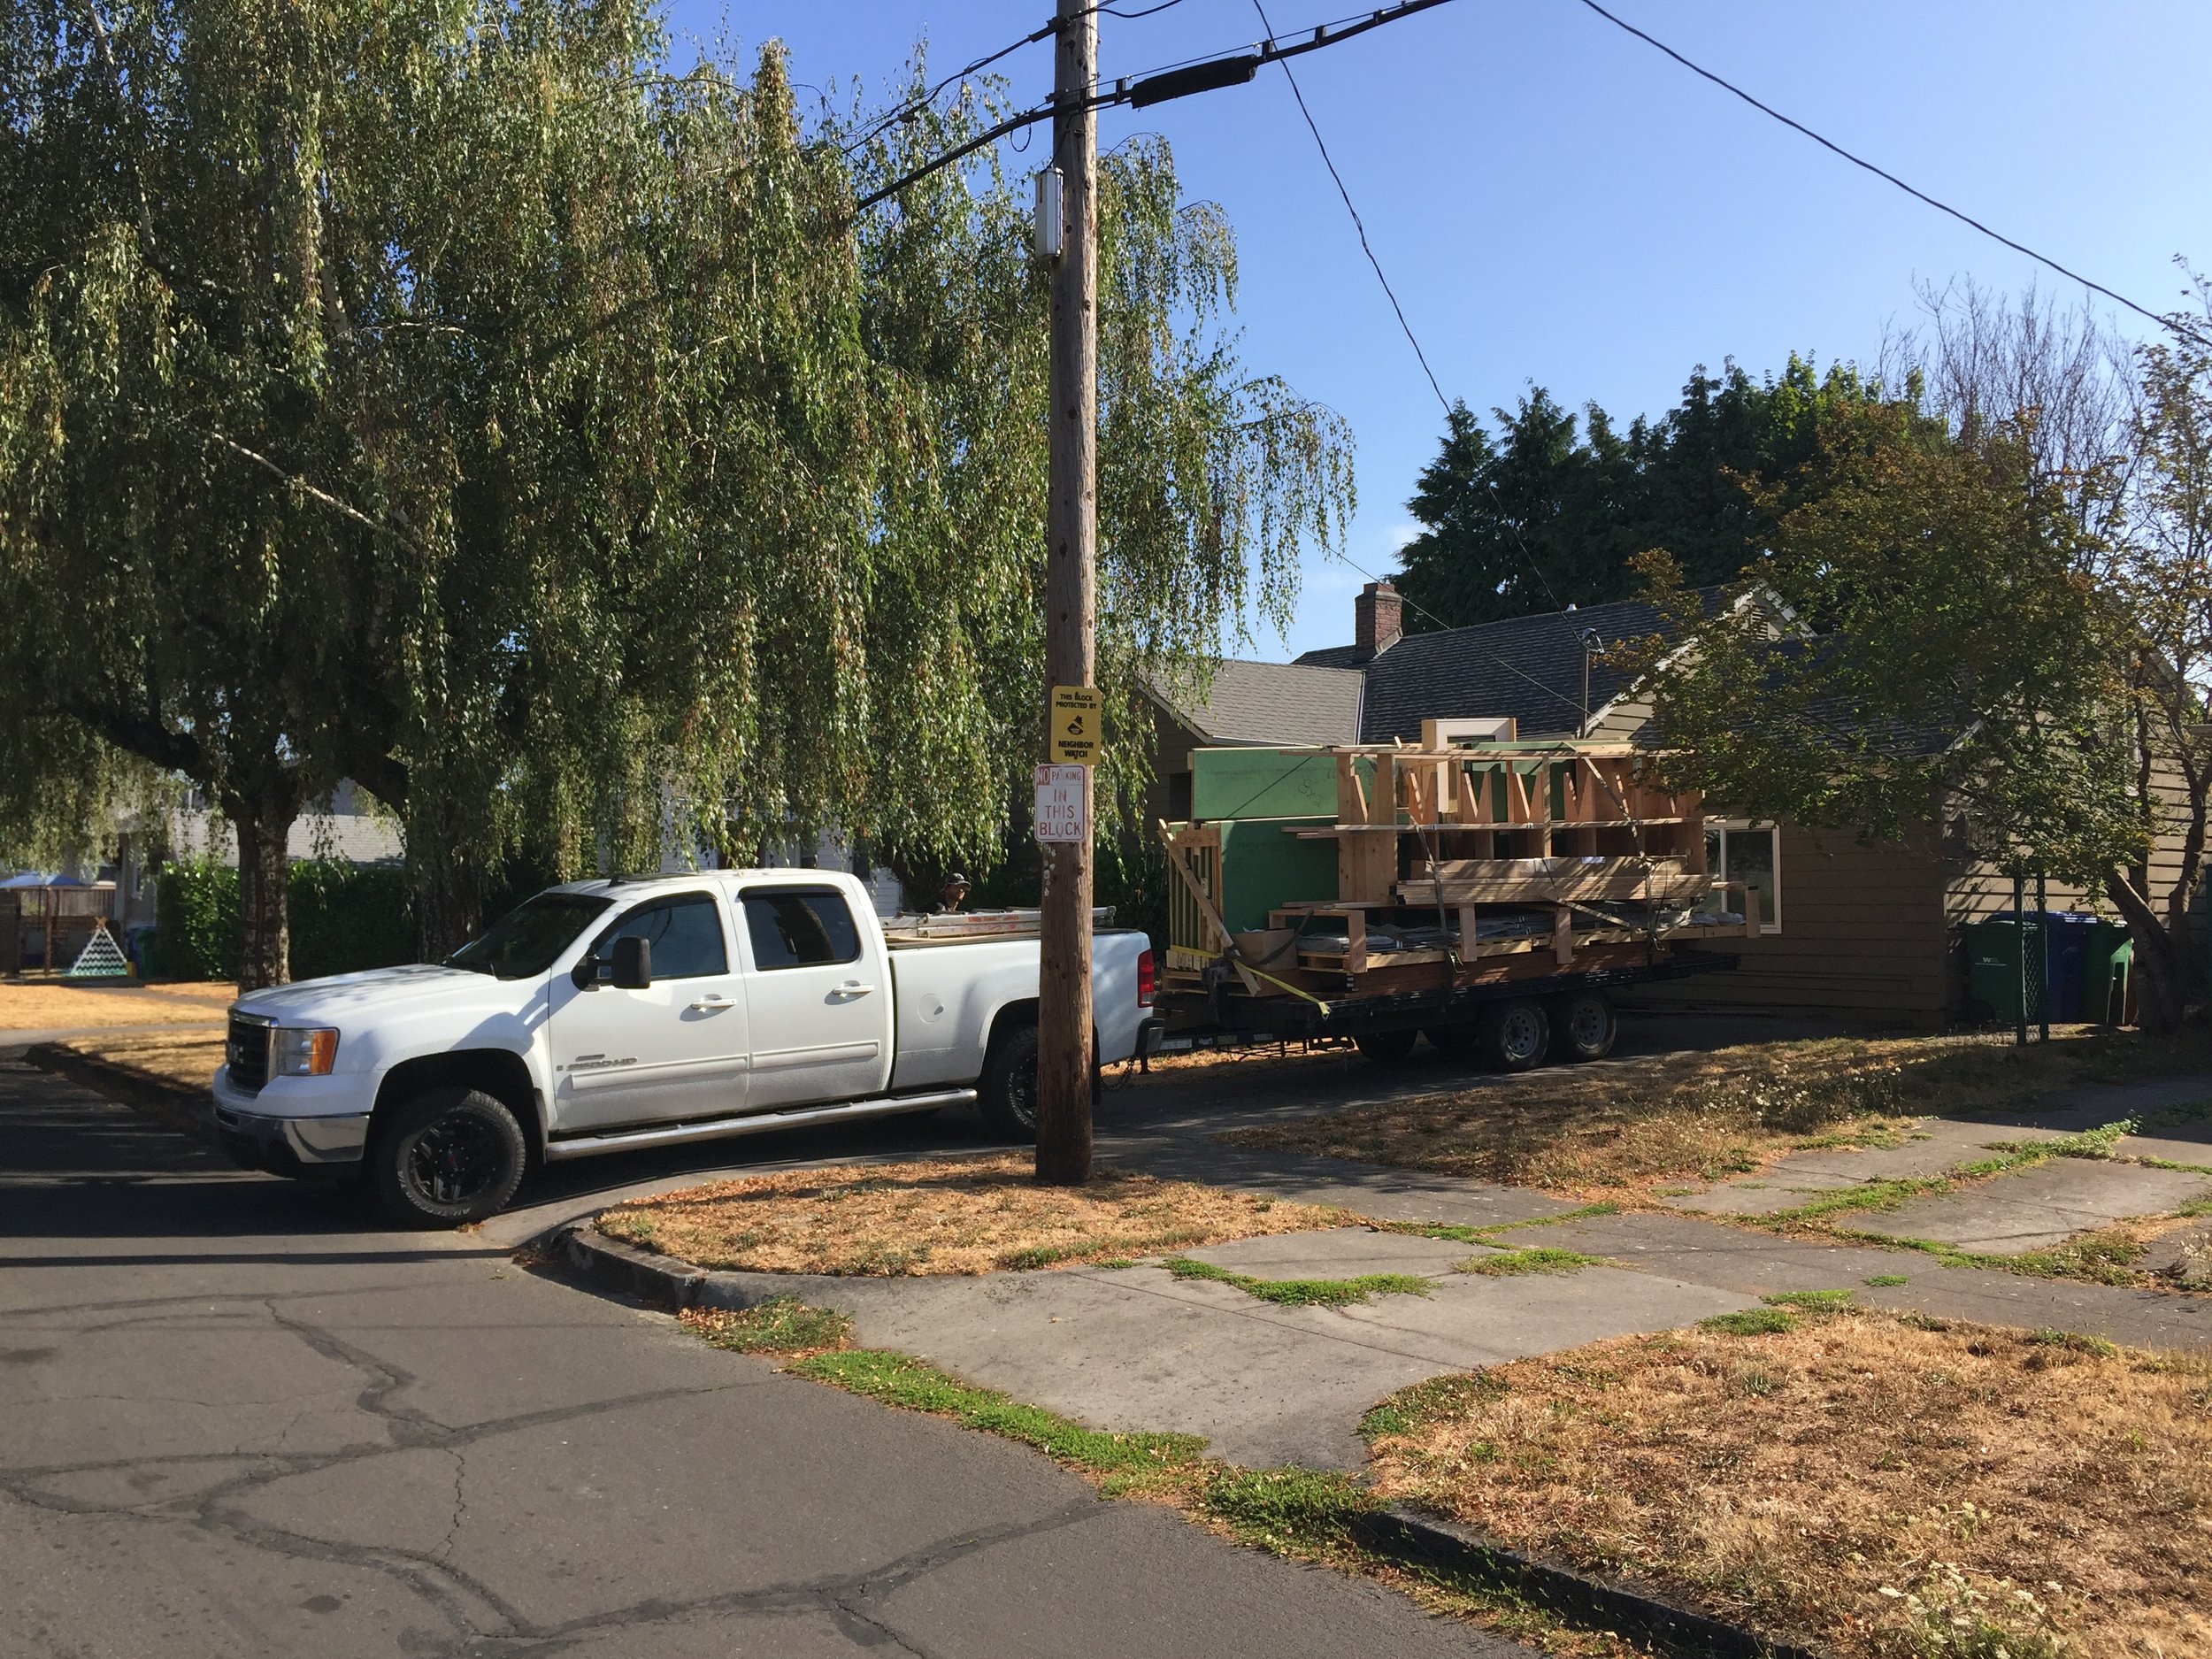
With the foundation finally laid and my studio shed ordered, all I had to do was wait for them to make my model, ship it to me, and have the shell installed. TIP: If you're ever thinking of ordering from Studio Shed, they run a special during June in which shipping is free. This deal saved me over $2,000!
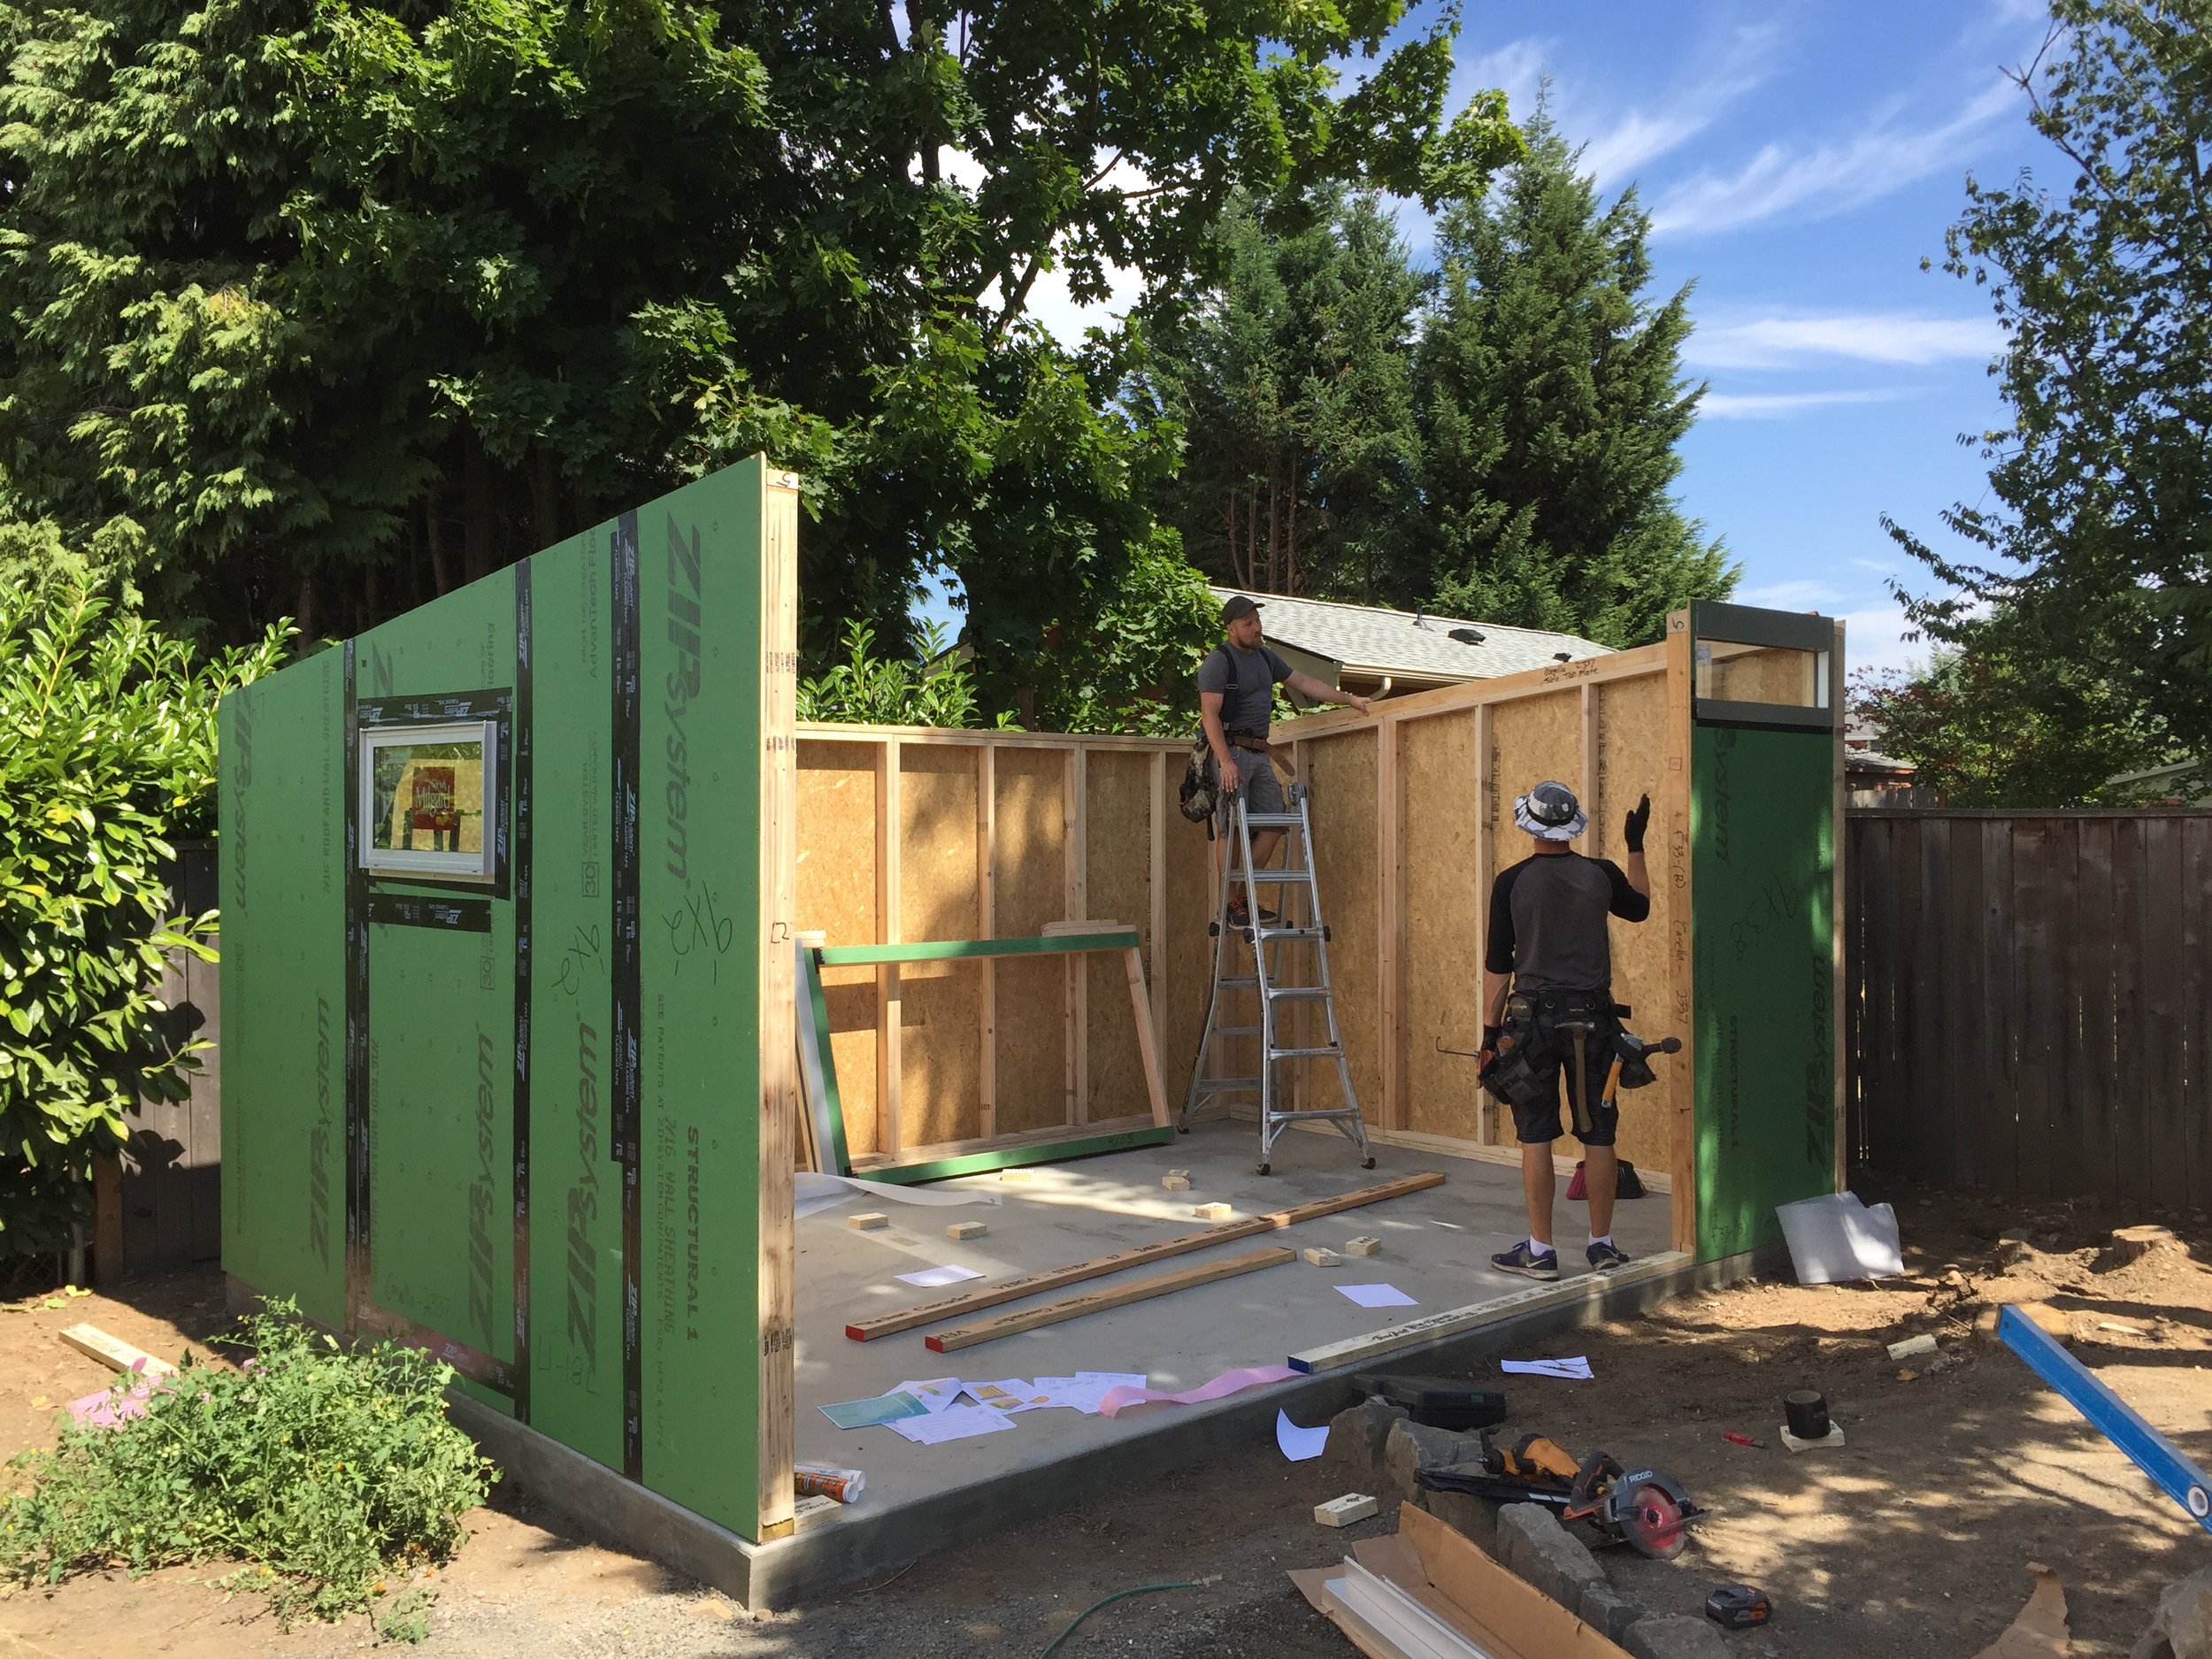
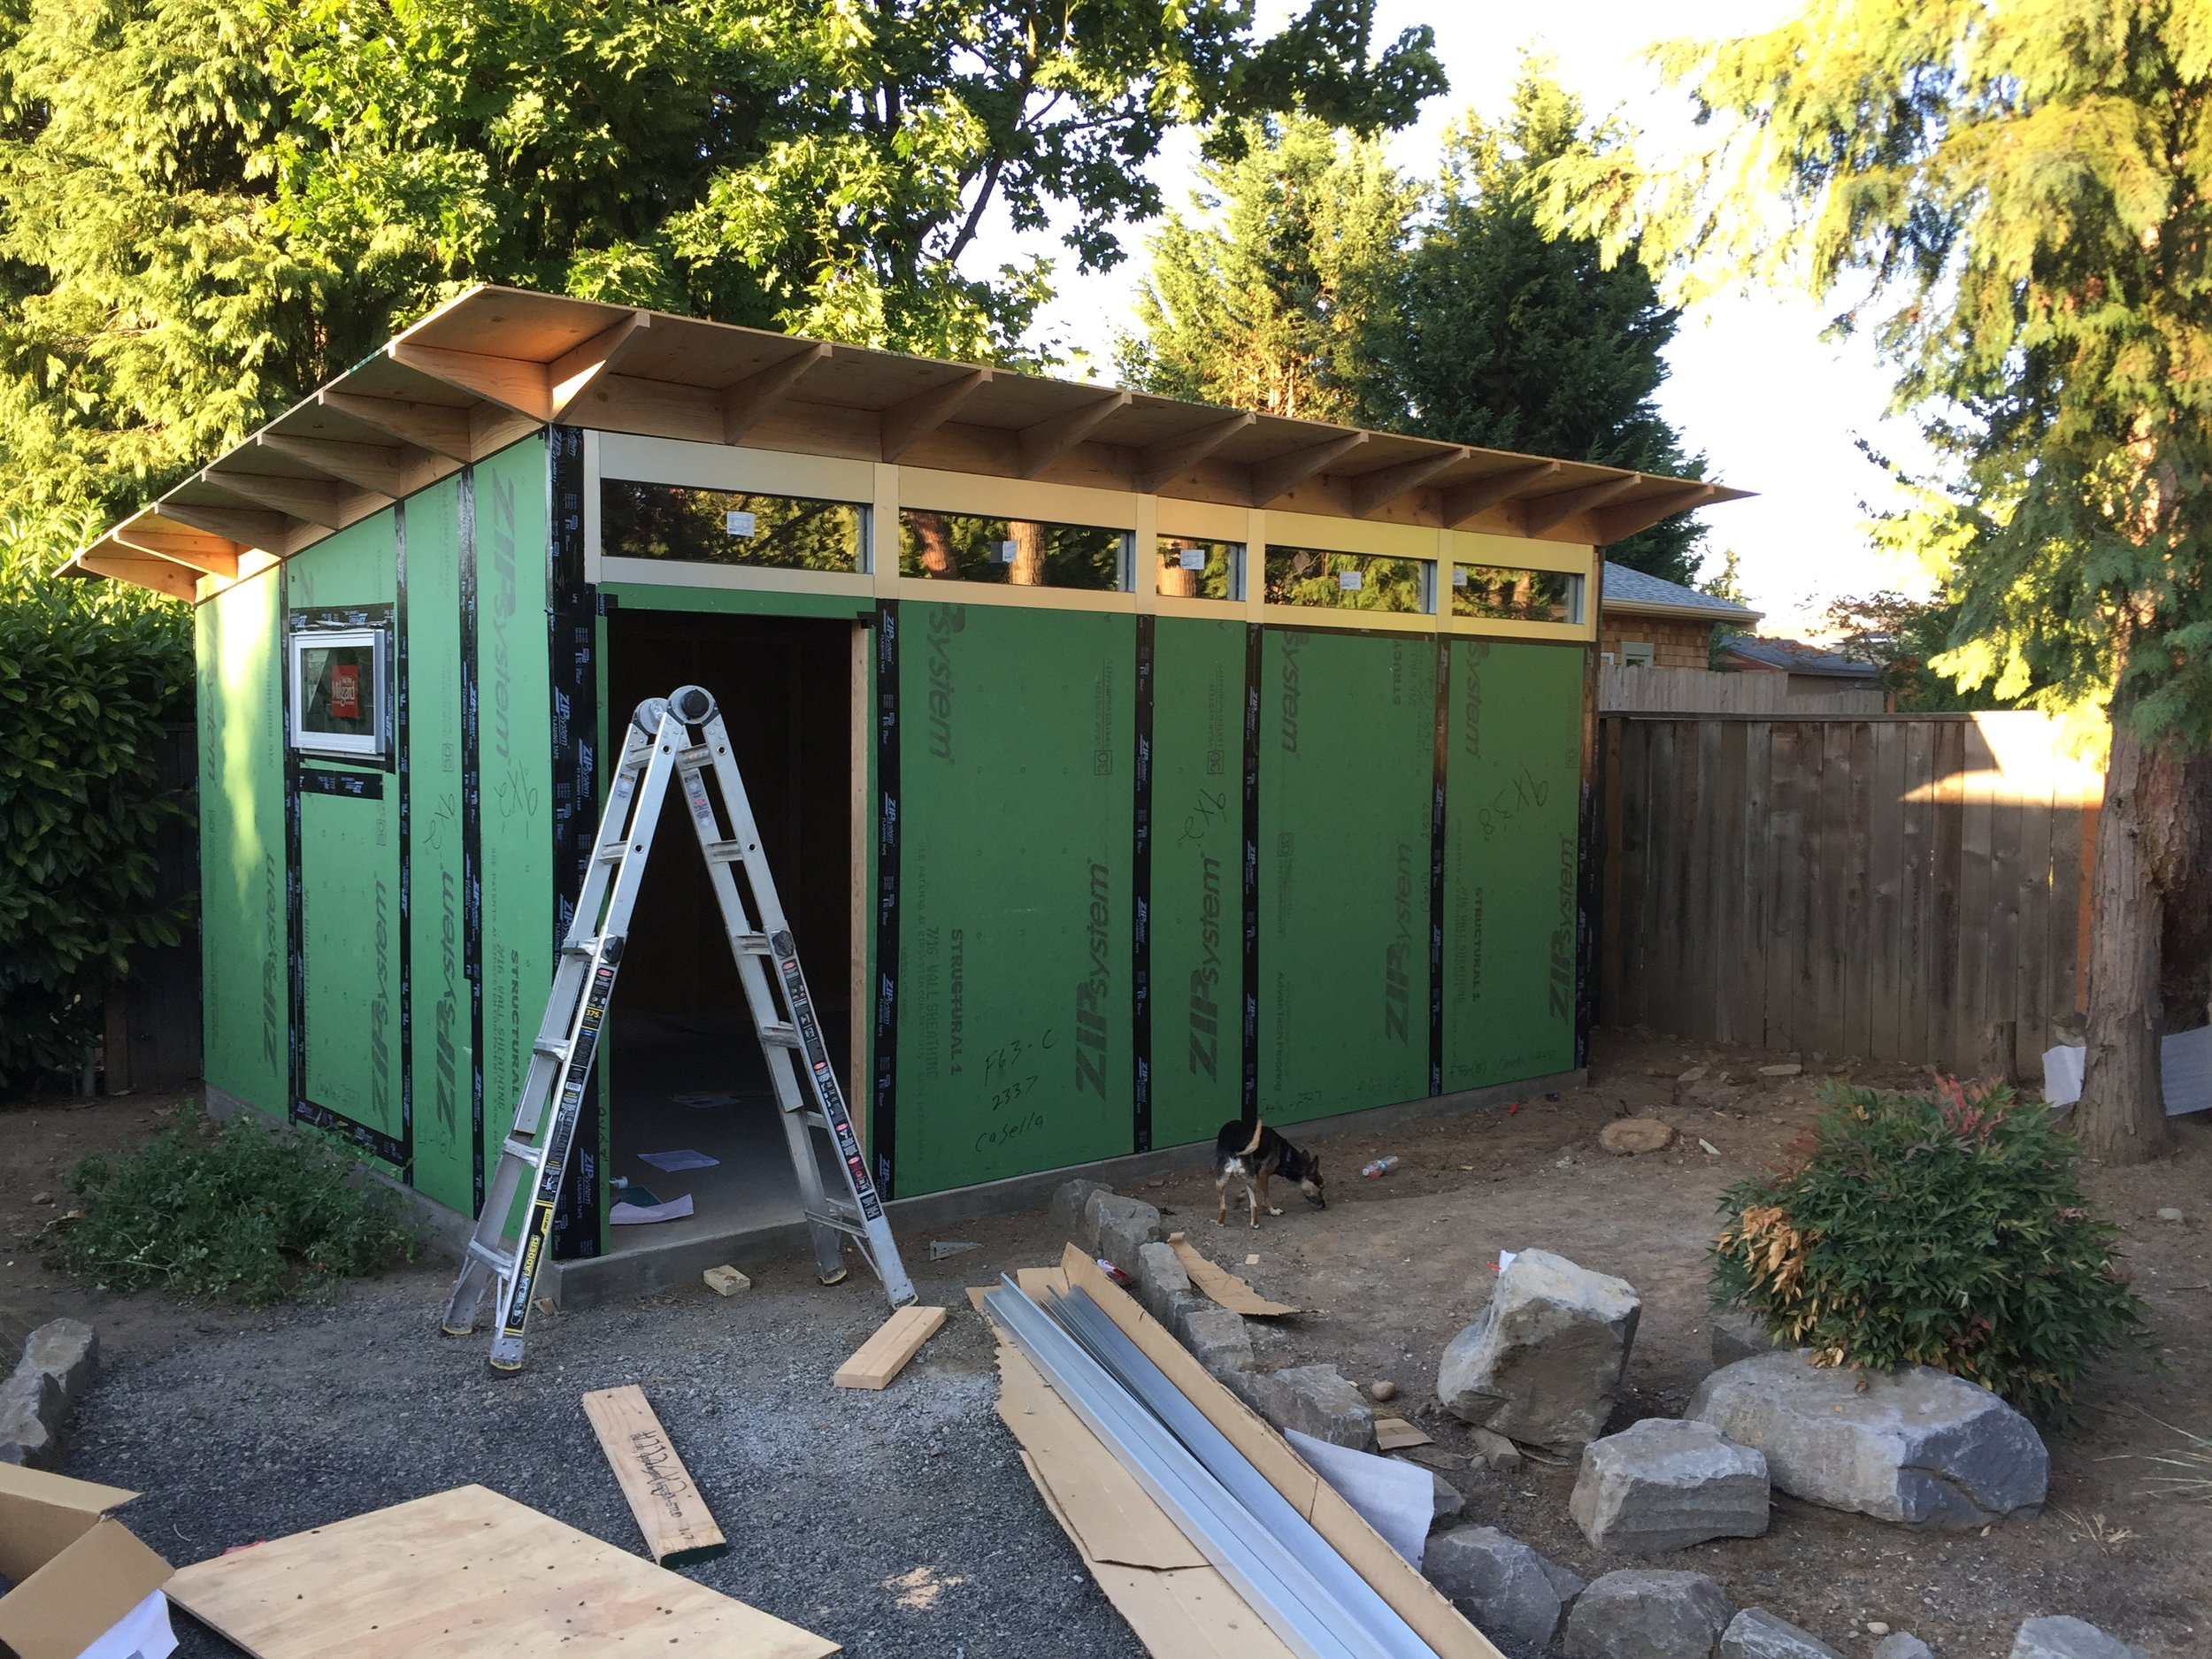
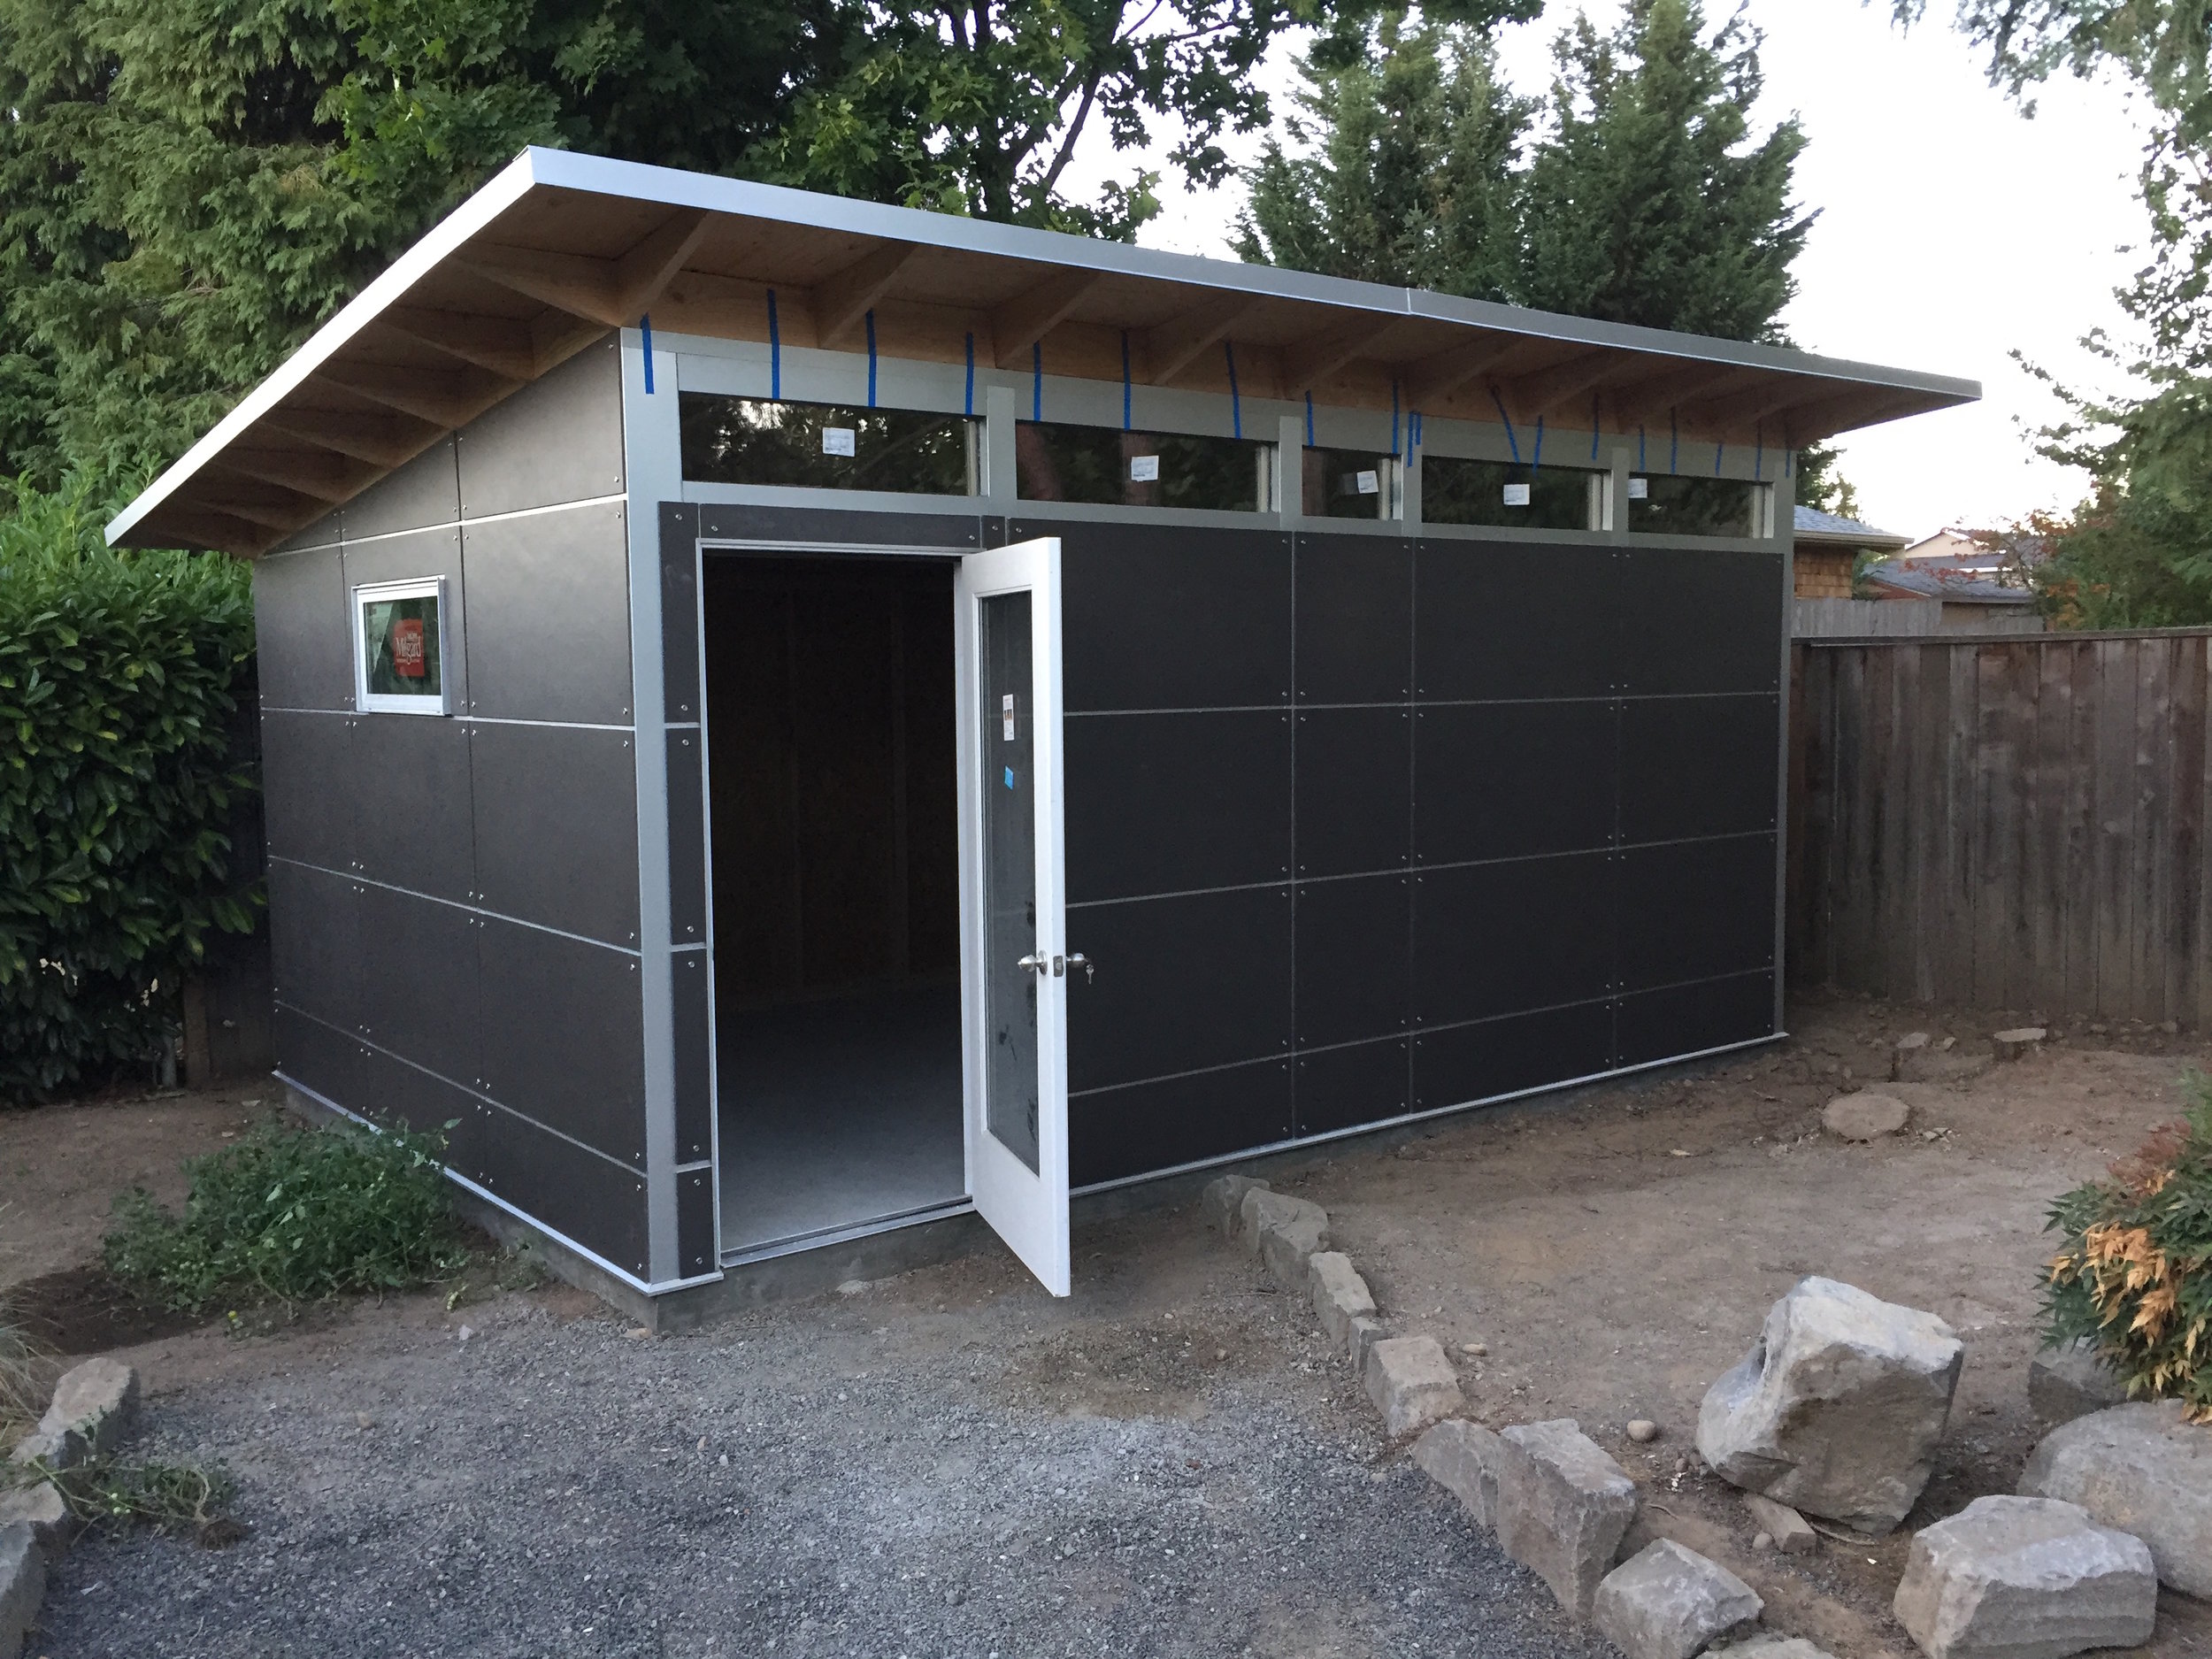
The shell comes in pre-constructed panels with detailed instructions, so you can opt for a DIY shell installation. I would have loved to have attempted this, but it would have taken me weeks. Instead, I opted for their certified installation option in which they have a network of installers in different cities who will come in and put the whole thing together for you. It cost more, but they completed the shell install in two days.
Before I could start the process of insulating, I had the get the electrical work done. For starters, a new circuit would have to be added to the main house panel. From that, a line would be run underground to the new studio structure in which it would contain its own panel. The electrical portion of this project would have to be permitted, so I had to conform to local ordinances and go through the whole permitting process.
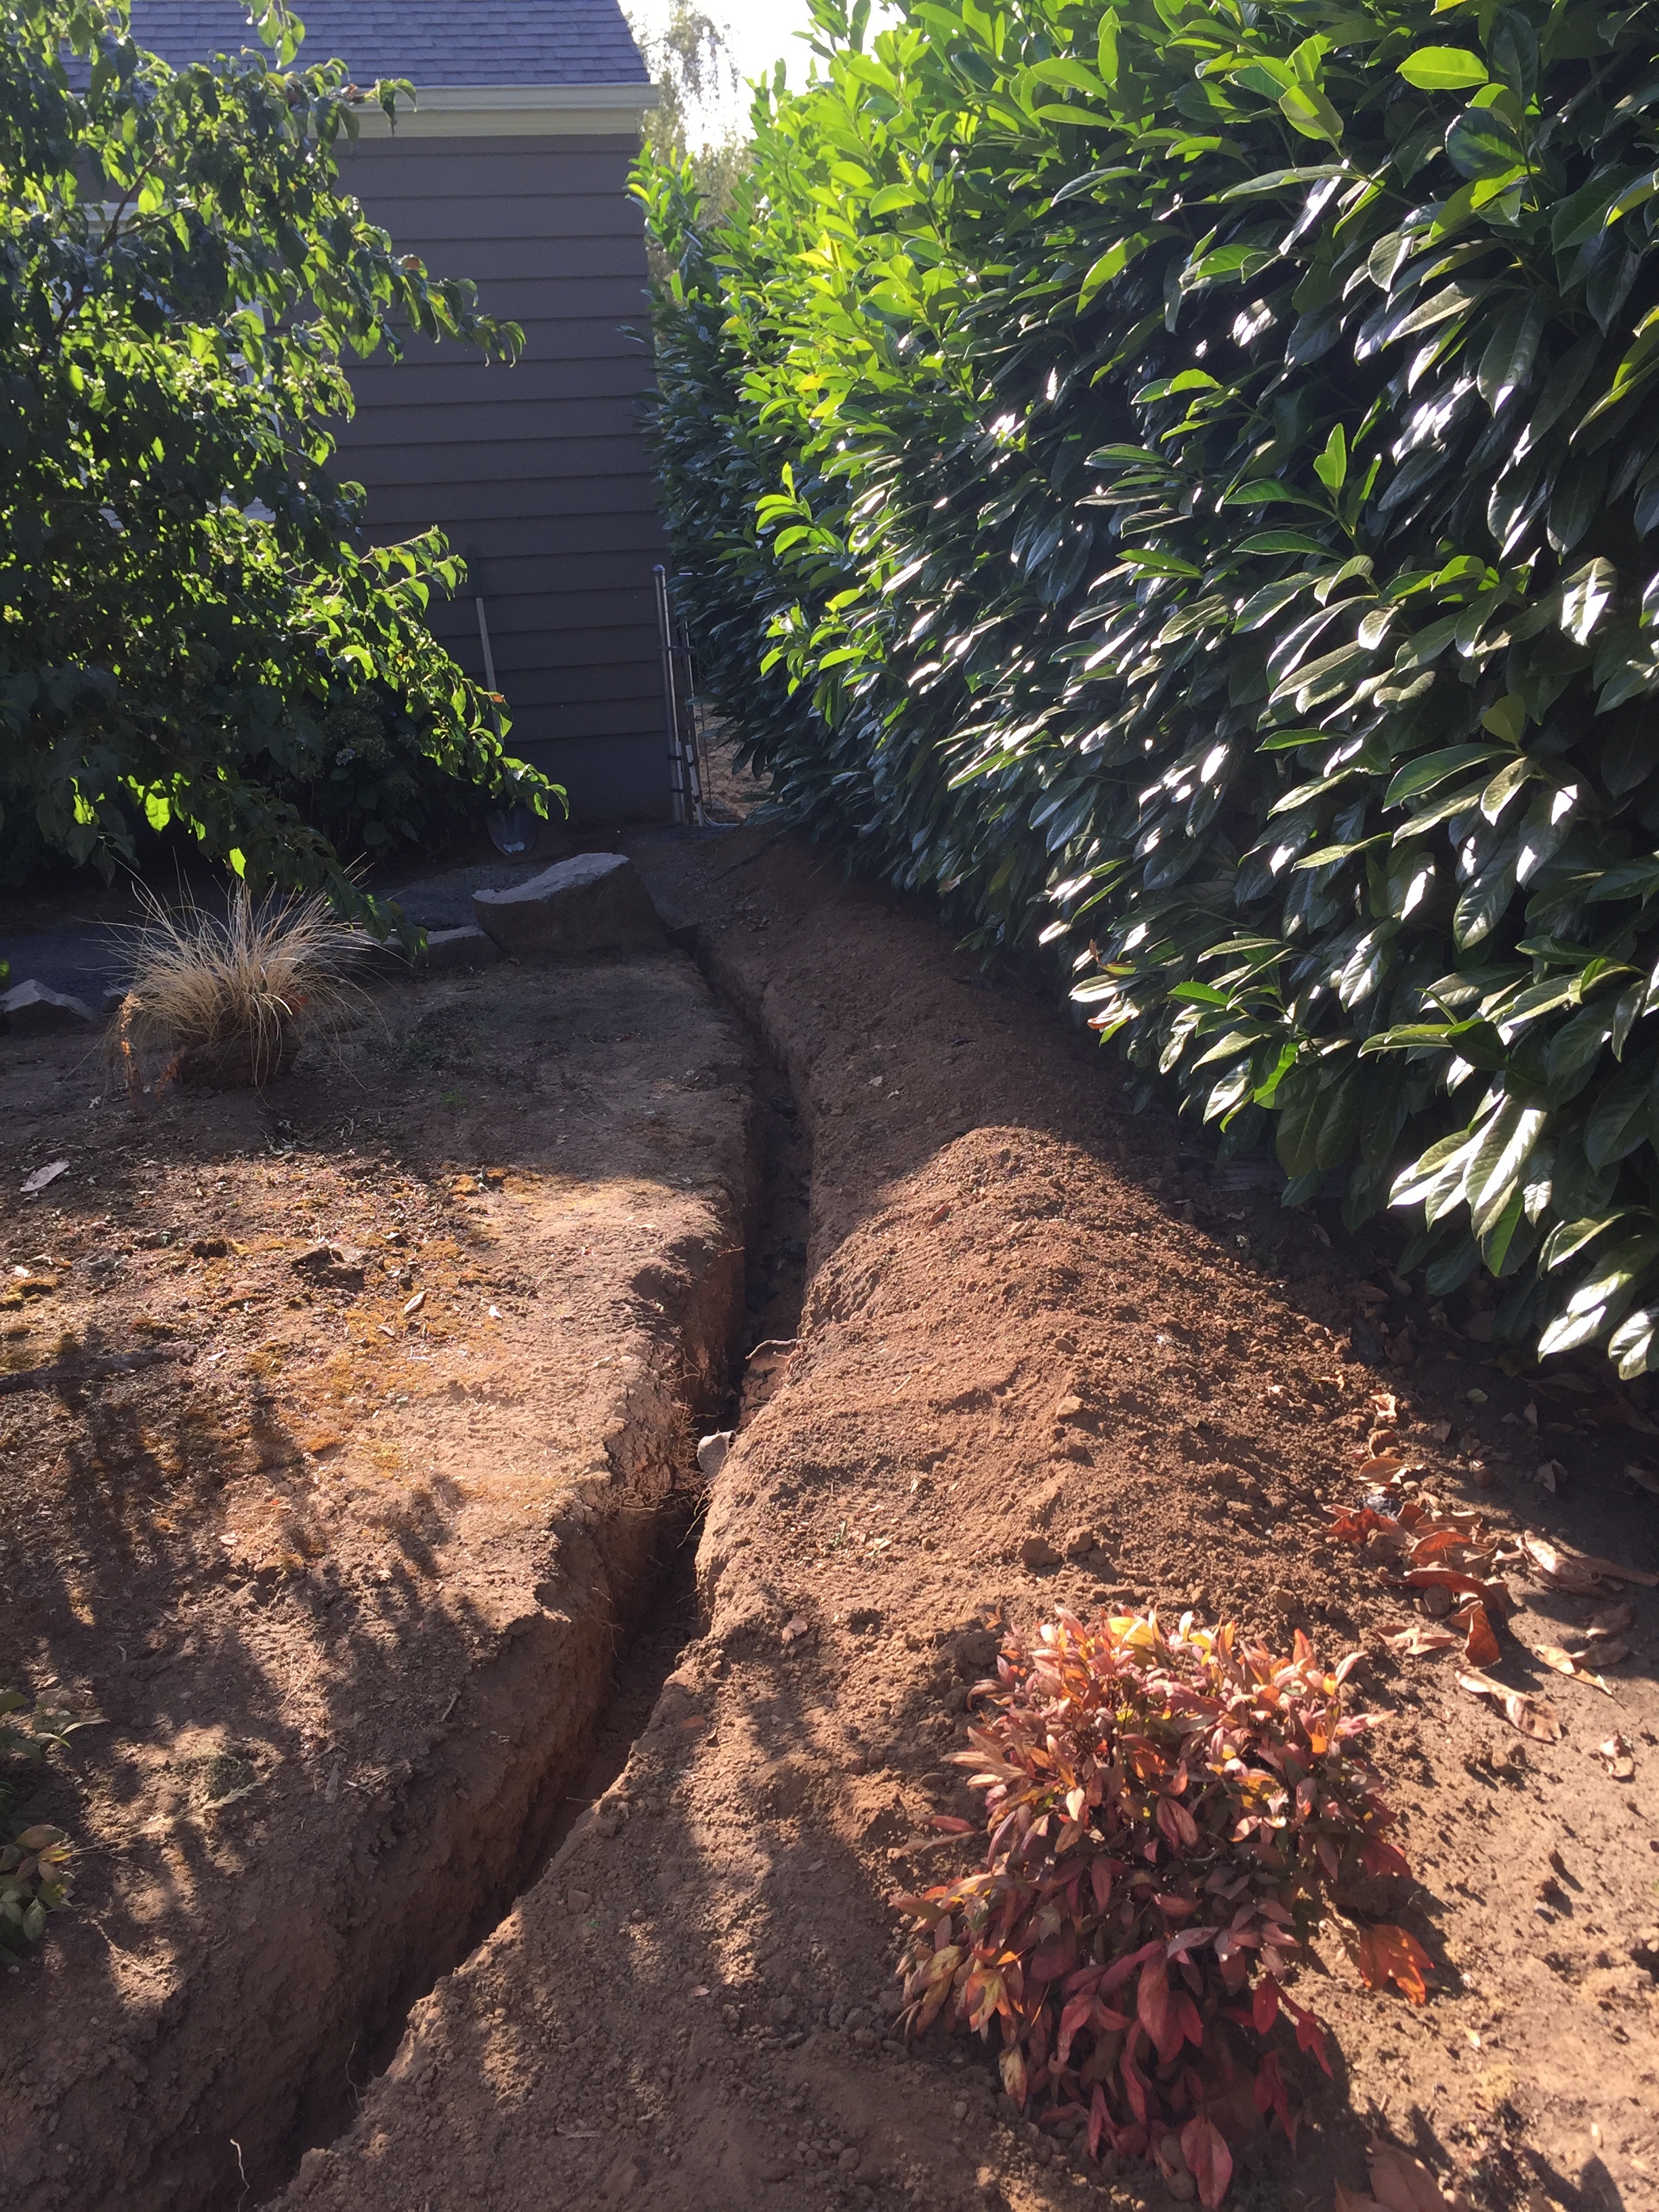
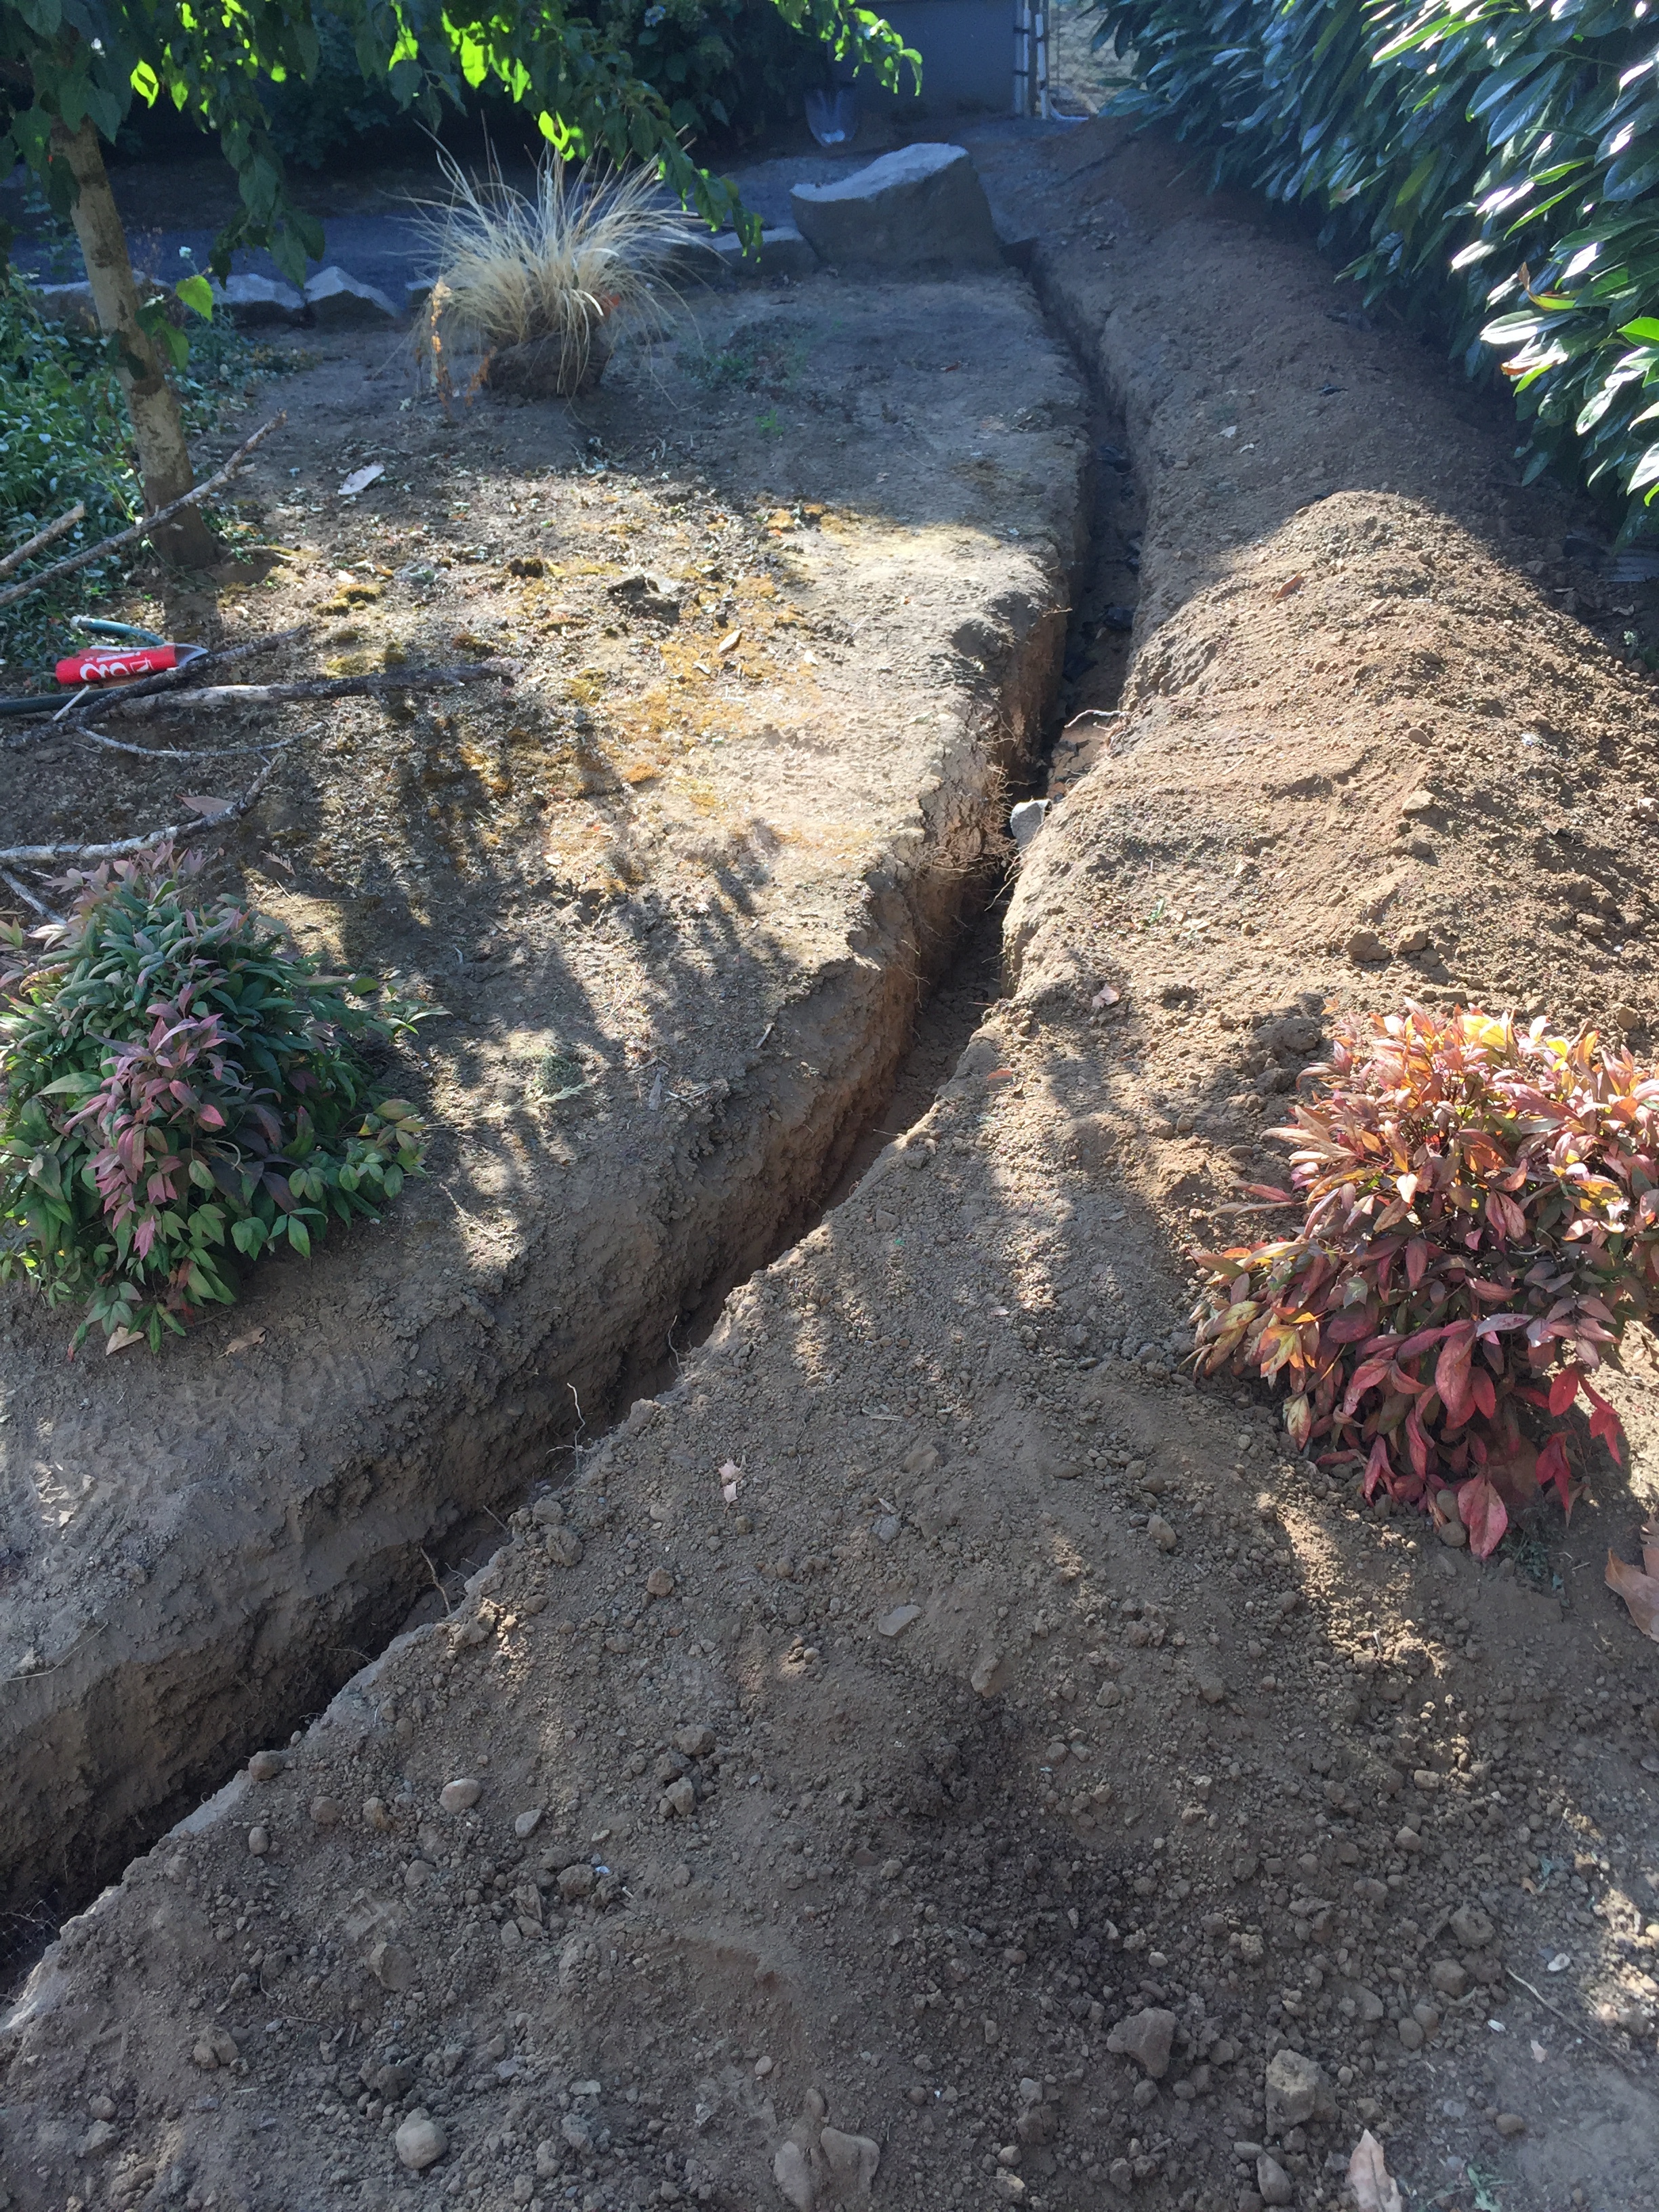
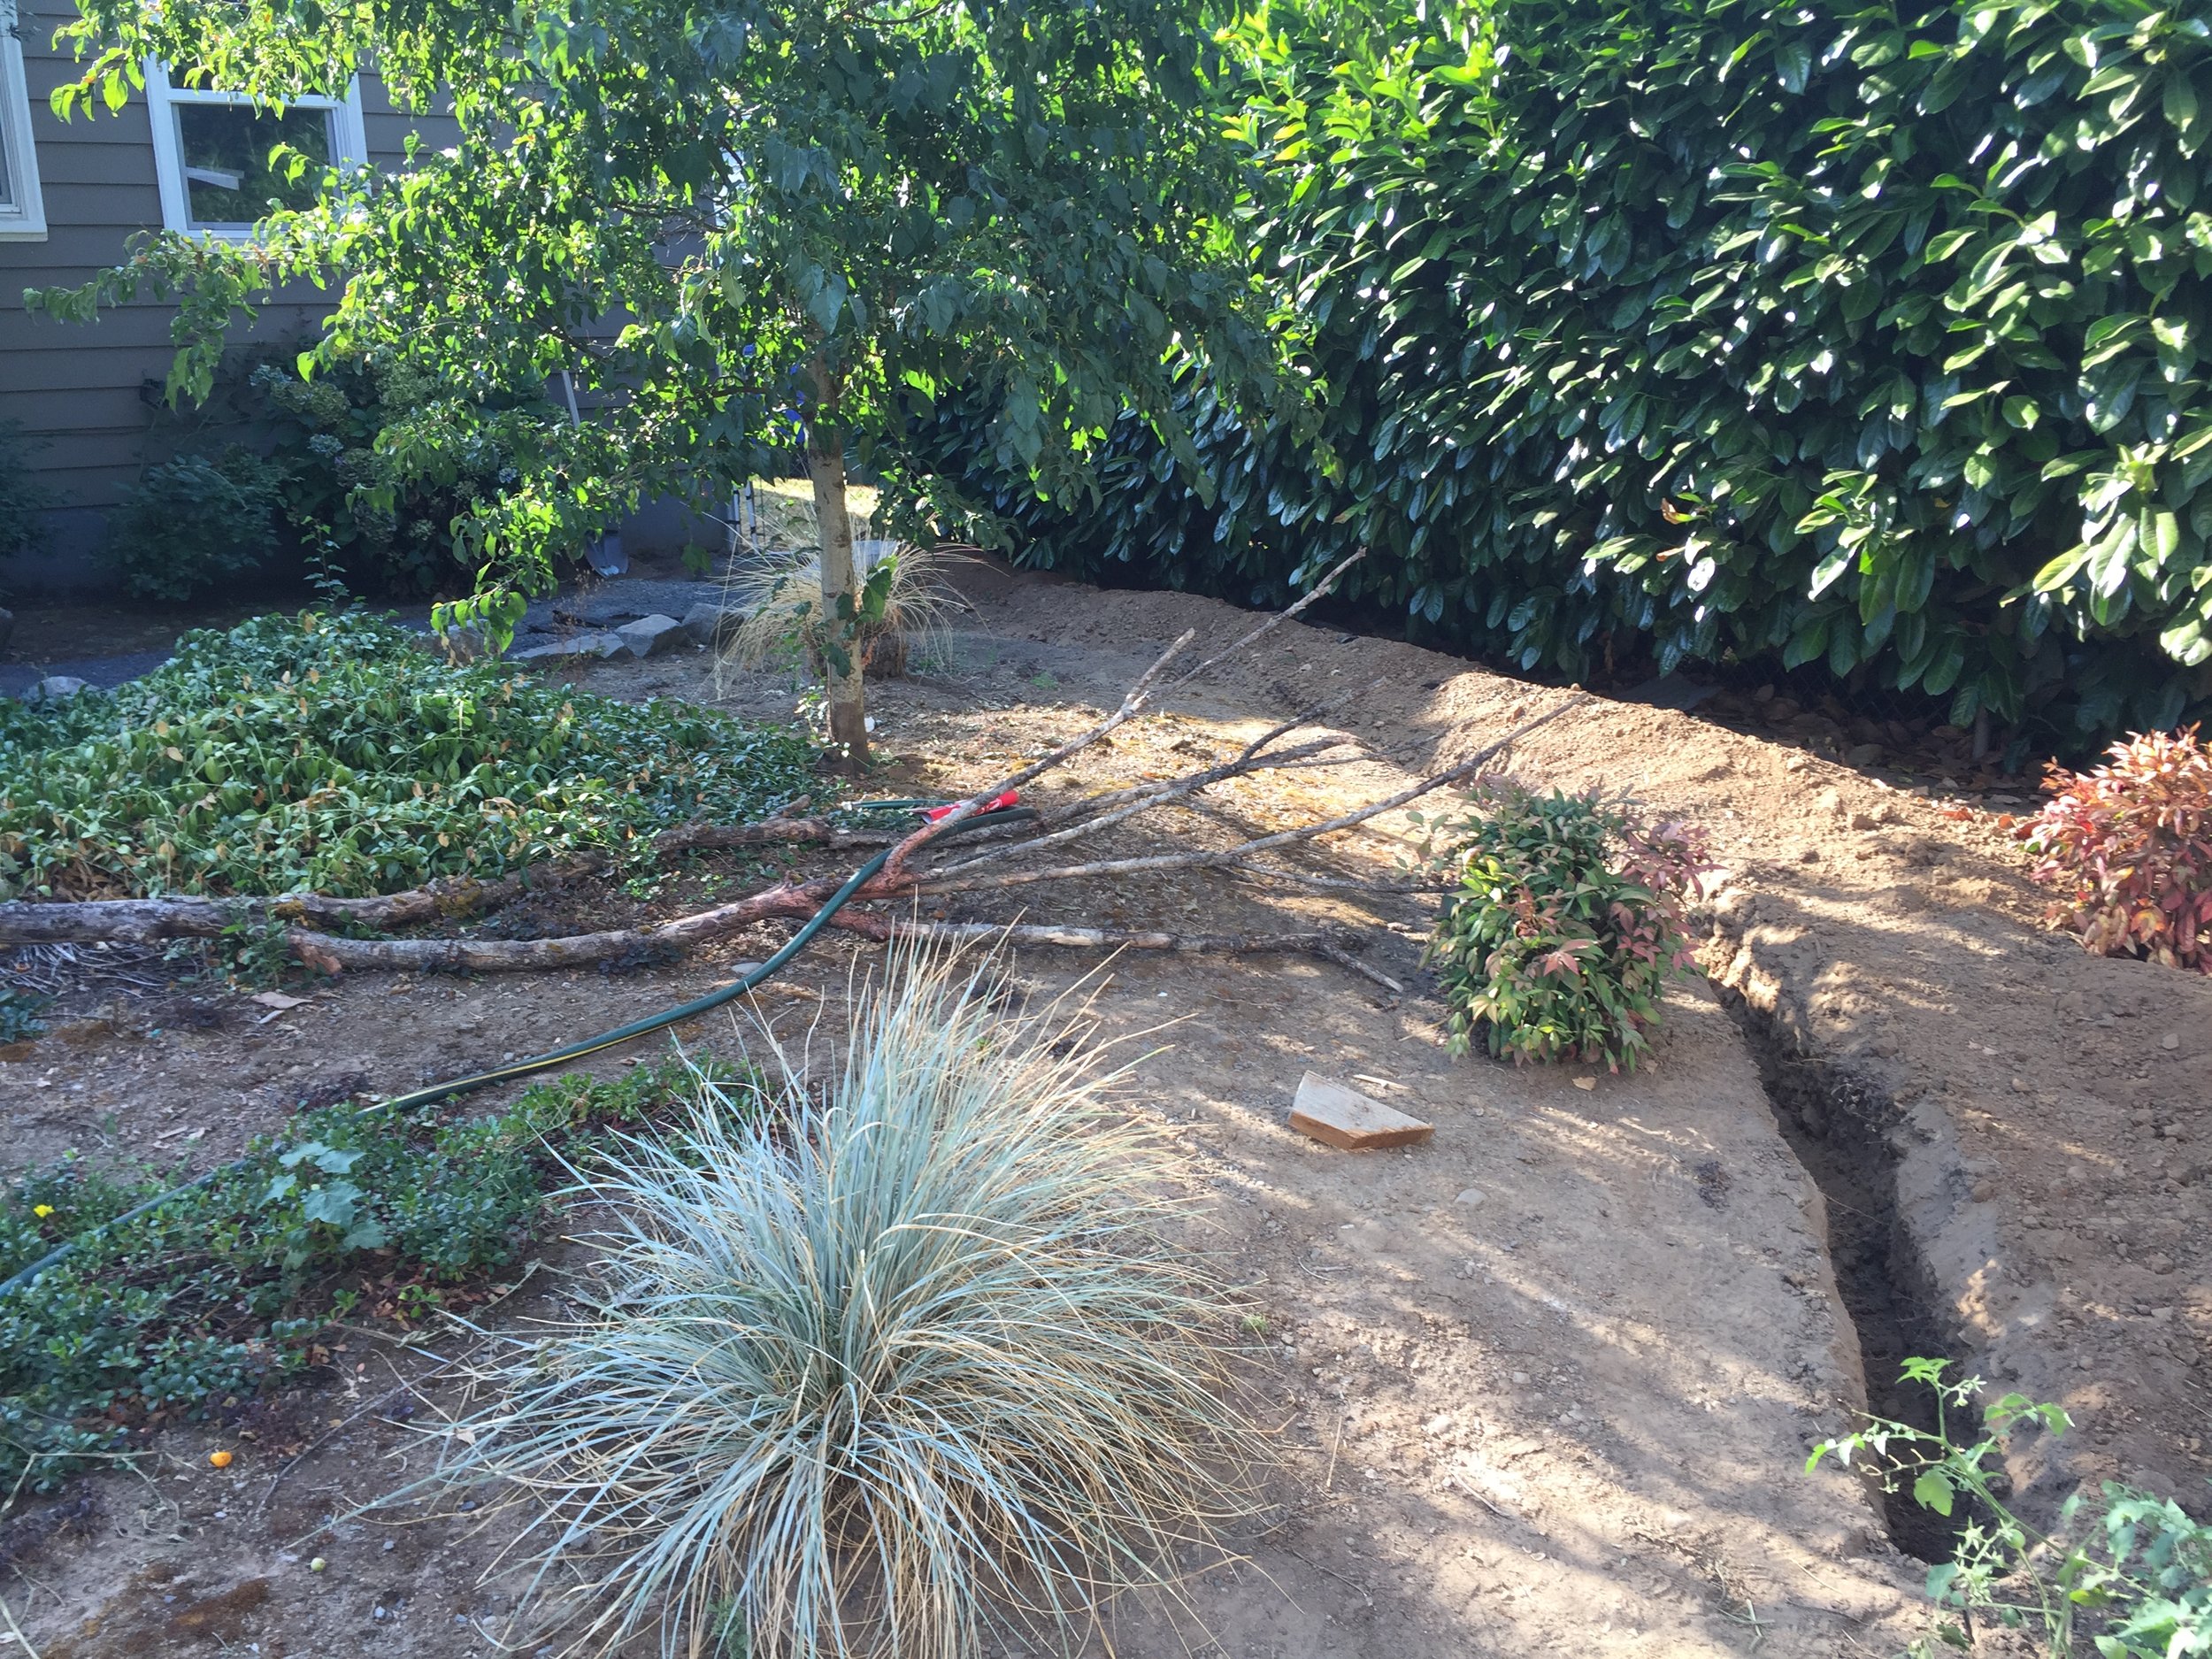
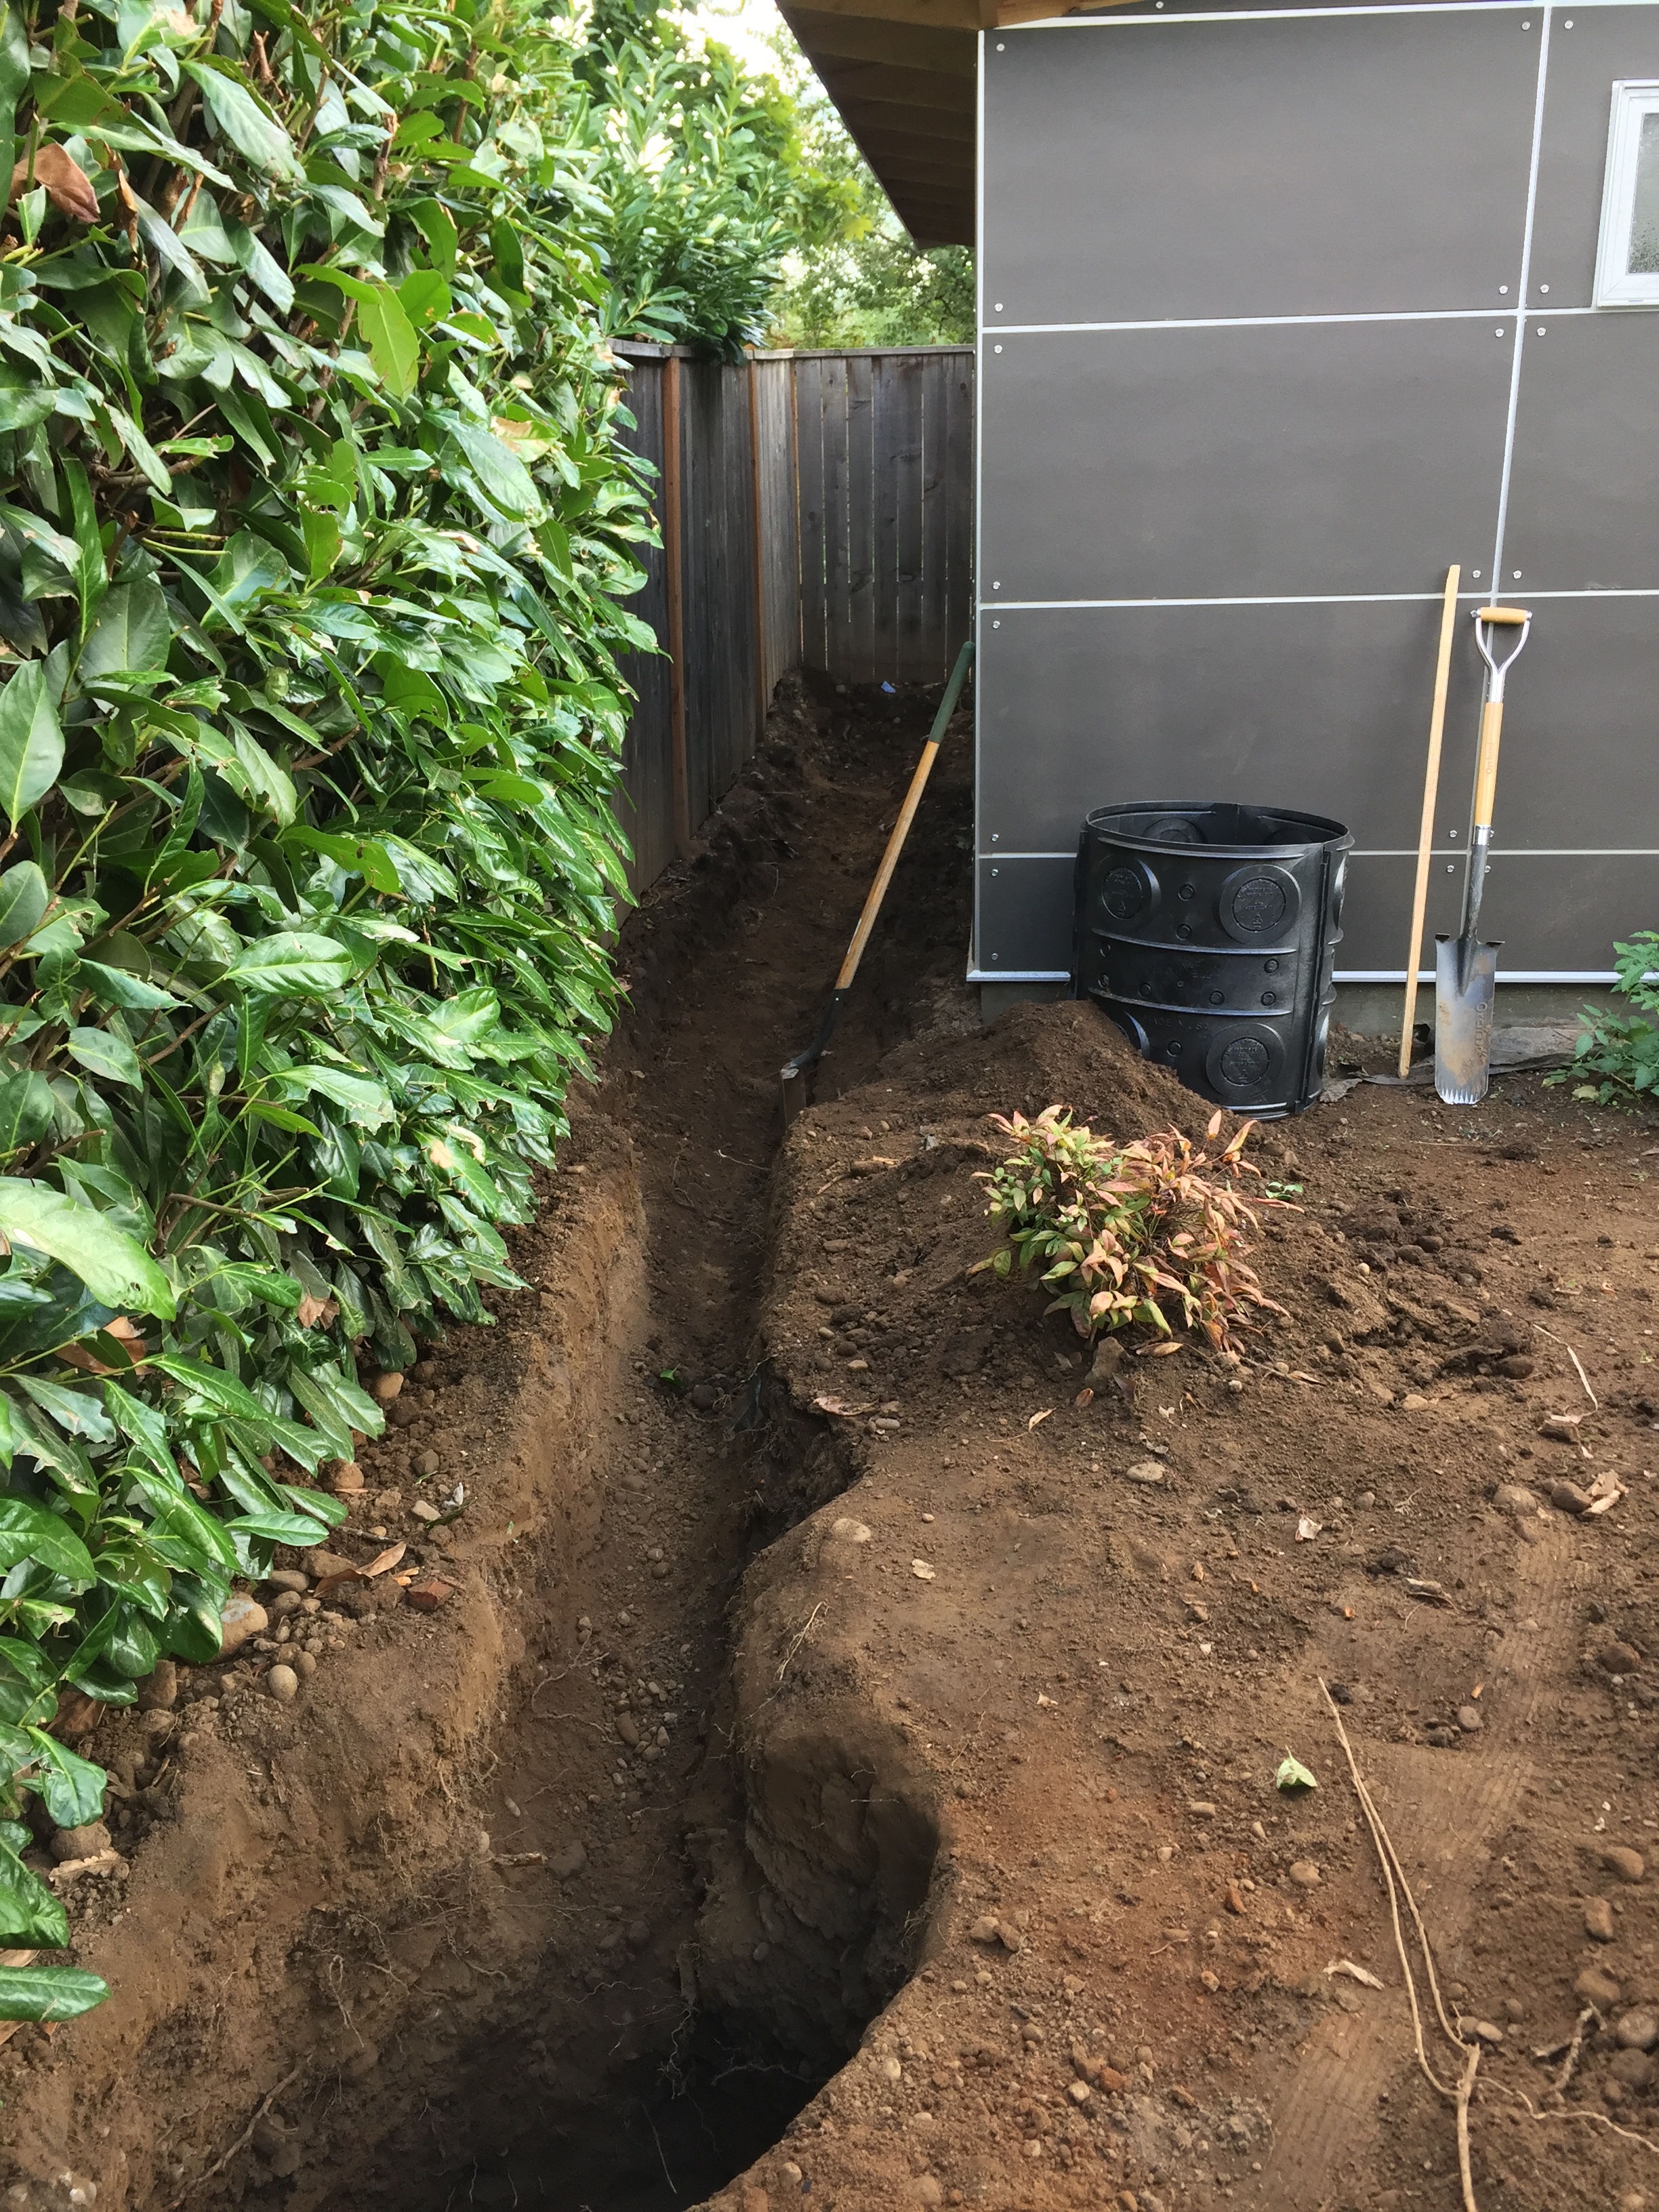
I dug a trench 24" deep from the main house to the studio in which two separate conduit lines would be installed (one for the high voltage power, and a separate one for the data line). There are trench digging machines that can do this with relative ease, but they're large enough that getting them into my backyard wasn't going to be feasible. So I whittled away at this trench over the course of a couple weeks – an hour or two in the morning, a few hours on the weekends. My soil has a lot of river rocks which made the process pretty arduous.
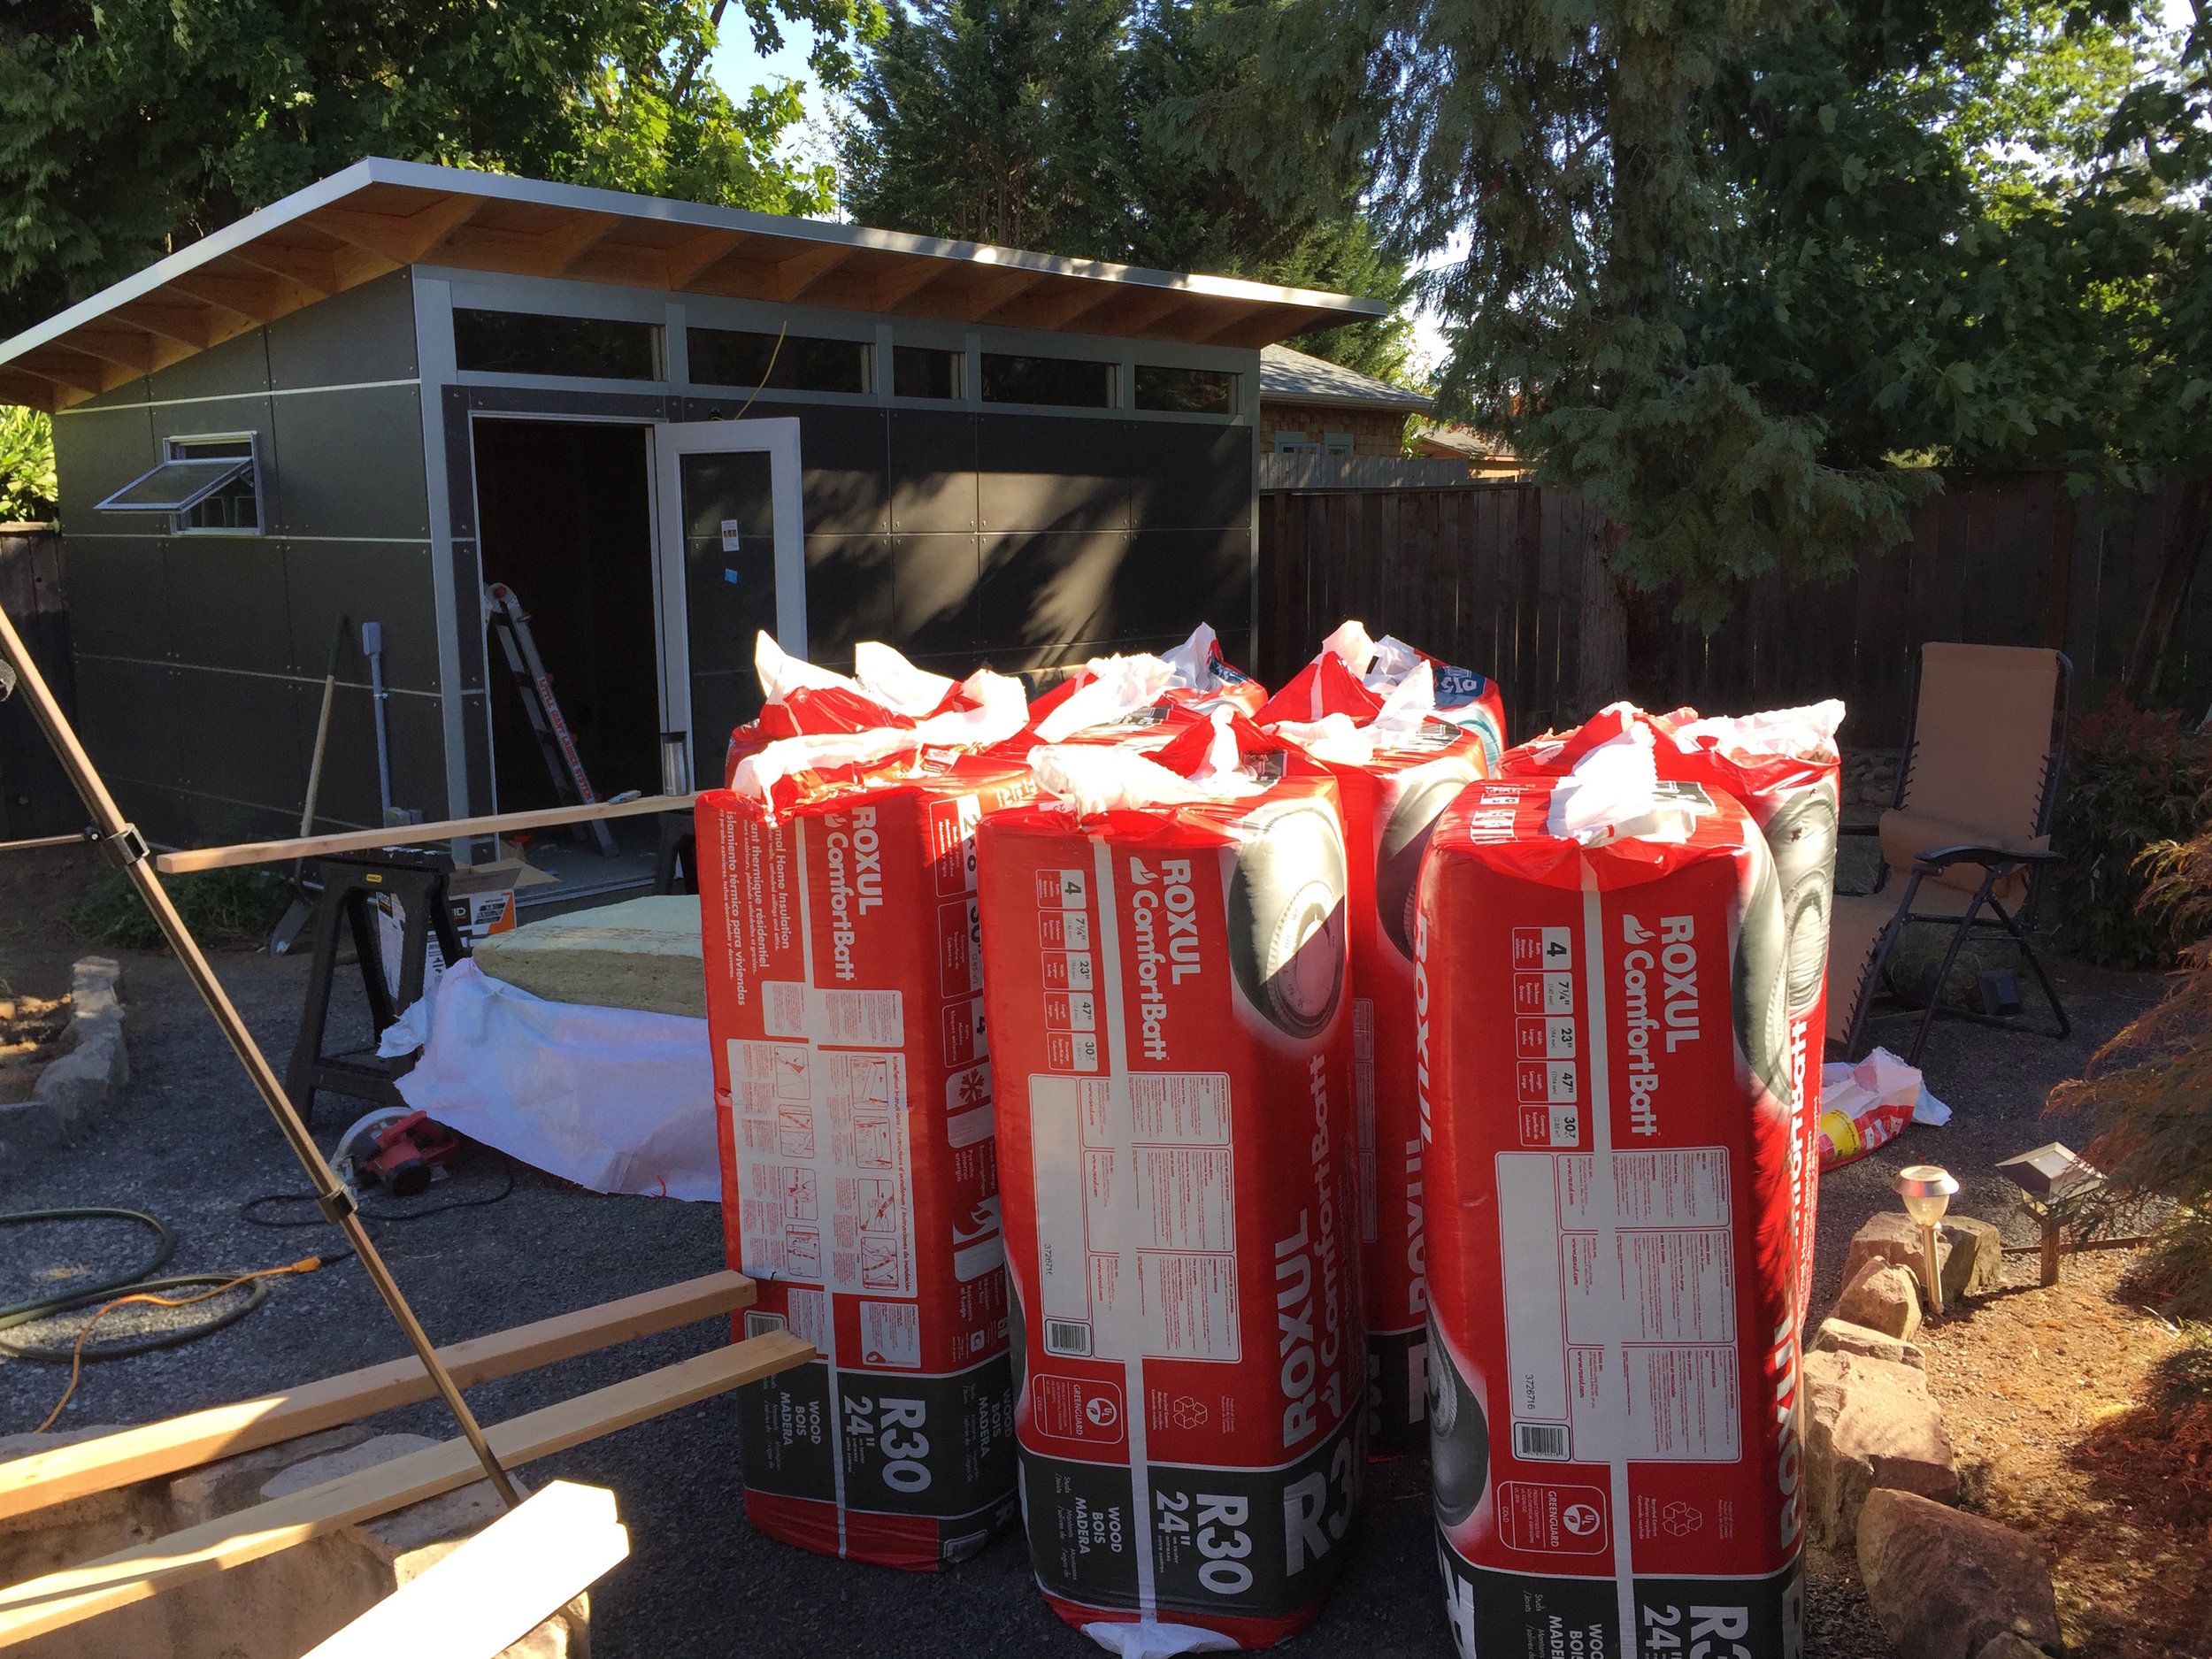
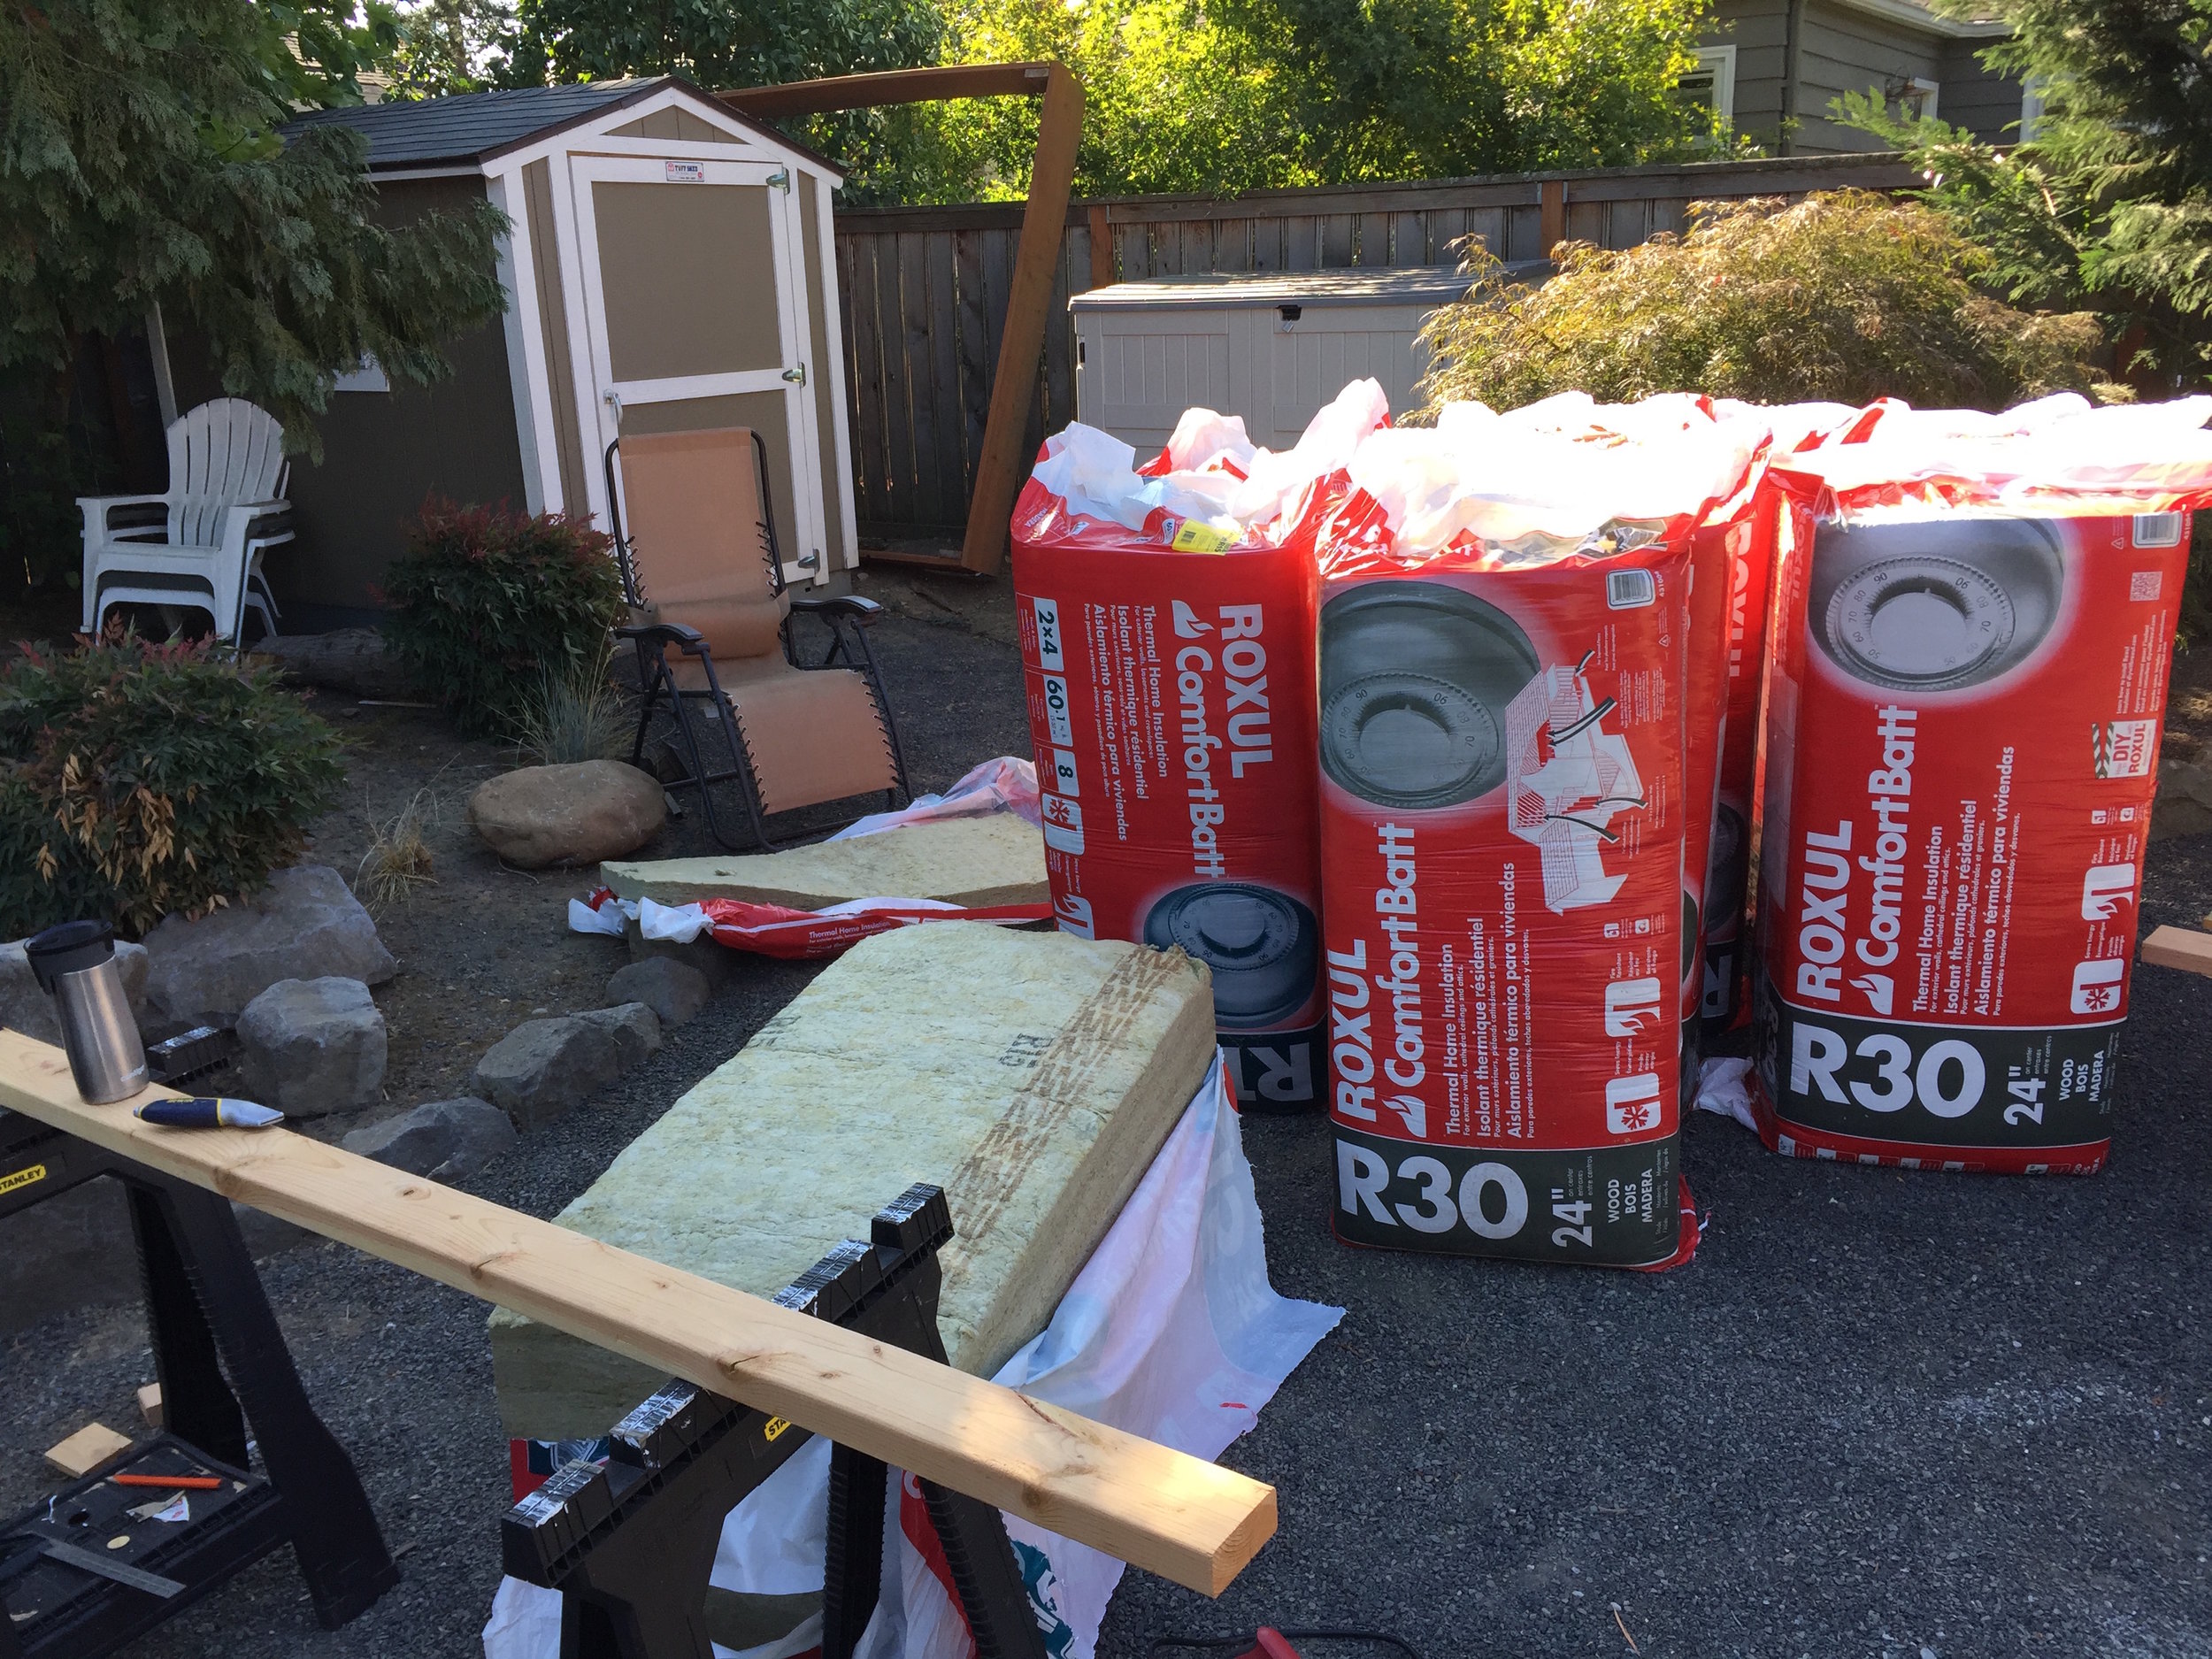
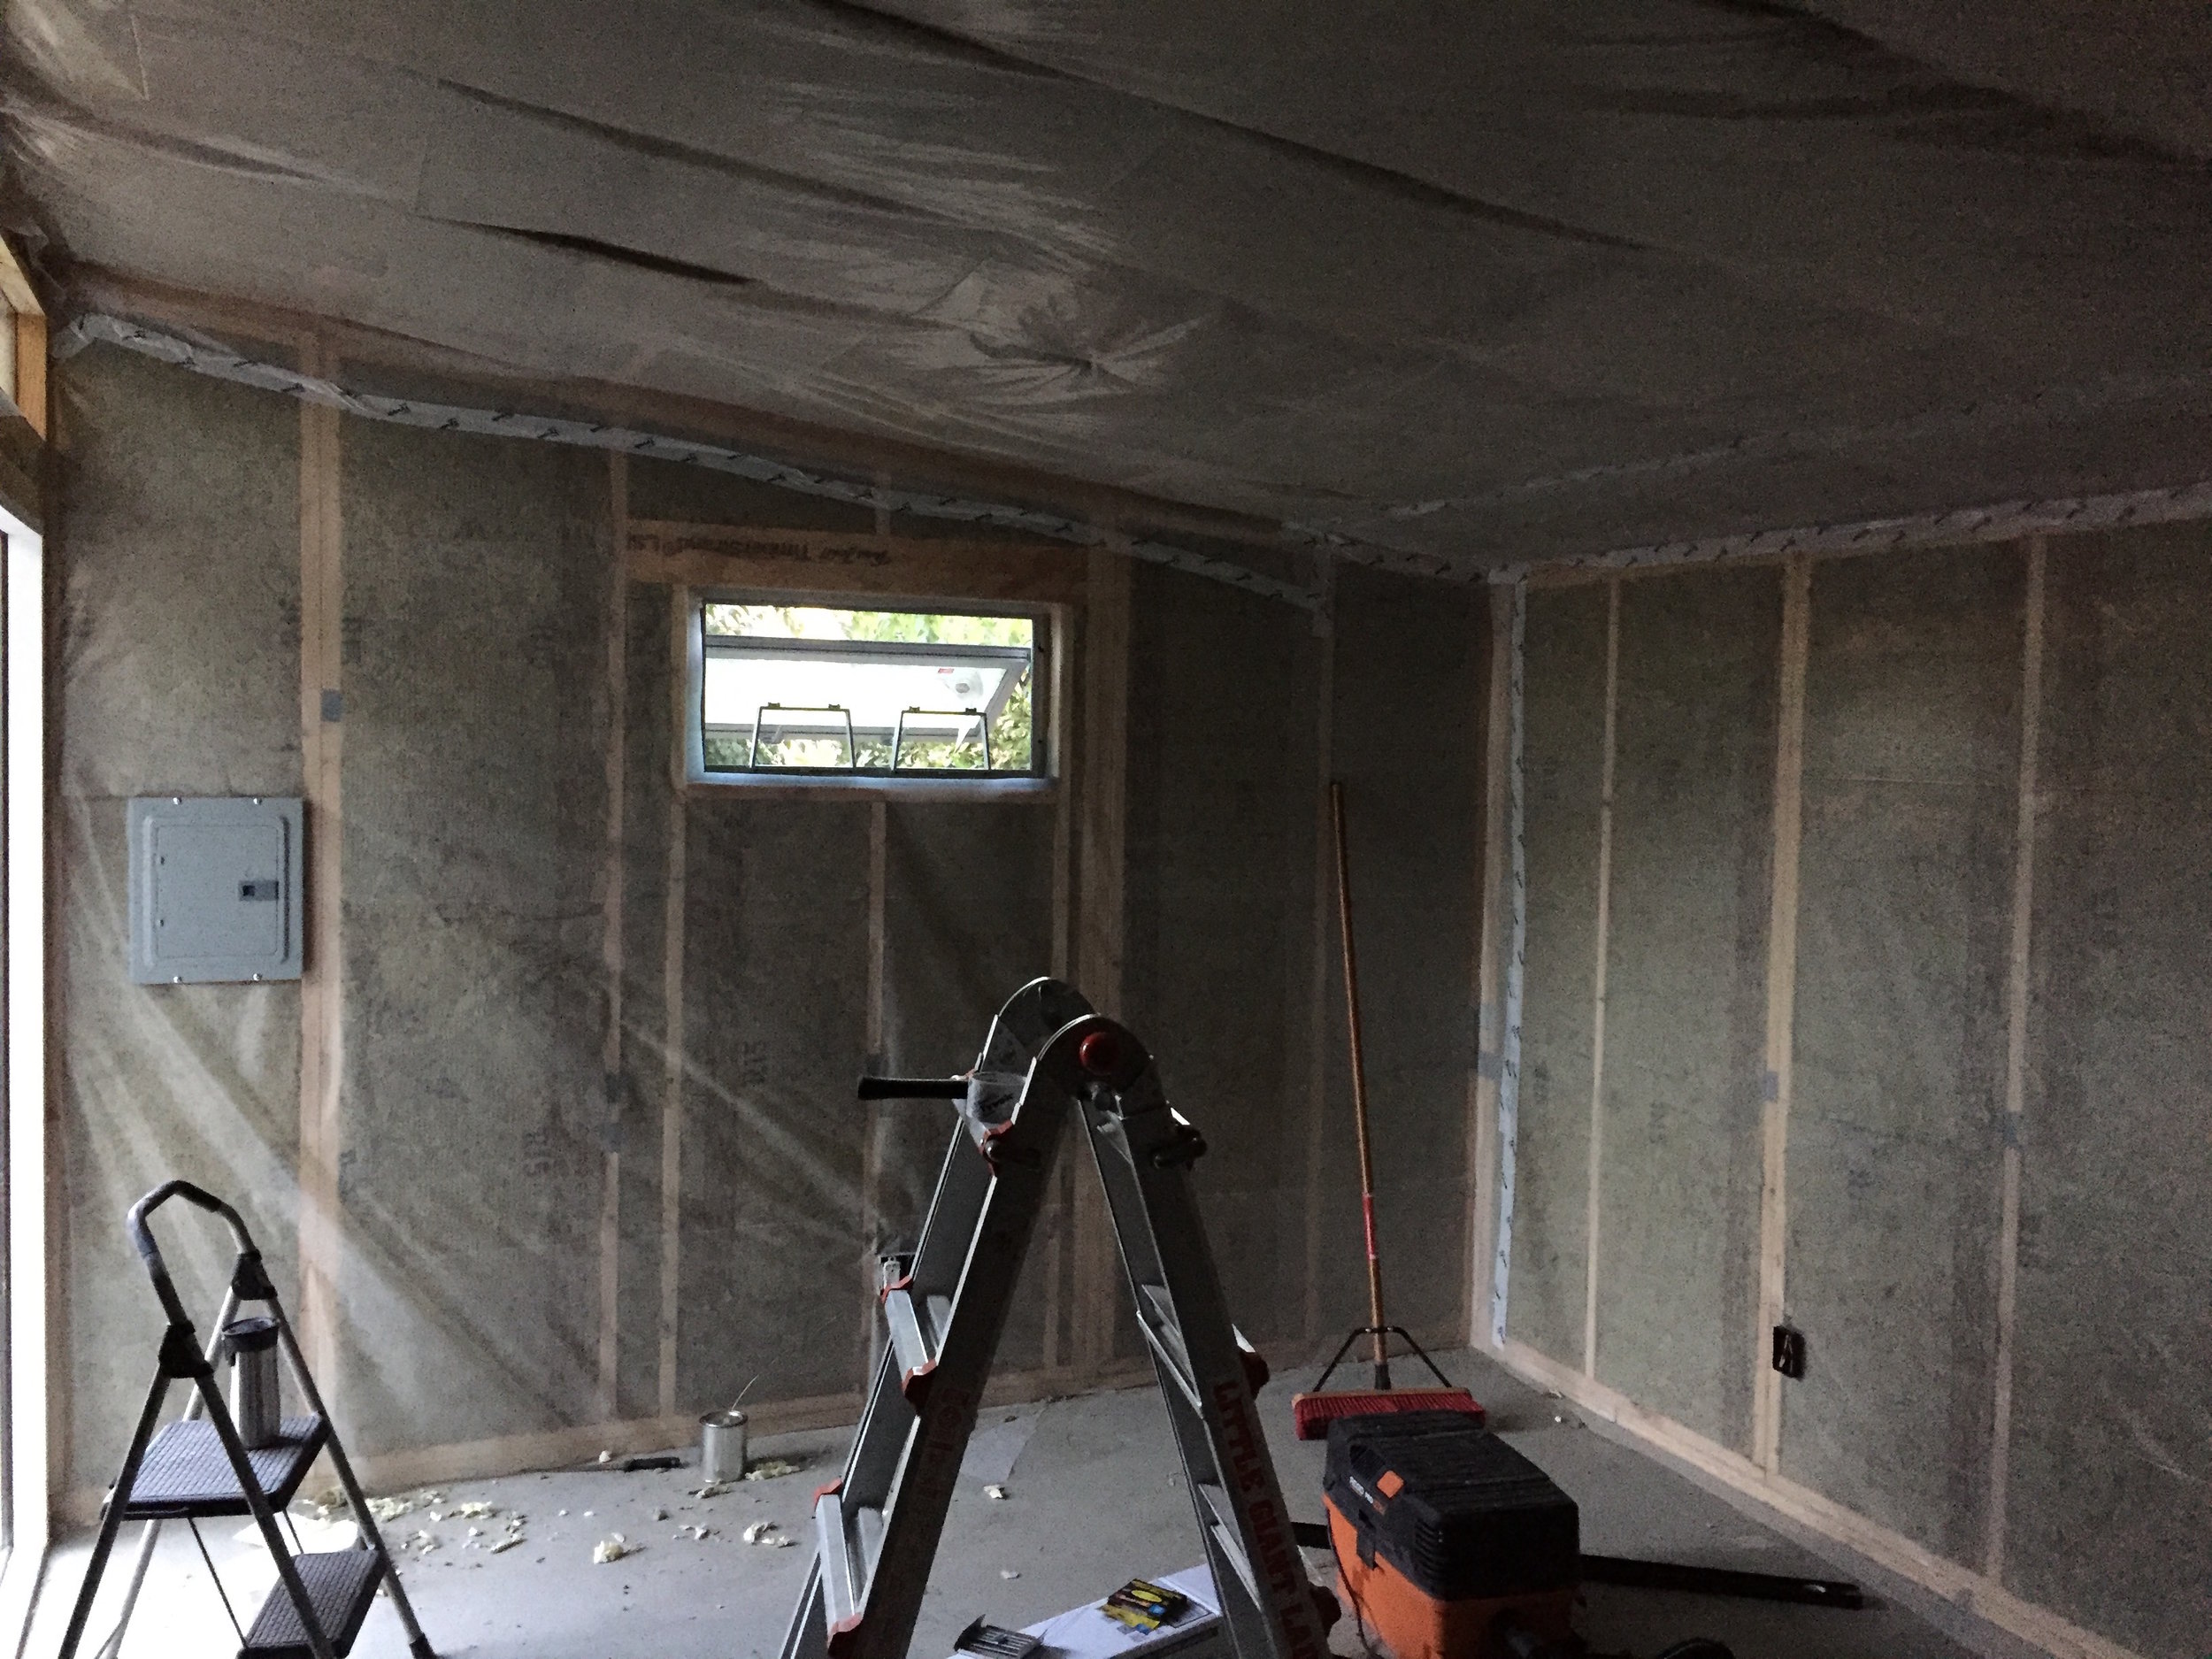
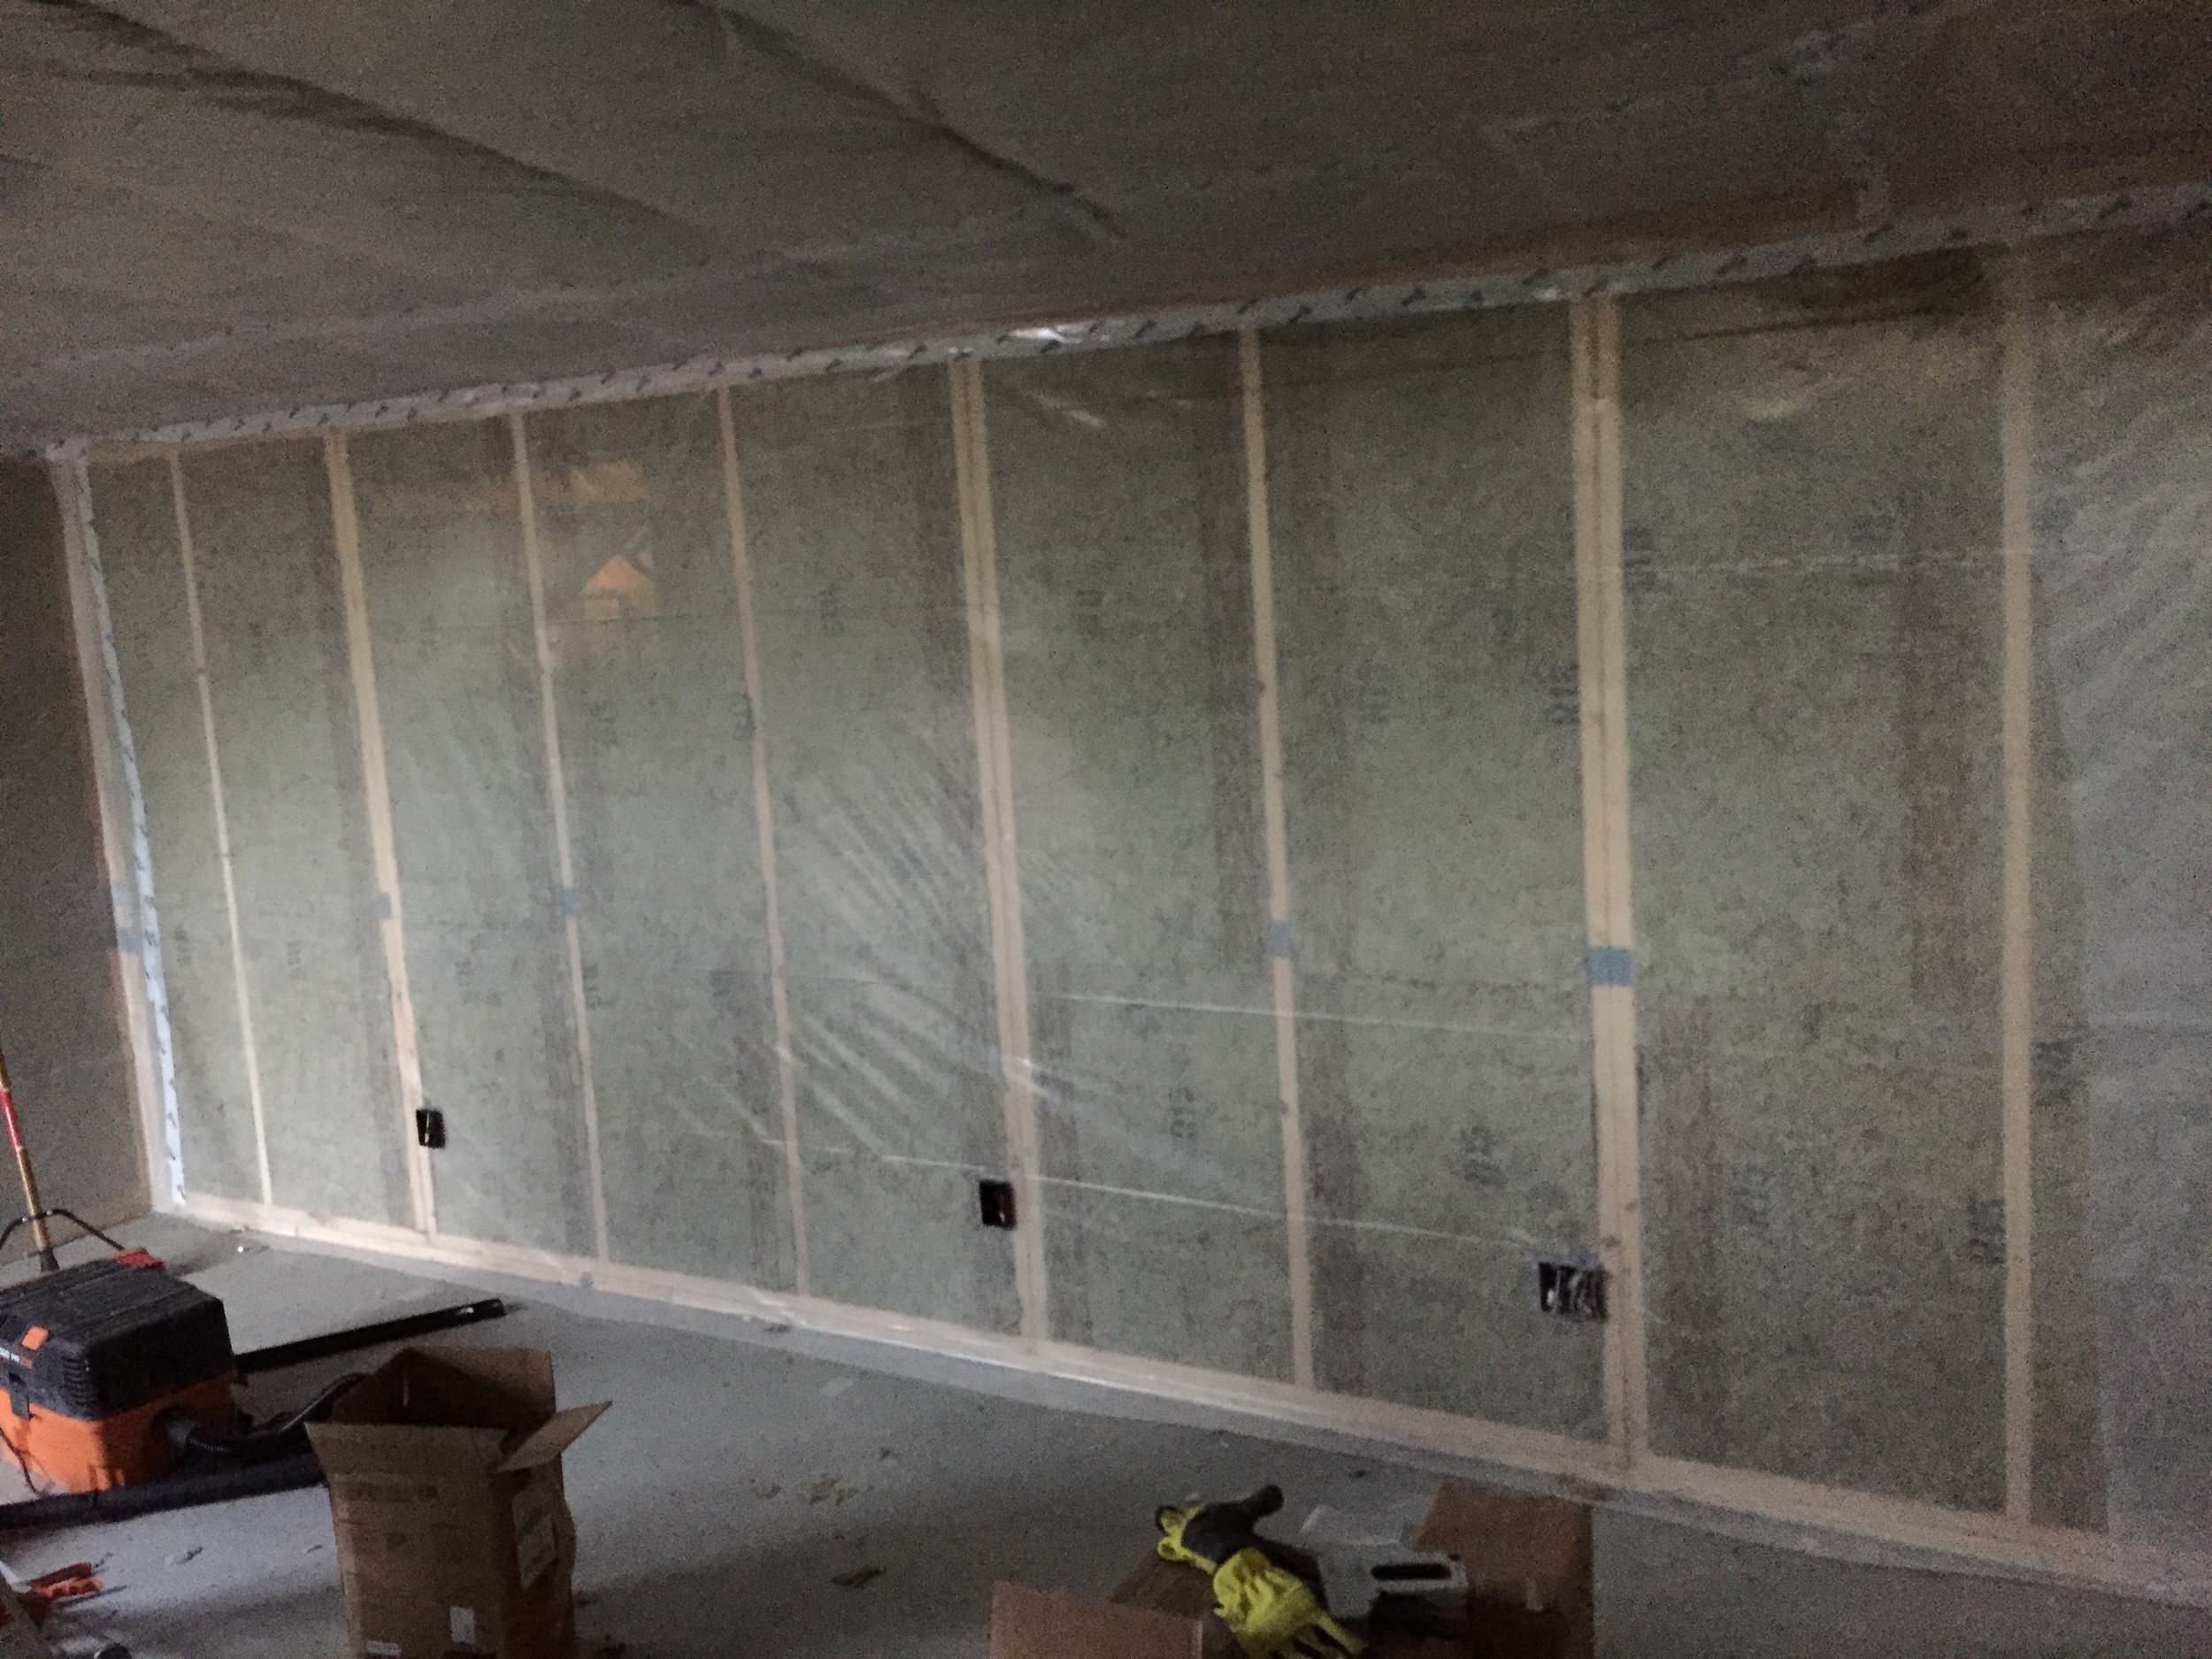
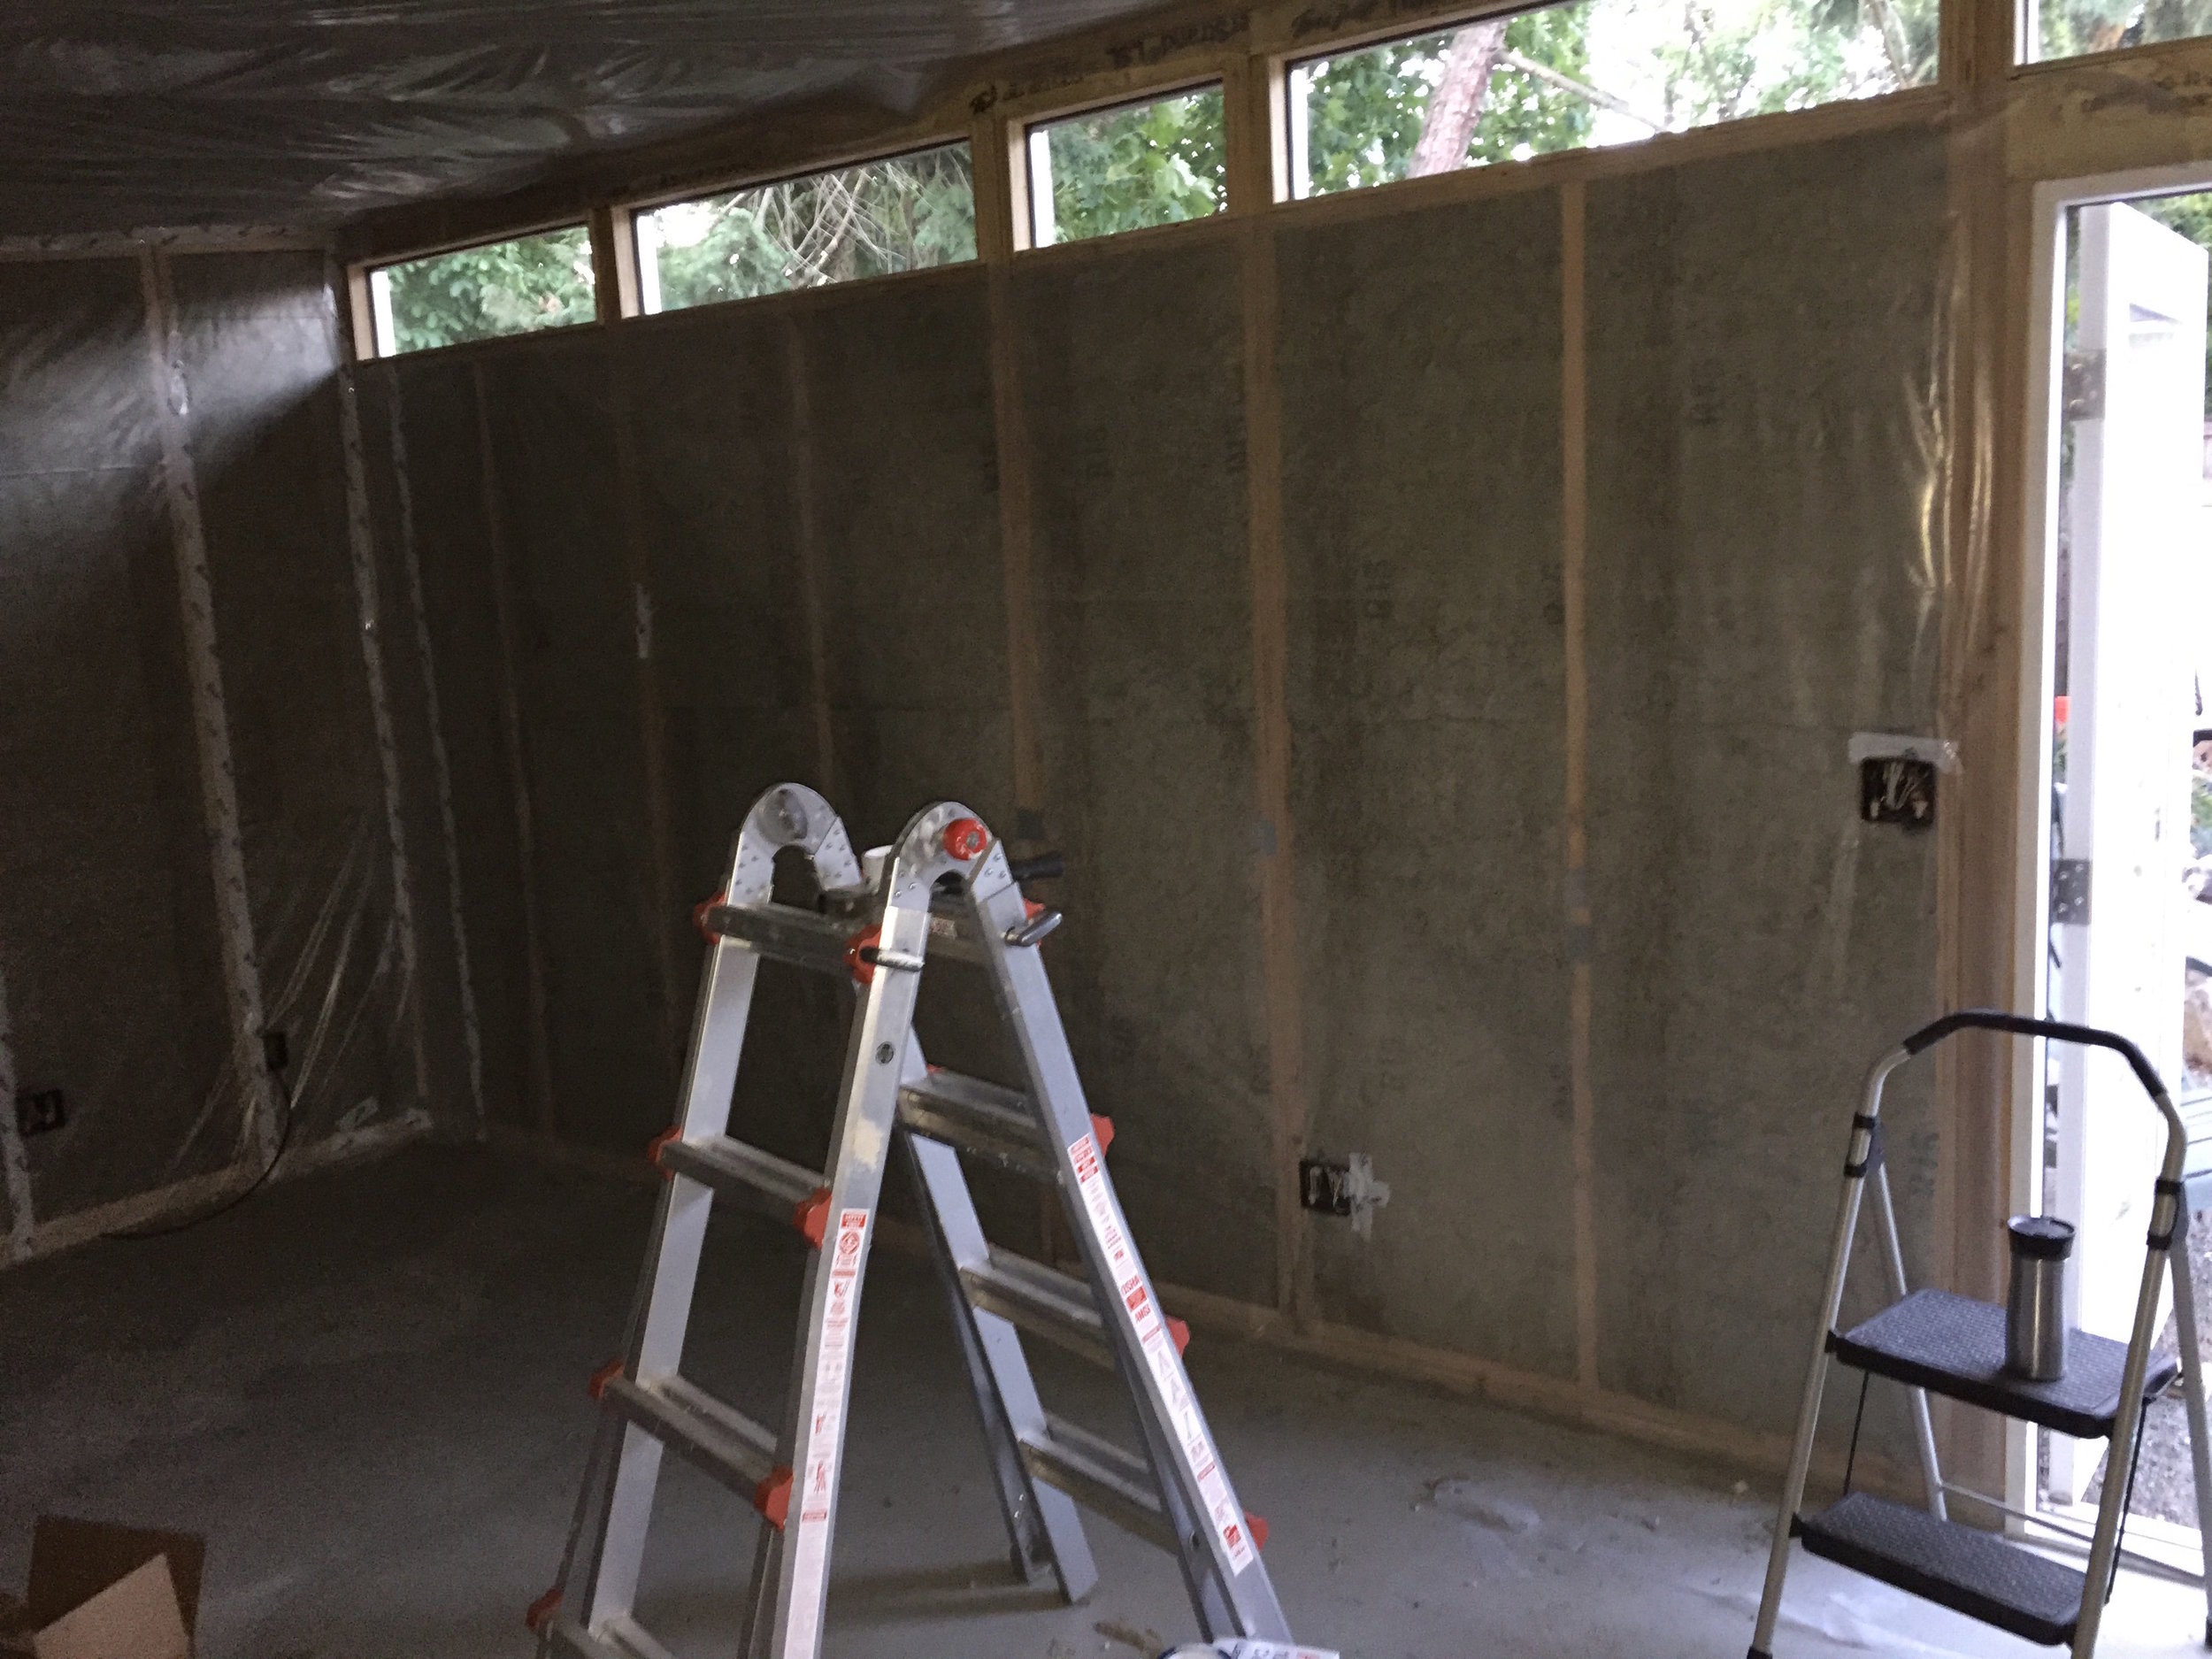
Once the studio was wired, and the initial stage of permitting approved, I could start the process of insulating. Instead of using the standard pink fiberglass insulation, I chose to use Roxul comfort batt. This is essentially material that's made from rock and steel and it's known to have better sound dampening capabilities. It's also a lot easier to work with since it's more rigid and dense and it's rated well for fire resistance and not retaining mold in case moisture or condensation were to form inside the walls. It's rigid enough that it will stay in place simply with friction without needing to be stapled into place.
TIP: If you ever decide to work with this stuff (or any insulation for that matter), don't bypass the safety precautions. I wore gloves and goggles, but was pretty cavalier about wearing long sleeves and pants and this stuff can get pretty itchy. What was worse, is that shortly after the insulation process, I started having these weird bouts of vertigo when I'd lay down or stand up from a laying position. This may have had something to do with small particles getting in my ears and messing with my equilibrium. It lasted for a few weeks and really threw me off and surprised me. I suggest wearing ear plugs if you're going to use this stuff!
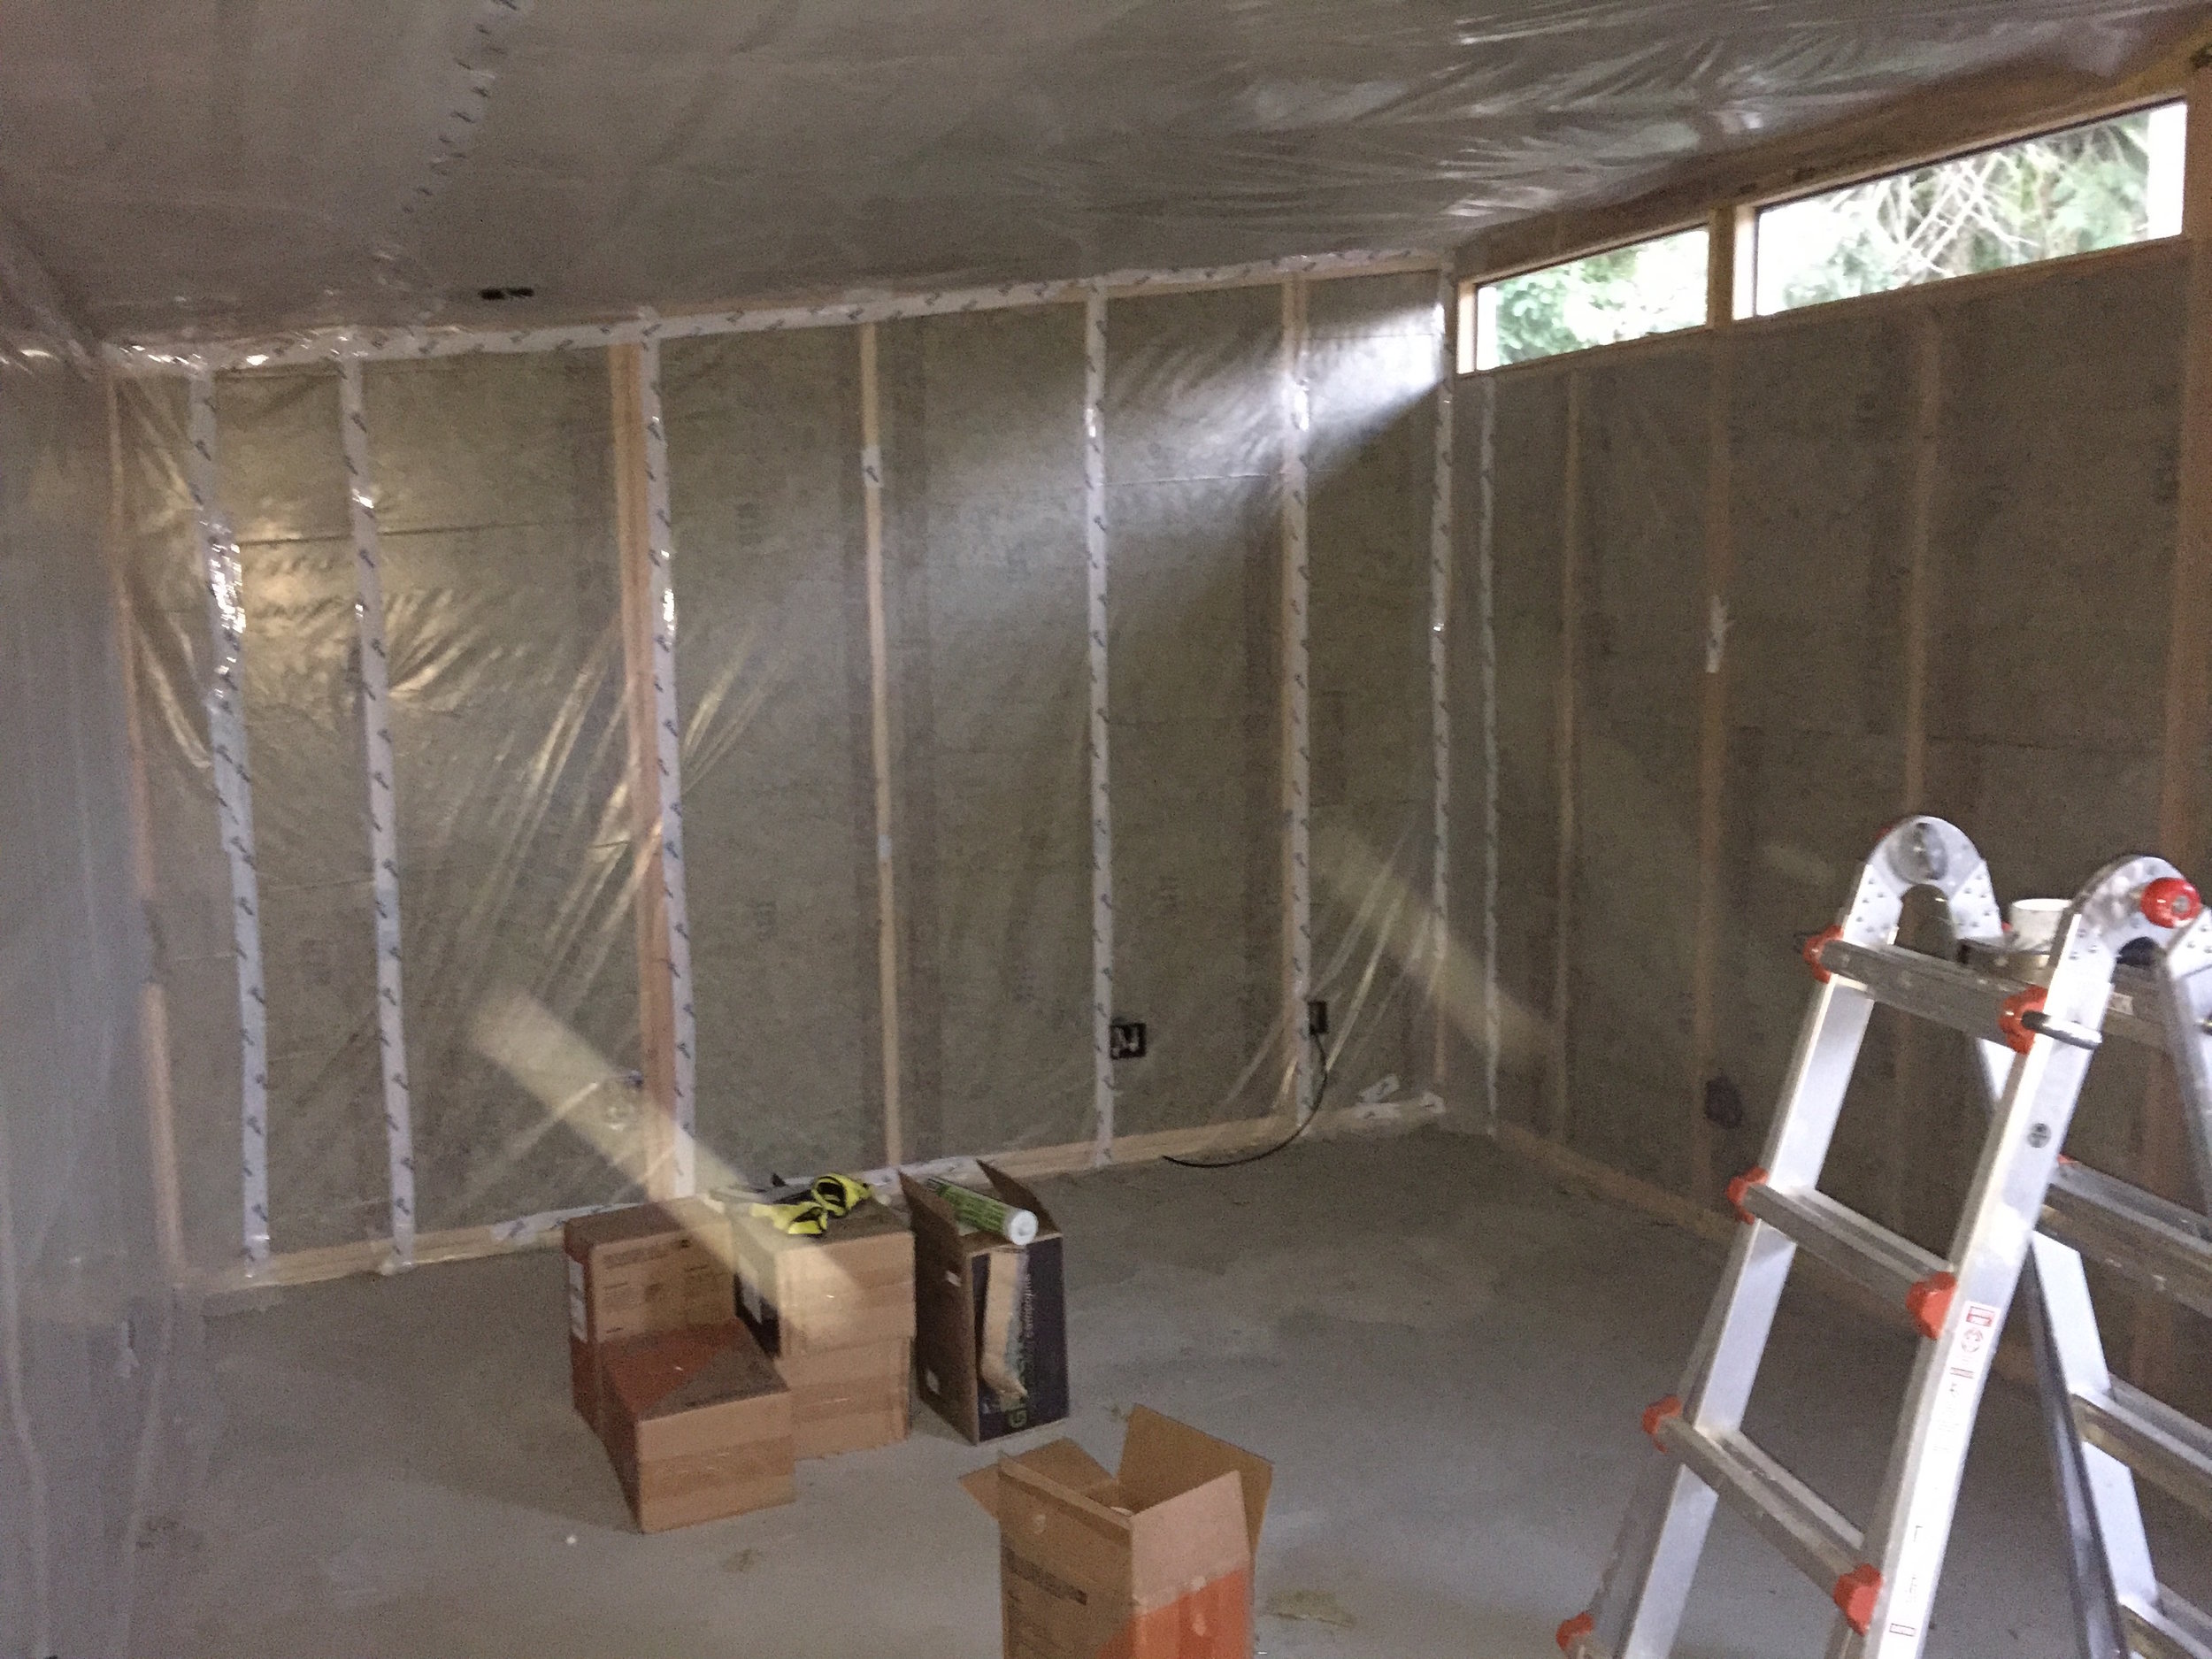
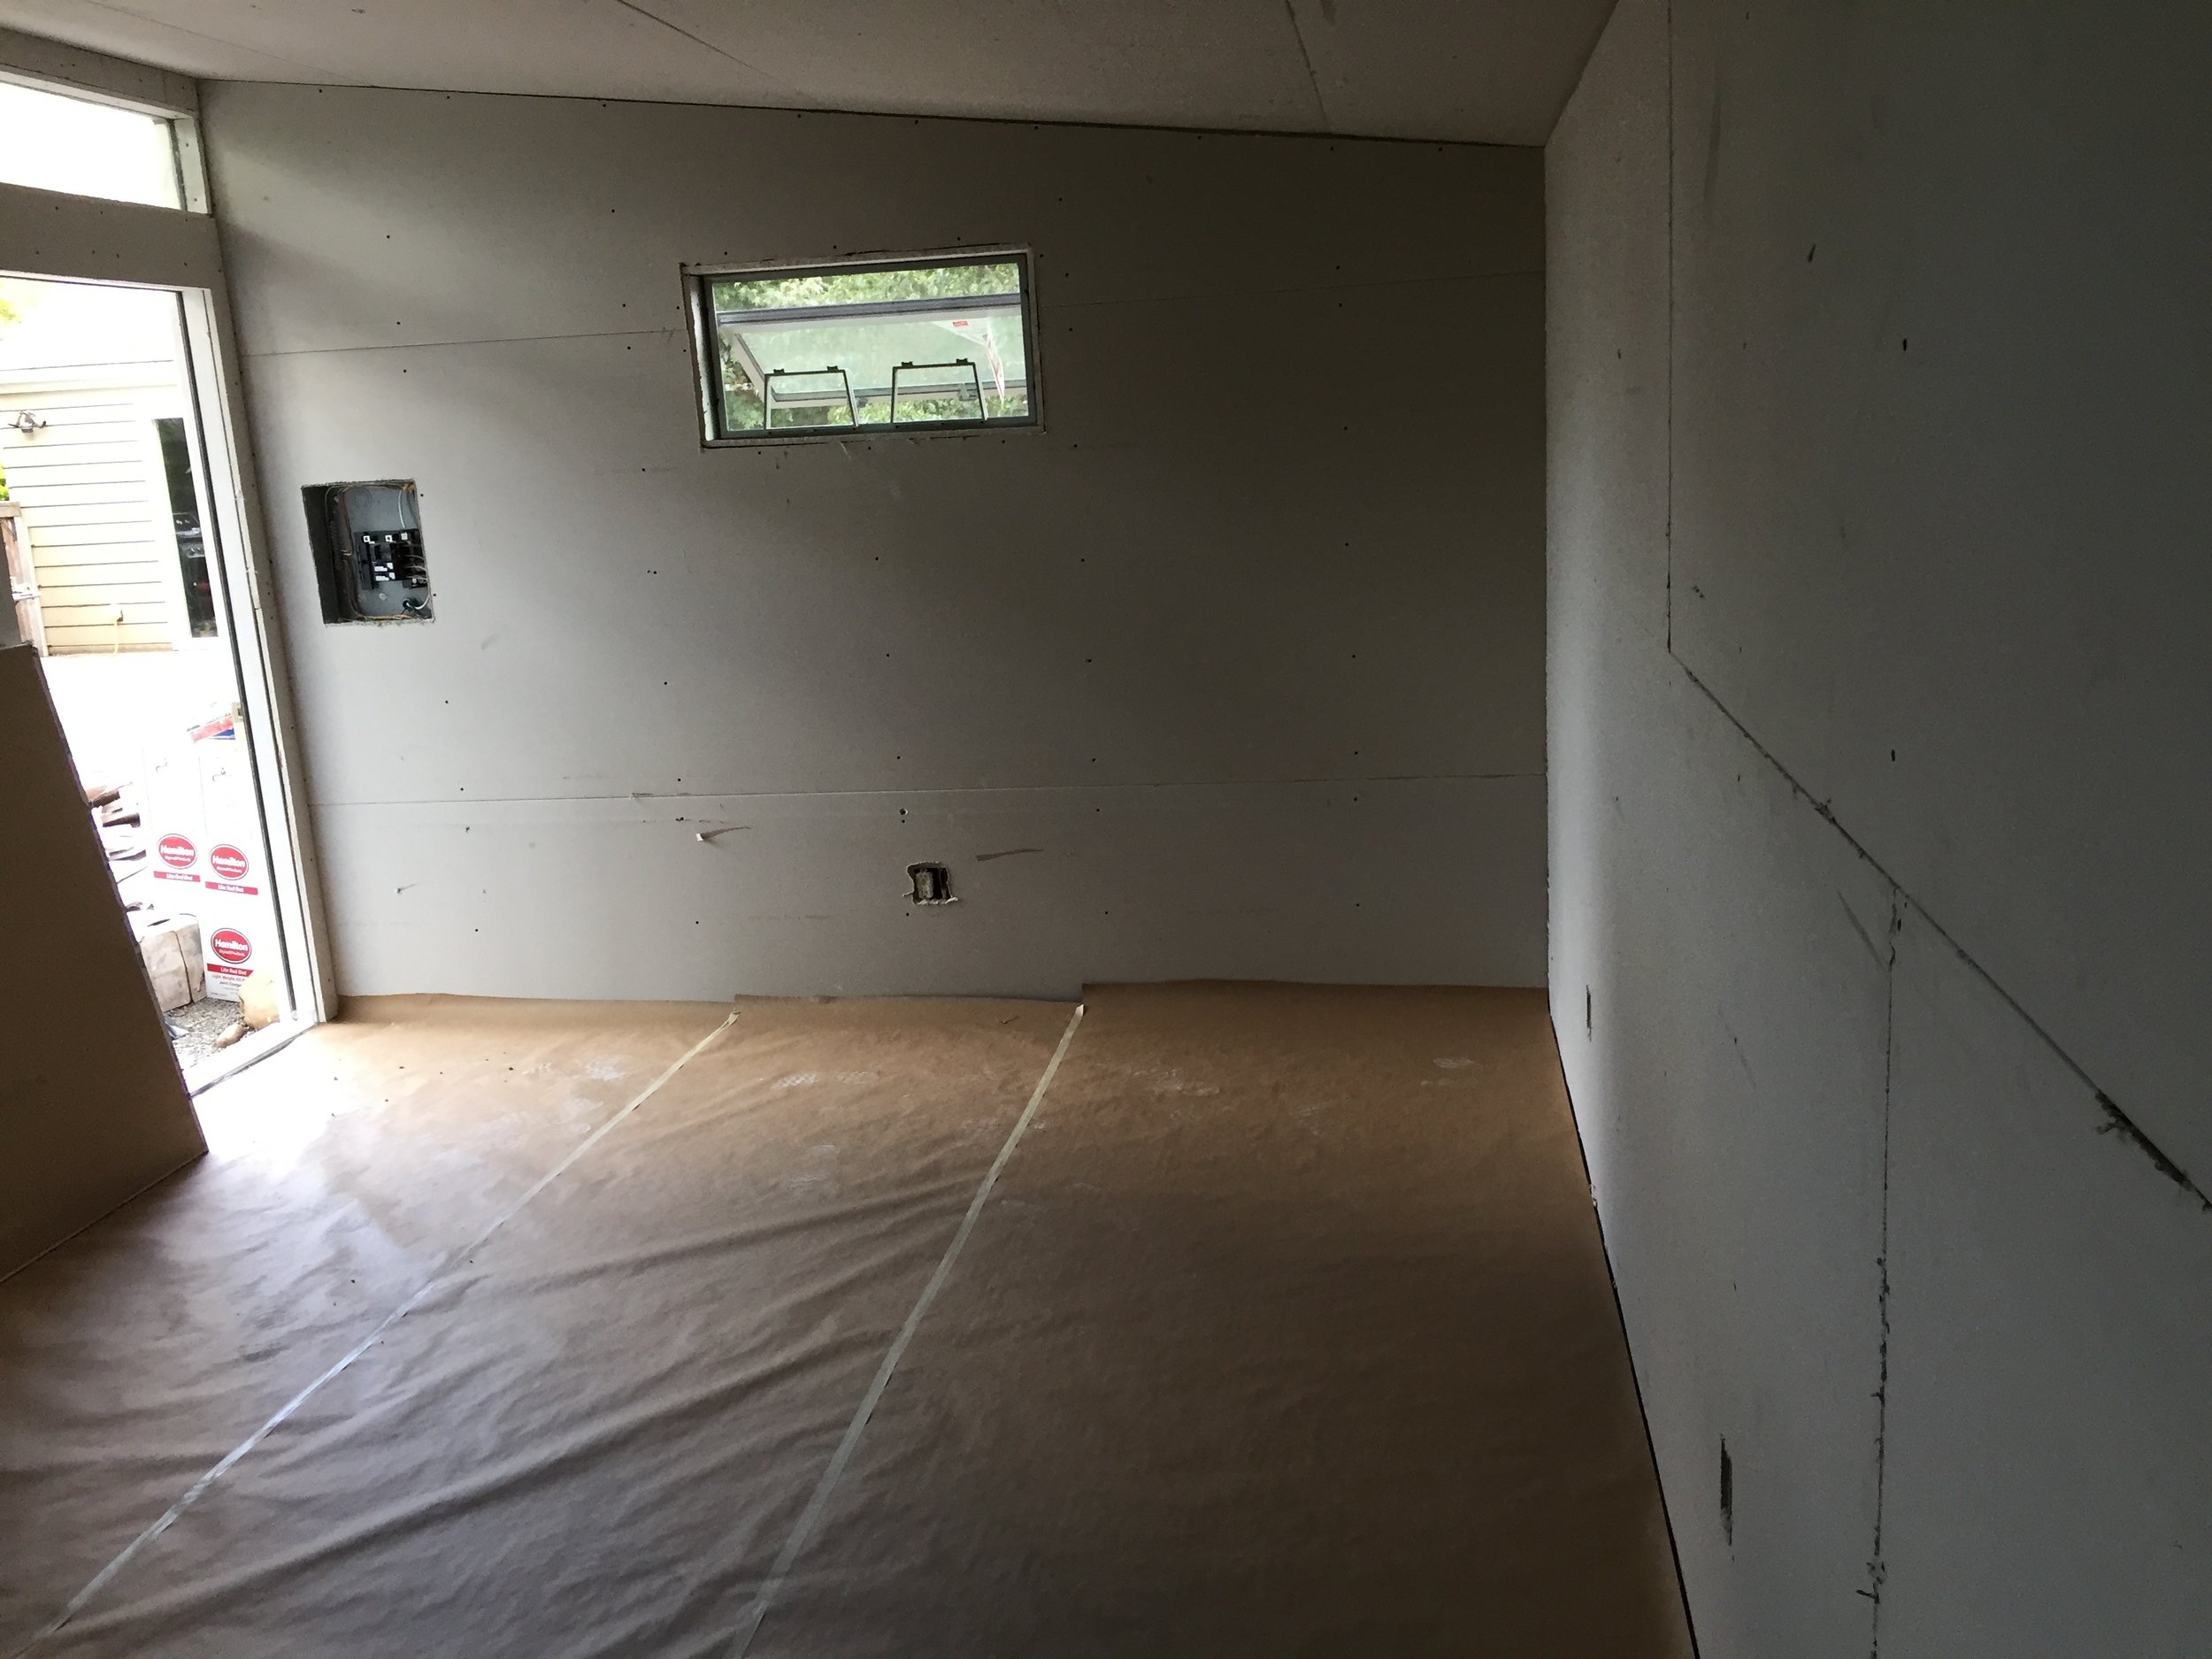
With the Roxul completed, I installed a vapor barrier (6 mil. plastic sheeting) over the entire thing which is recommended in colder climates to keep condensation from building up in your drywall.
Drywall
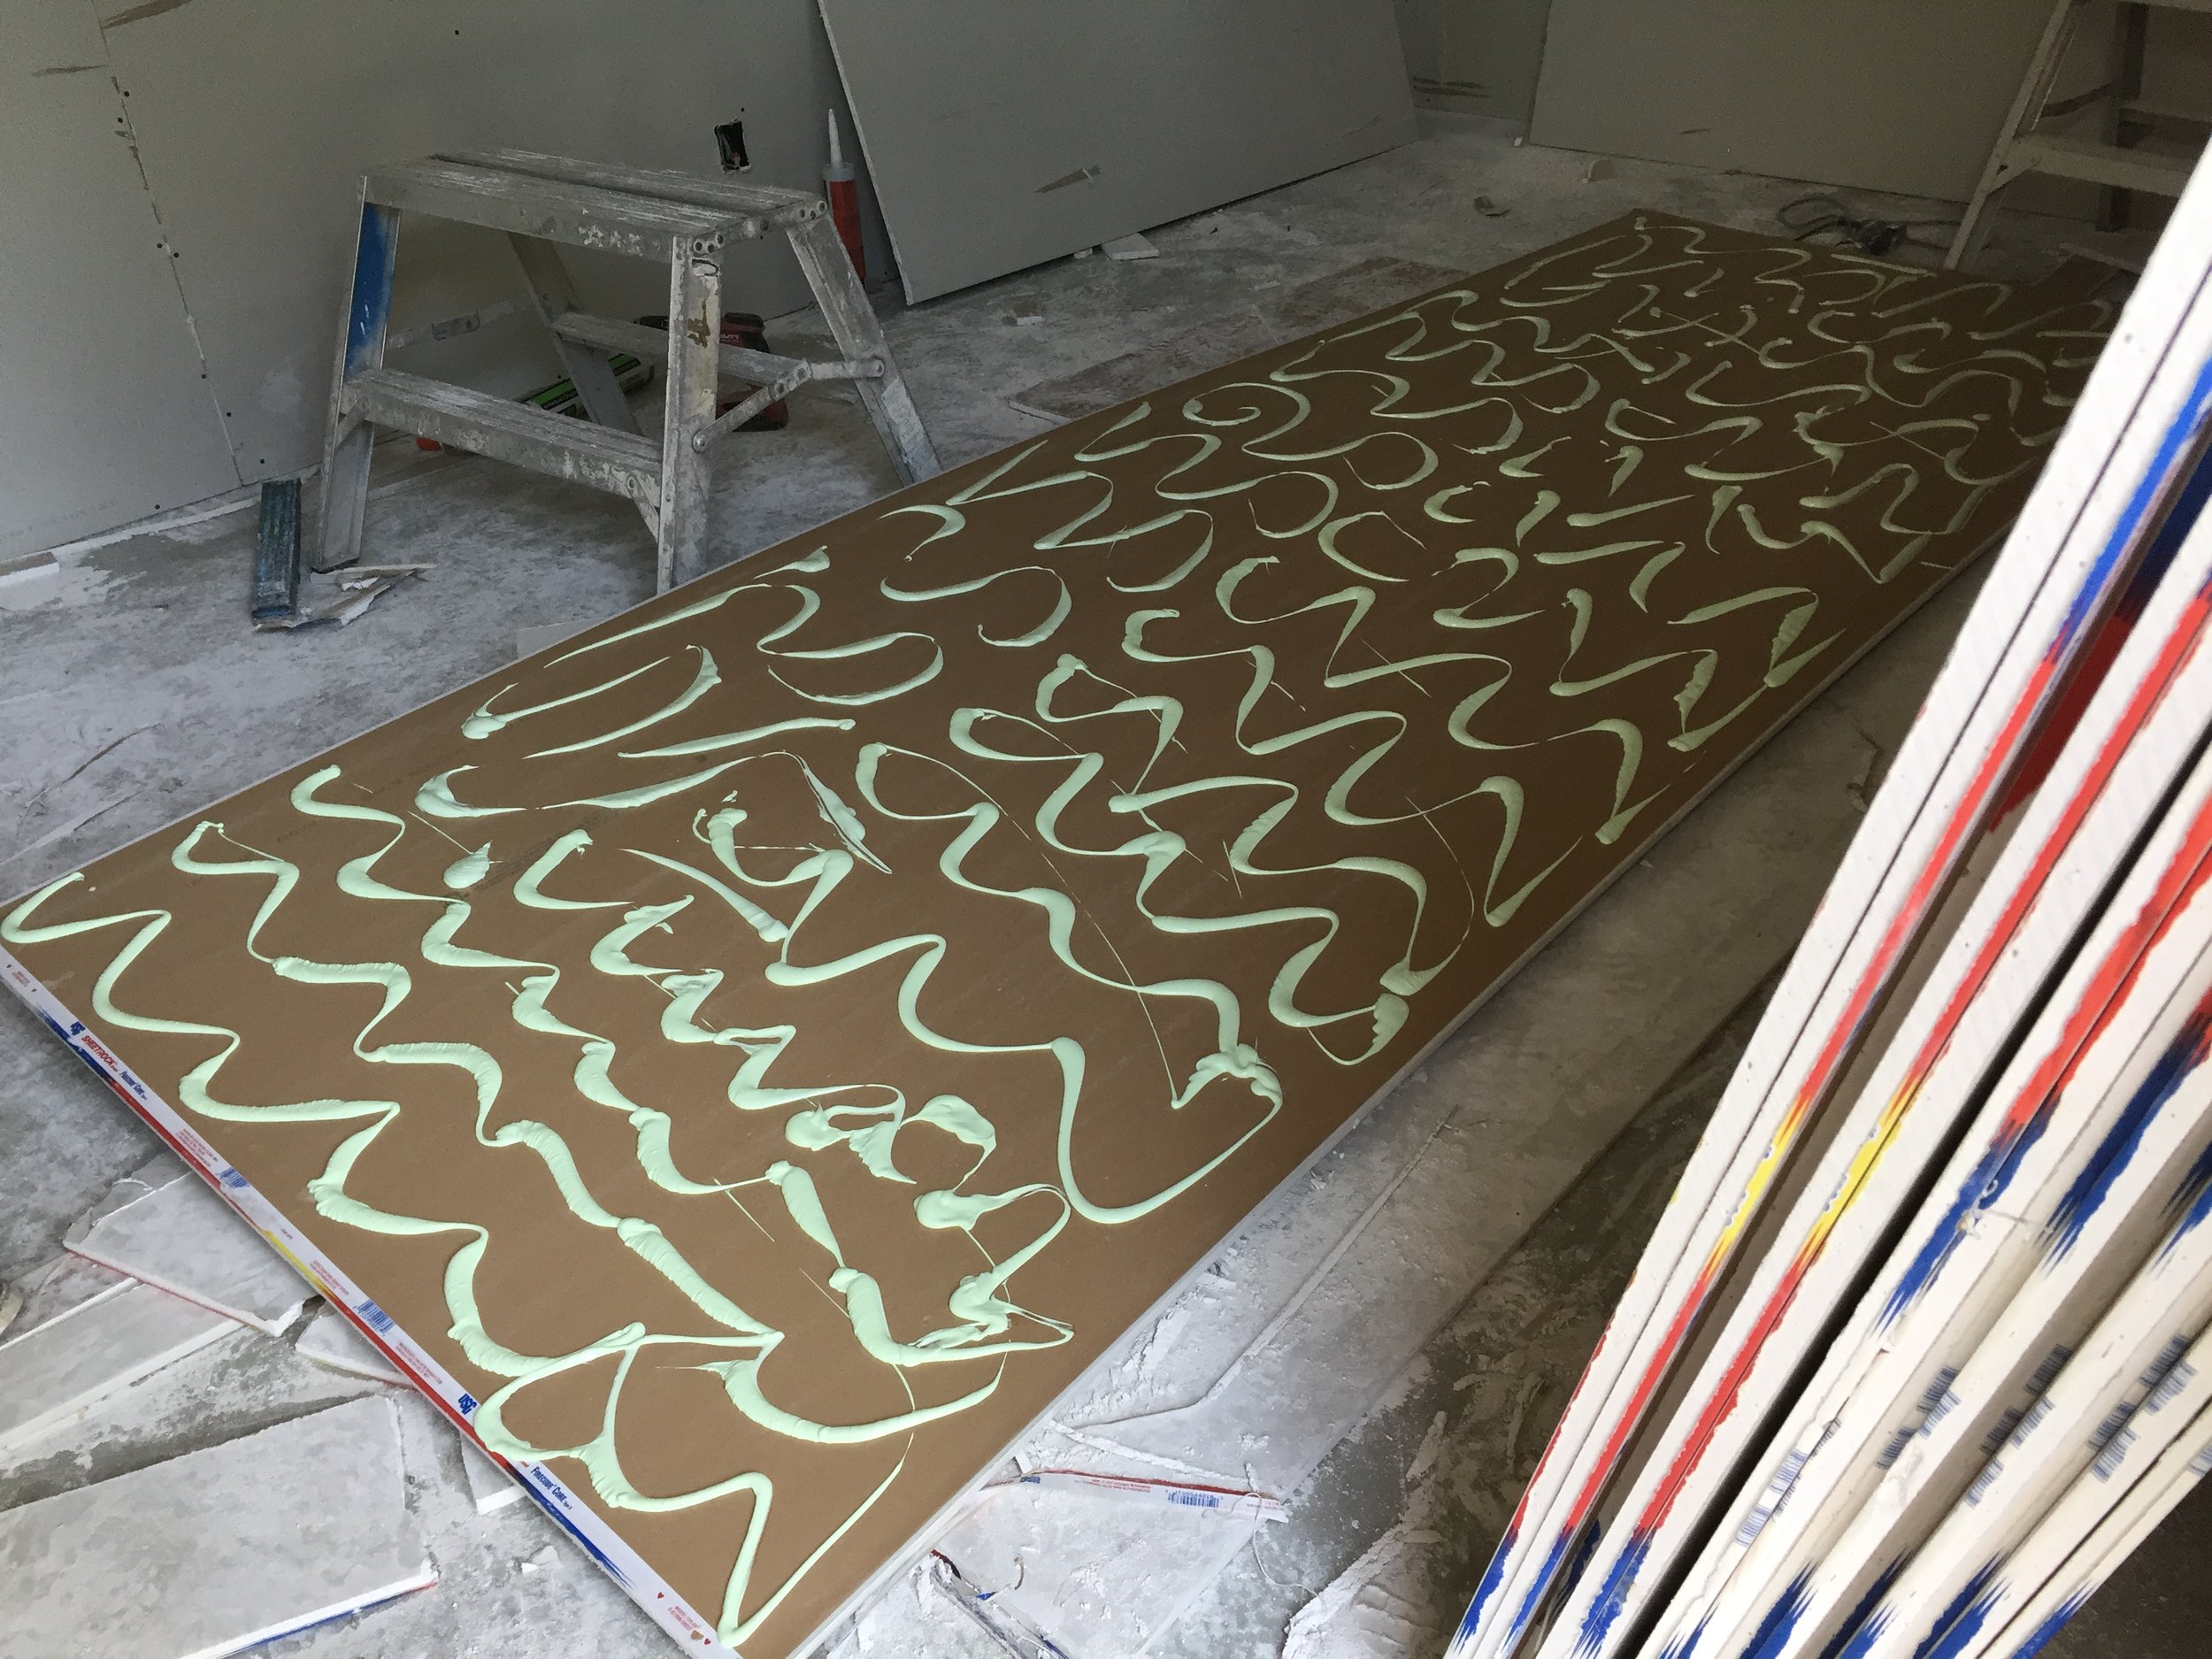
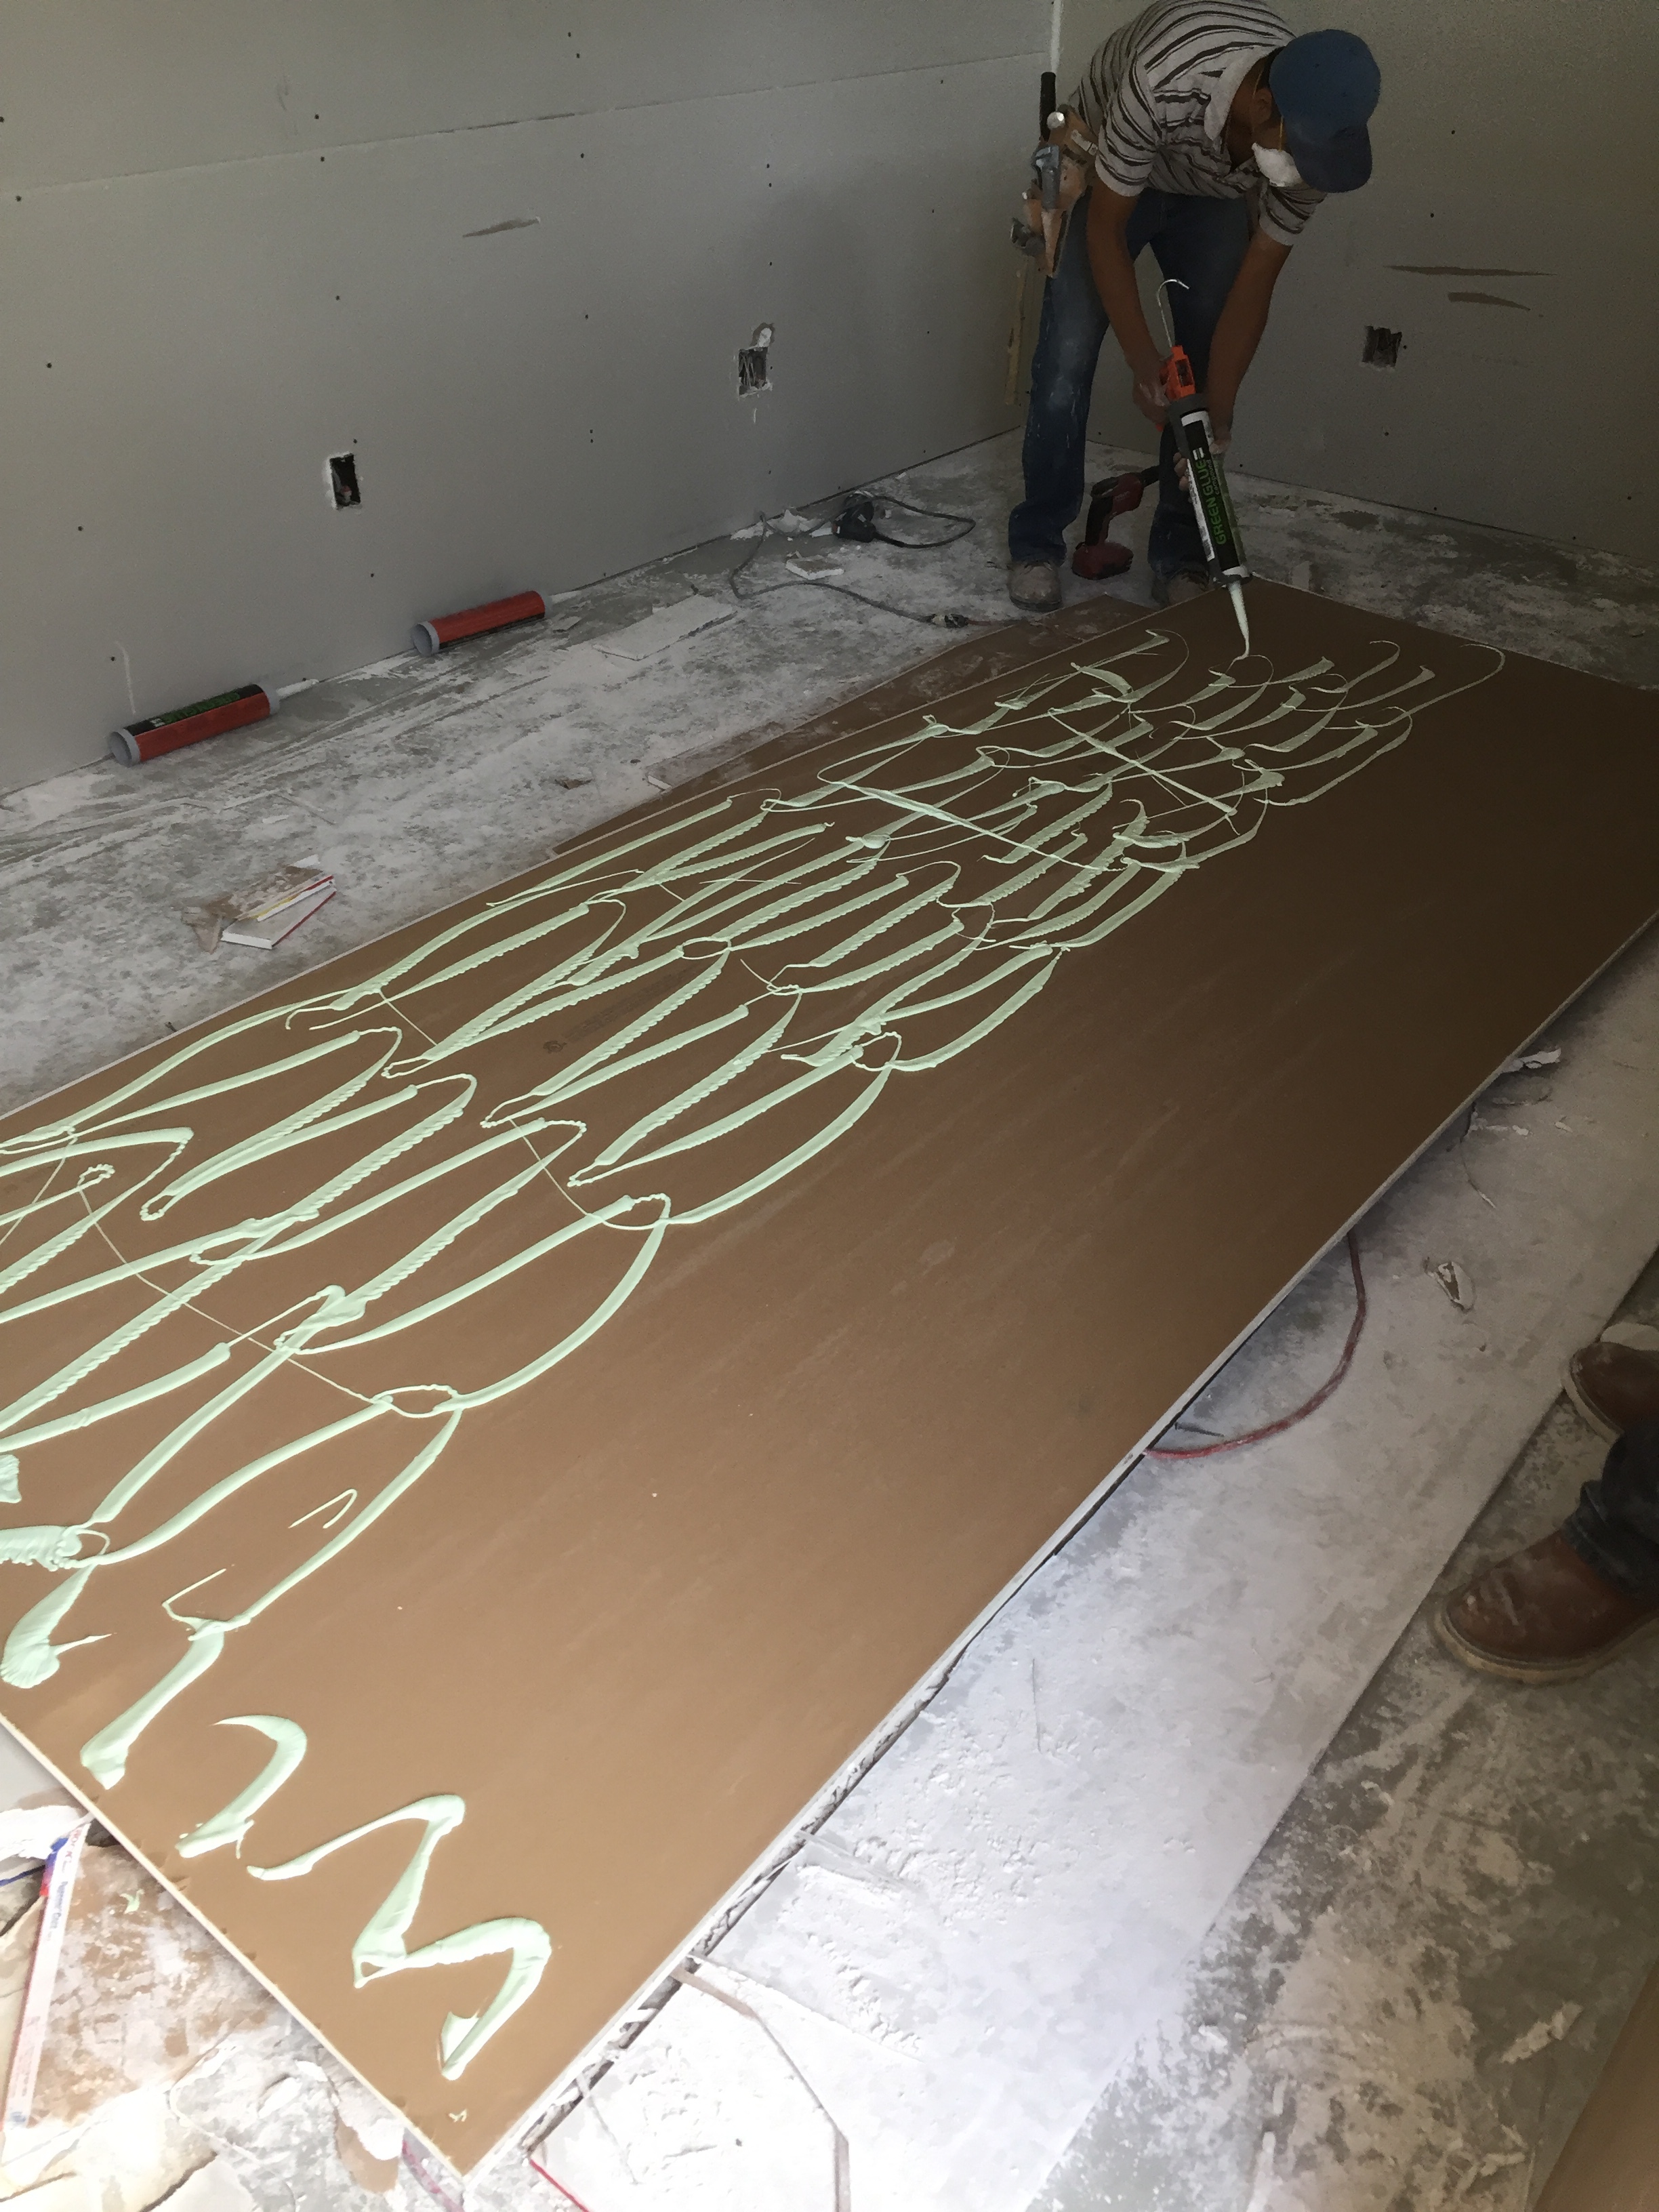
It's time for drywall! Because my aim was to make this a space where sound was largely contained, I opted to have TWO layers of 5/8" drywall installed (with staggered seams), and a layer of Green Glue sound dampening compound in between. My sound dampening would have increased even further had I opted for resilient channels to decouple the drywall from the actual framing of the building, but I would have lost an extra inch of square footage on each wall.
Hanging the drywall seemed simple enough to me, though I knew I'd have no business mudding and finishing it. That's definitely an artform and a craft that's developed with experience. After helping move some of these 4' x 12' sheets of 5/8" sheetrock around, I'm really glad I decided save my back and hire this out.
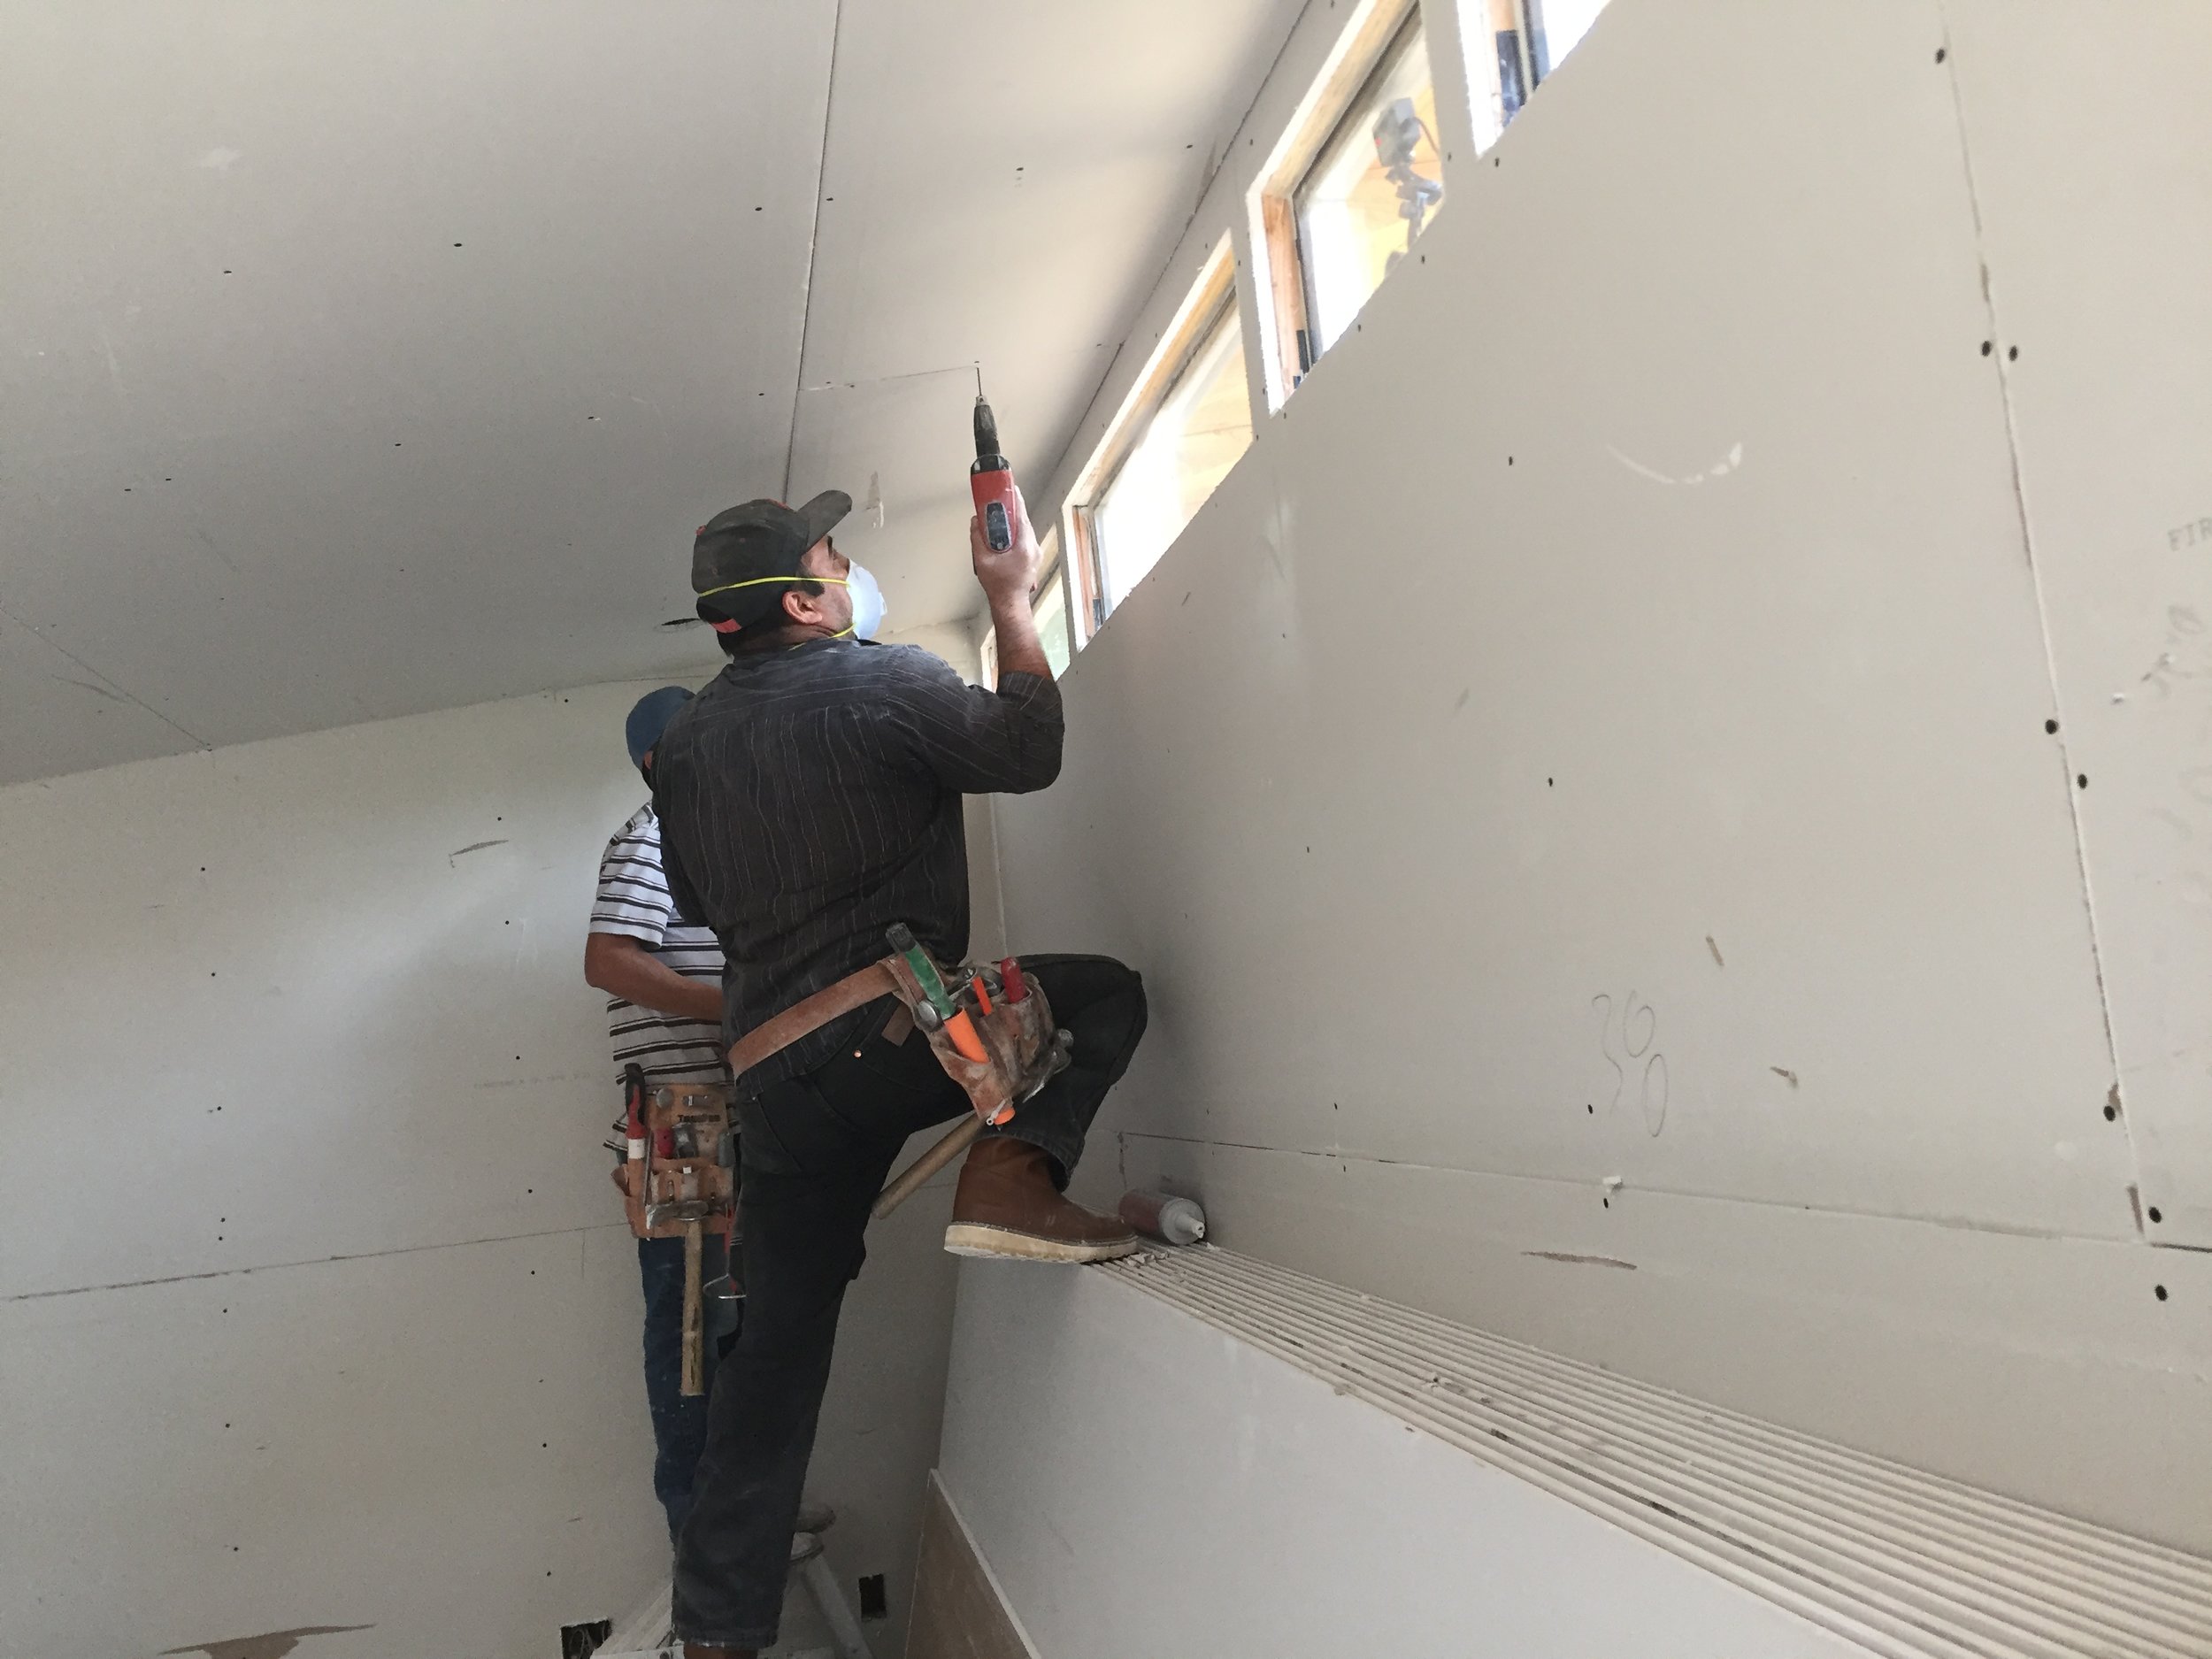
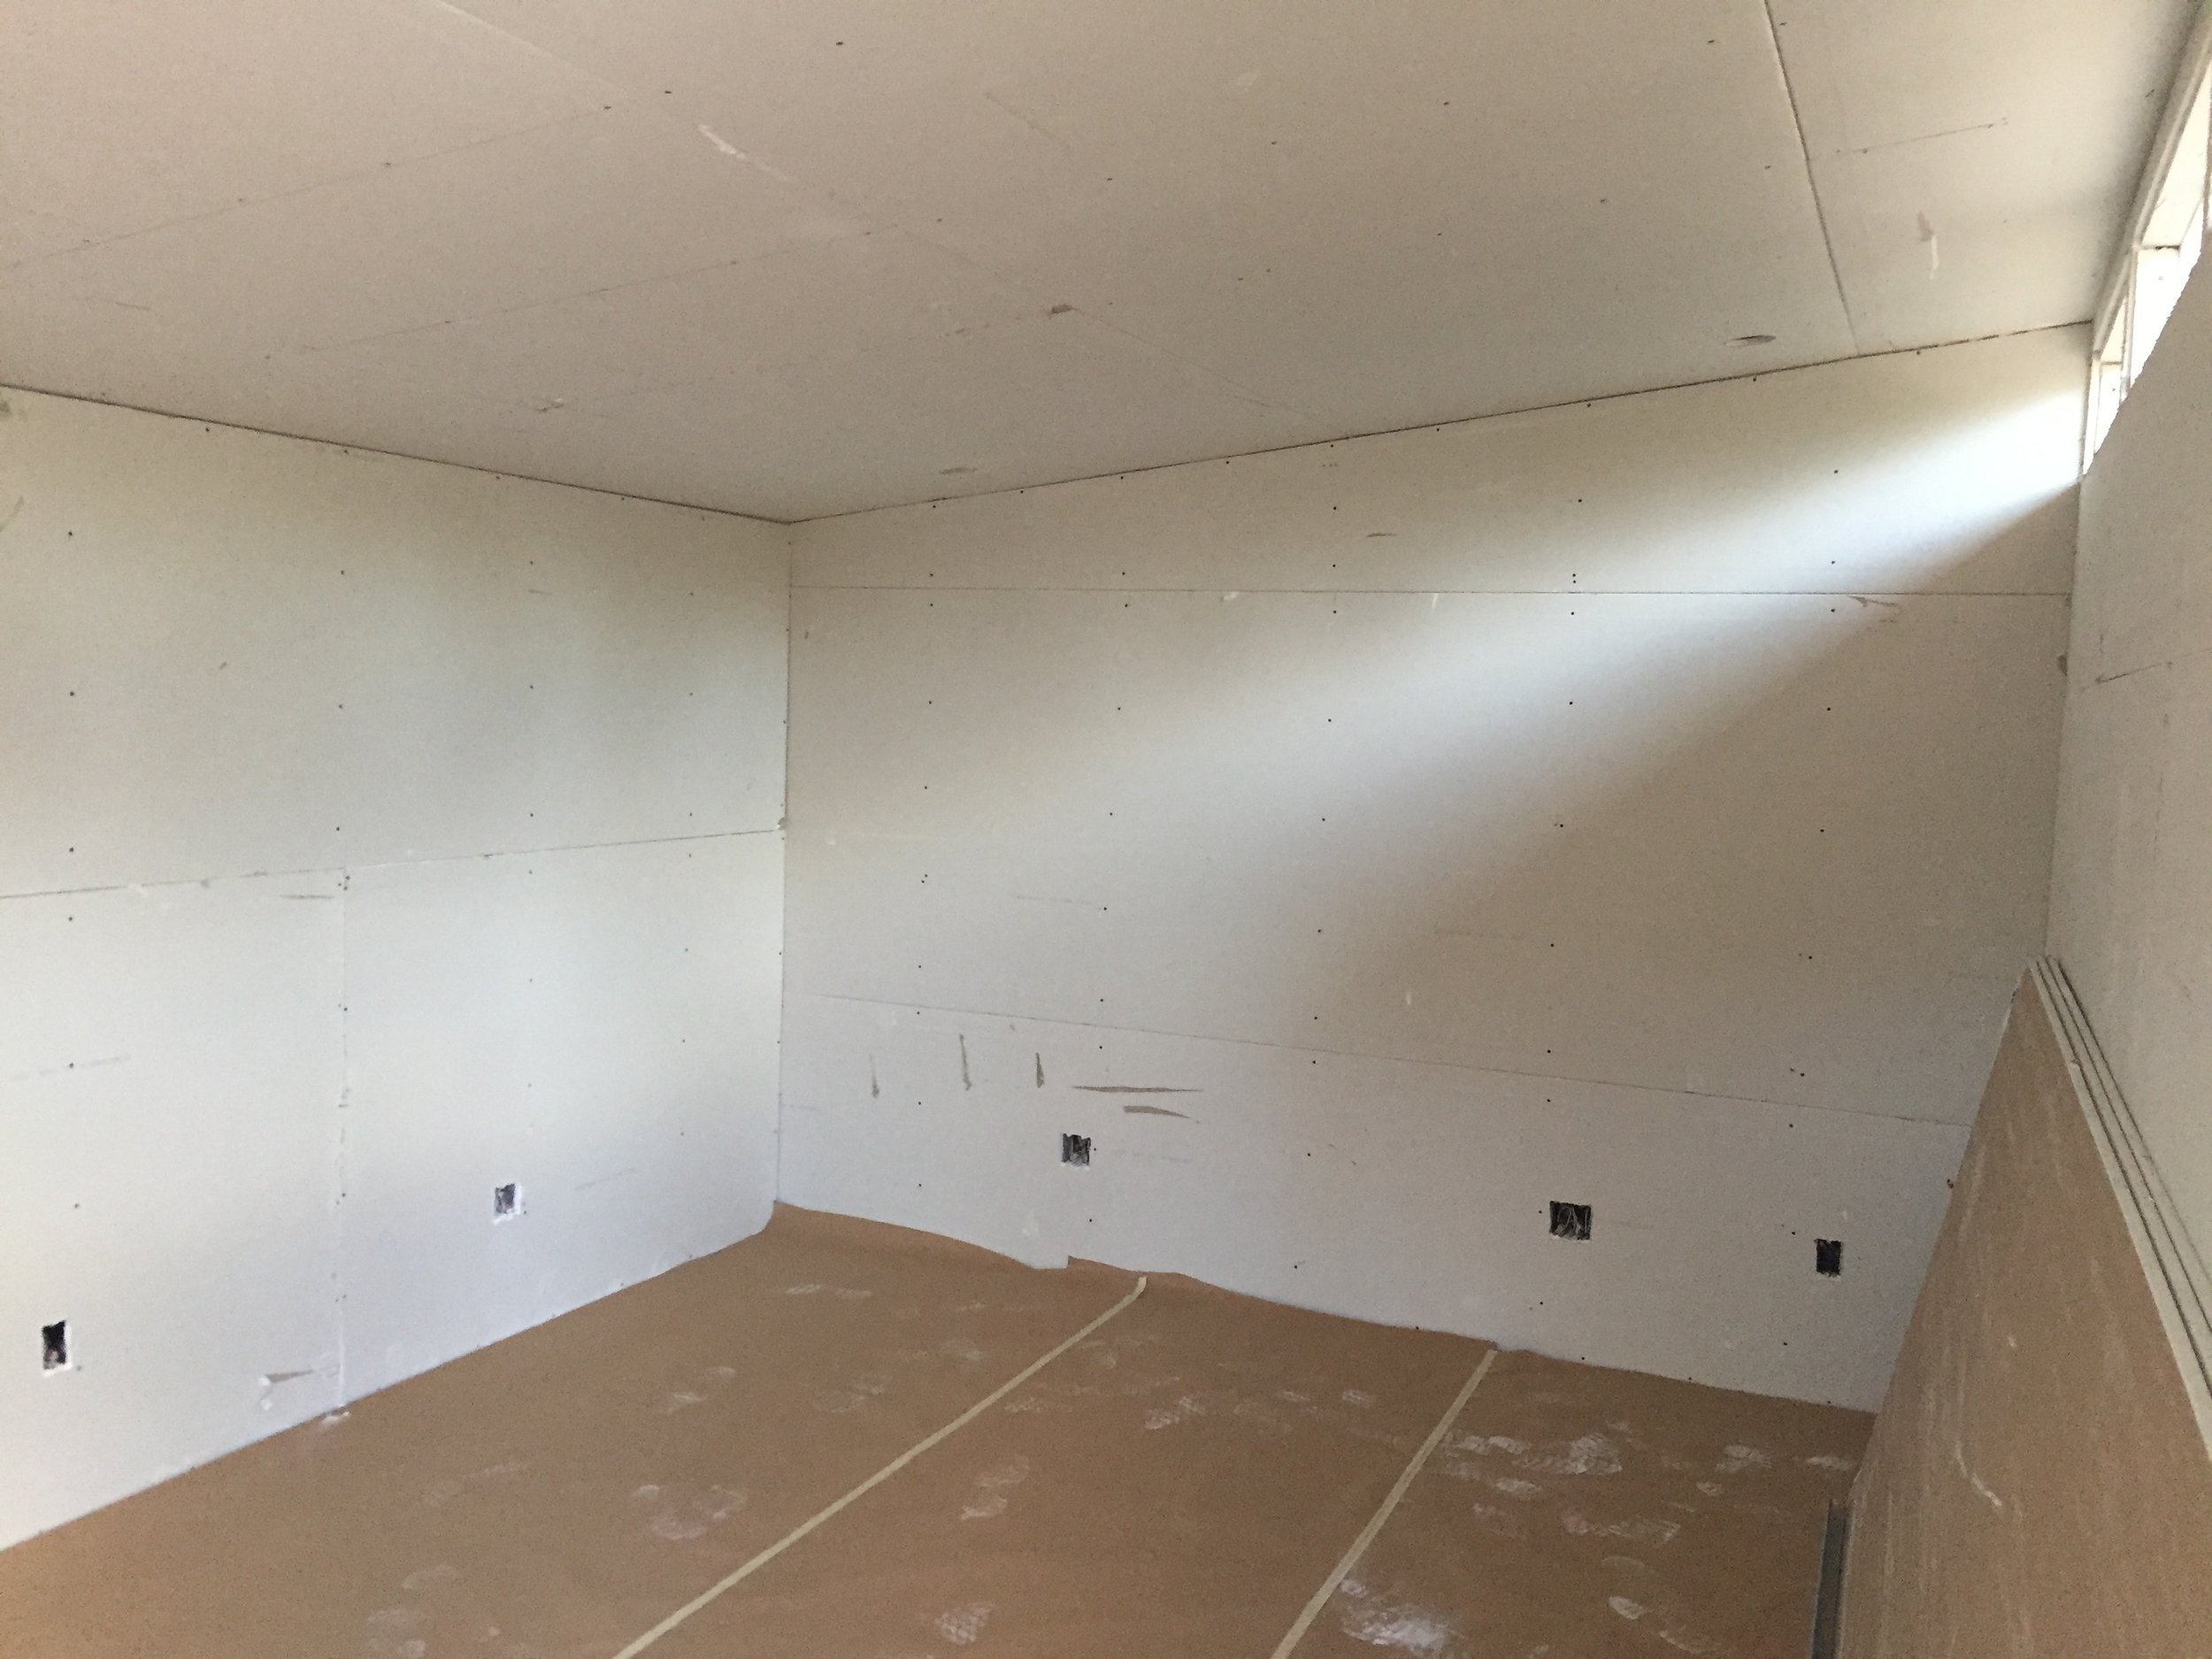
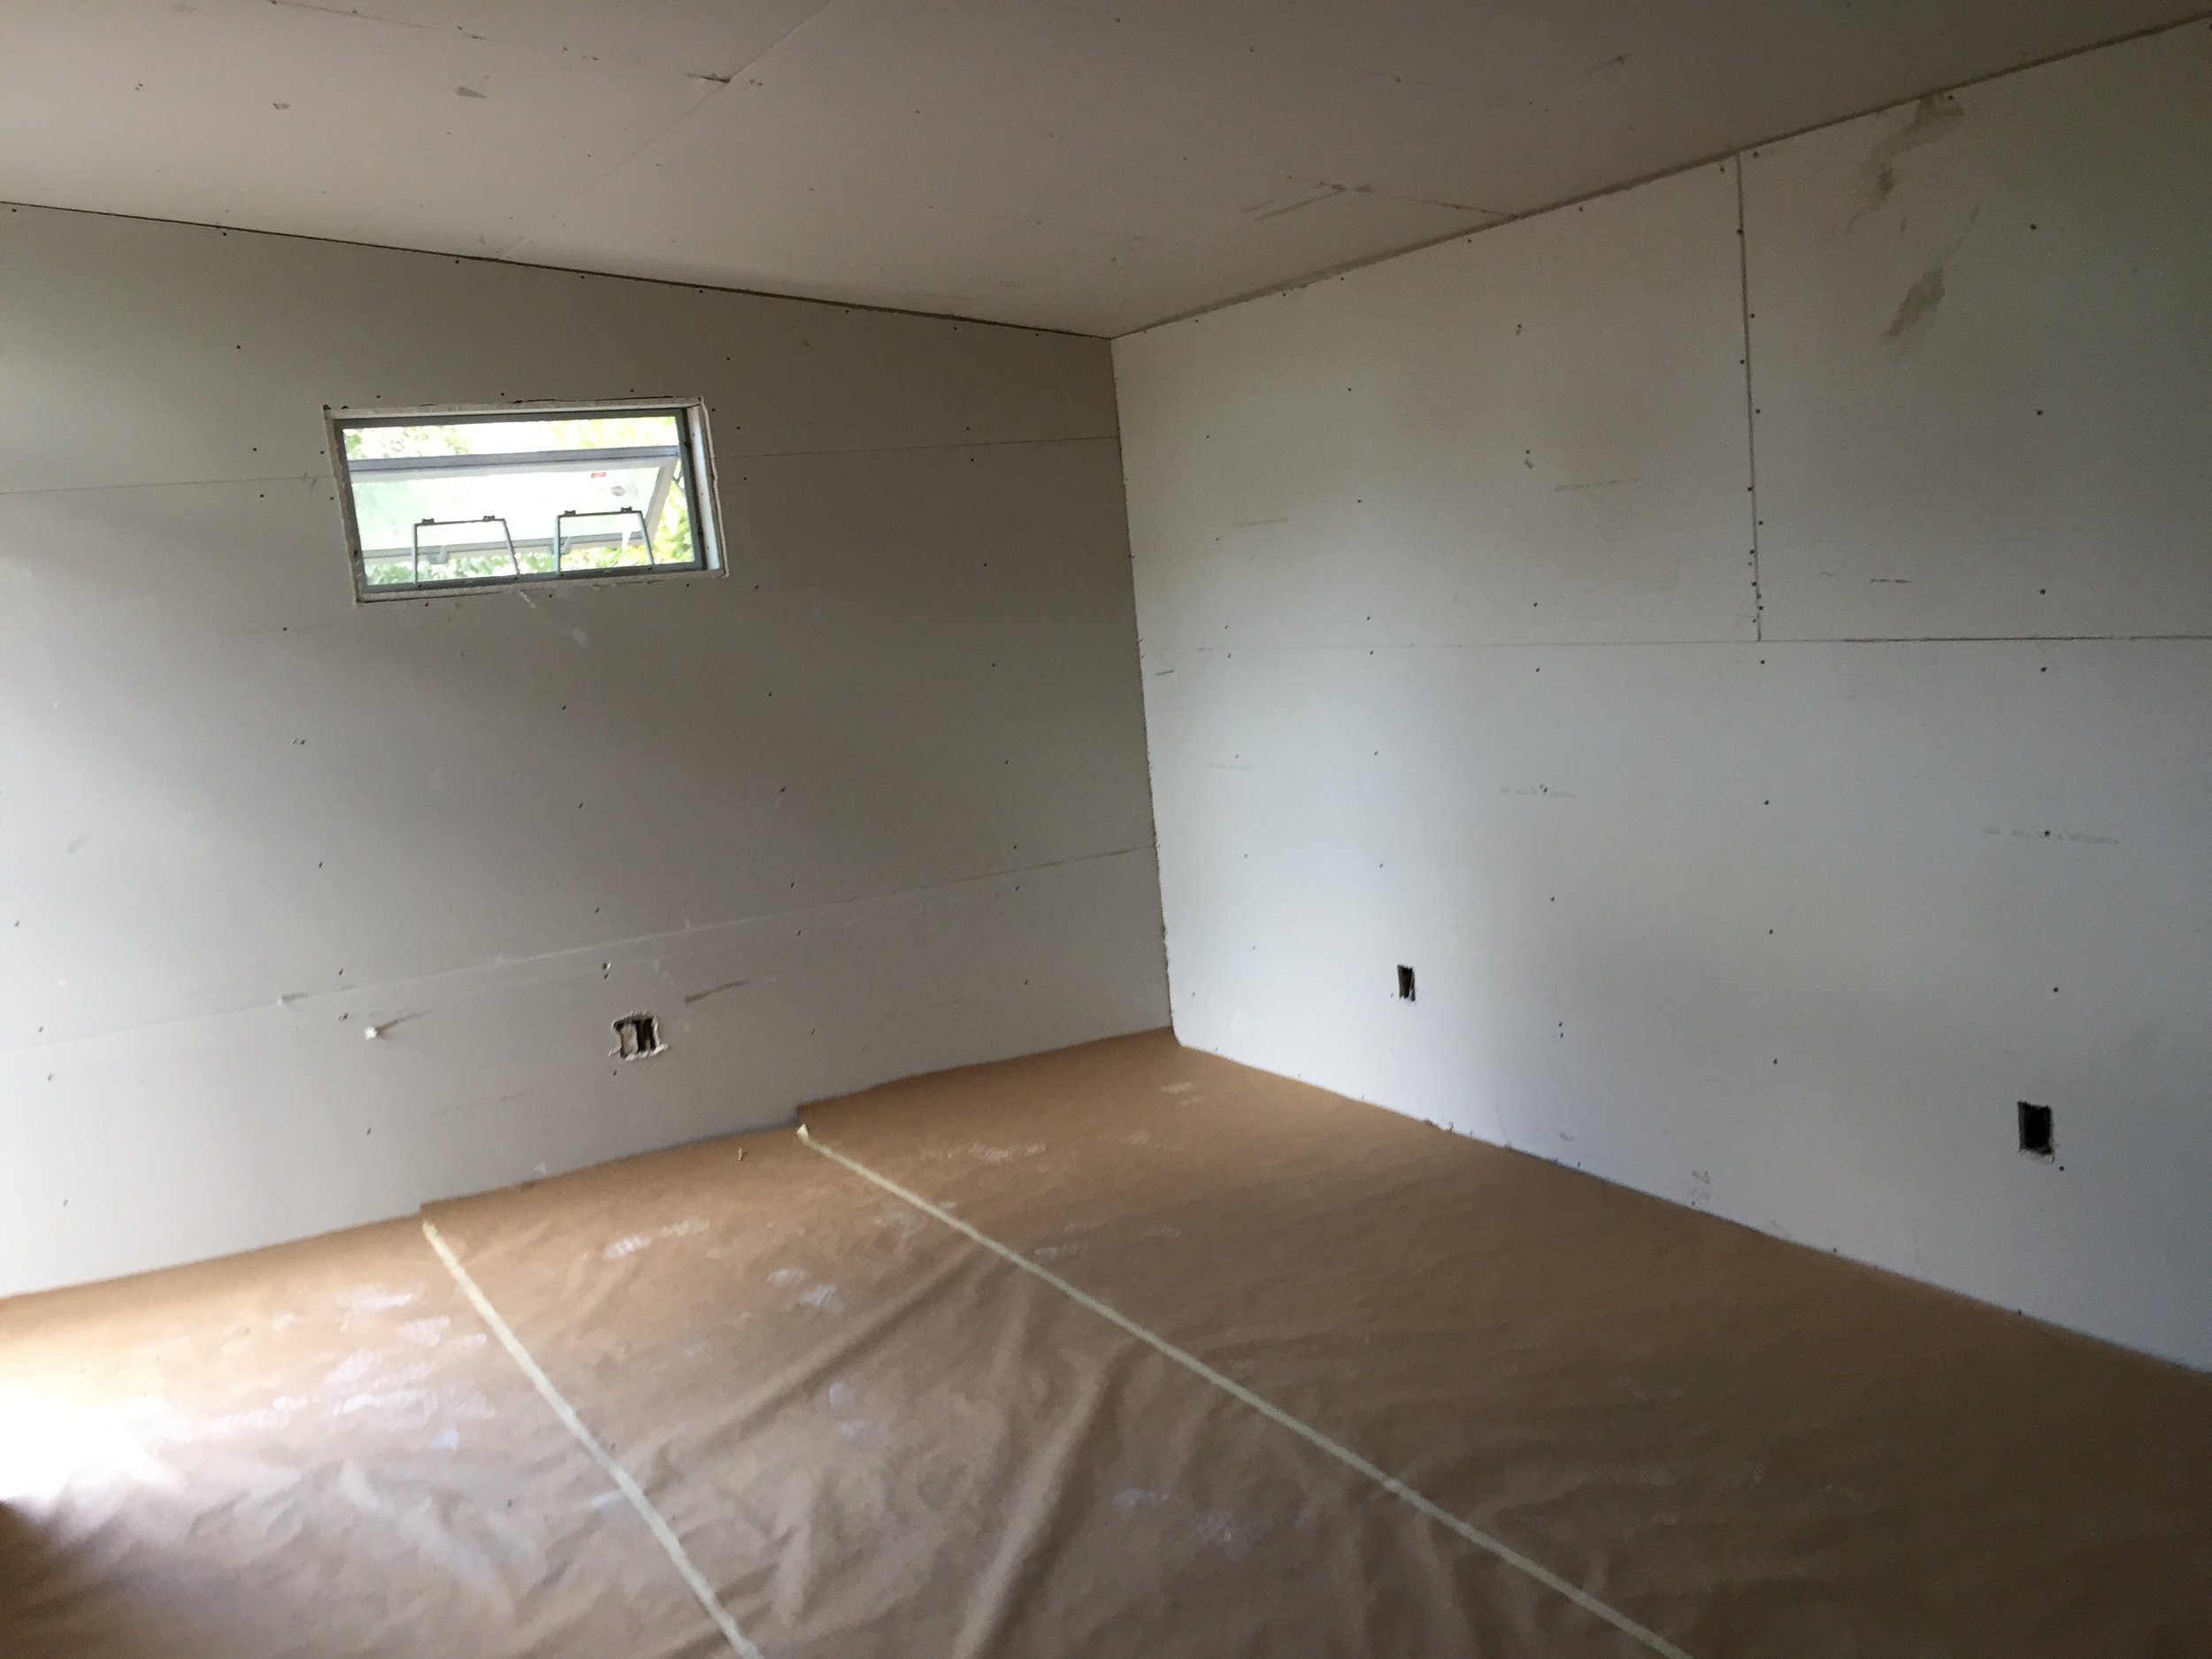
The drywall hanging process went fairly quickly, but due to the fact that this room has minimal ventilation, and the humidity created from the drywall mud and rainy fall weather in Portland approaching, it was actually a few weeks until the finished walls were complete.
Drainage
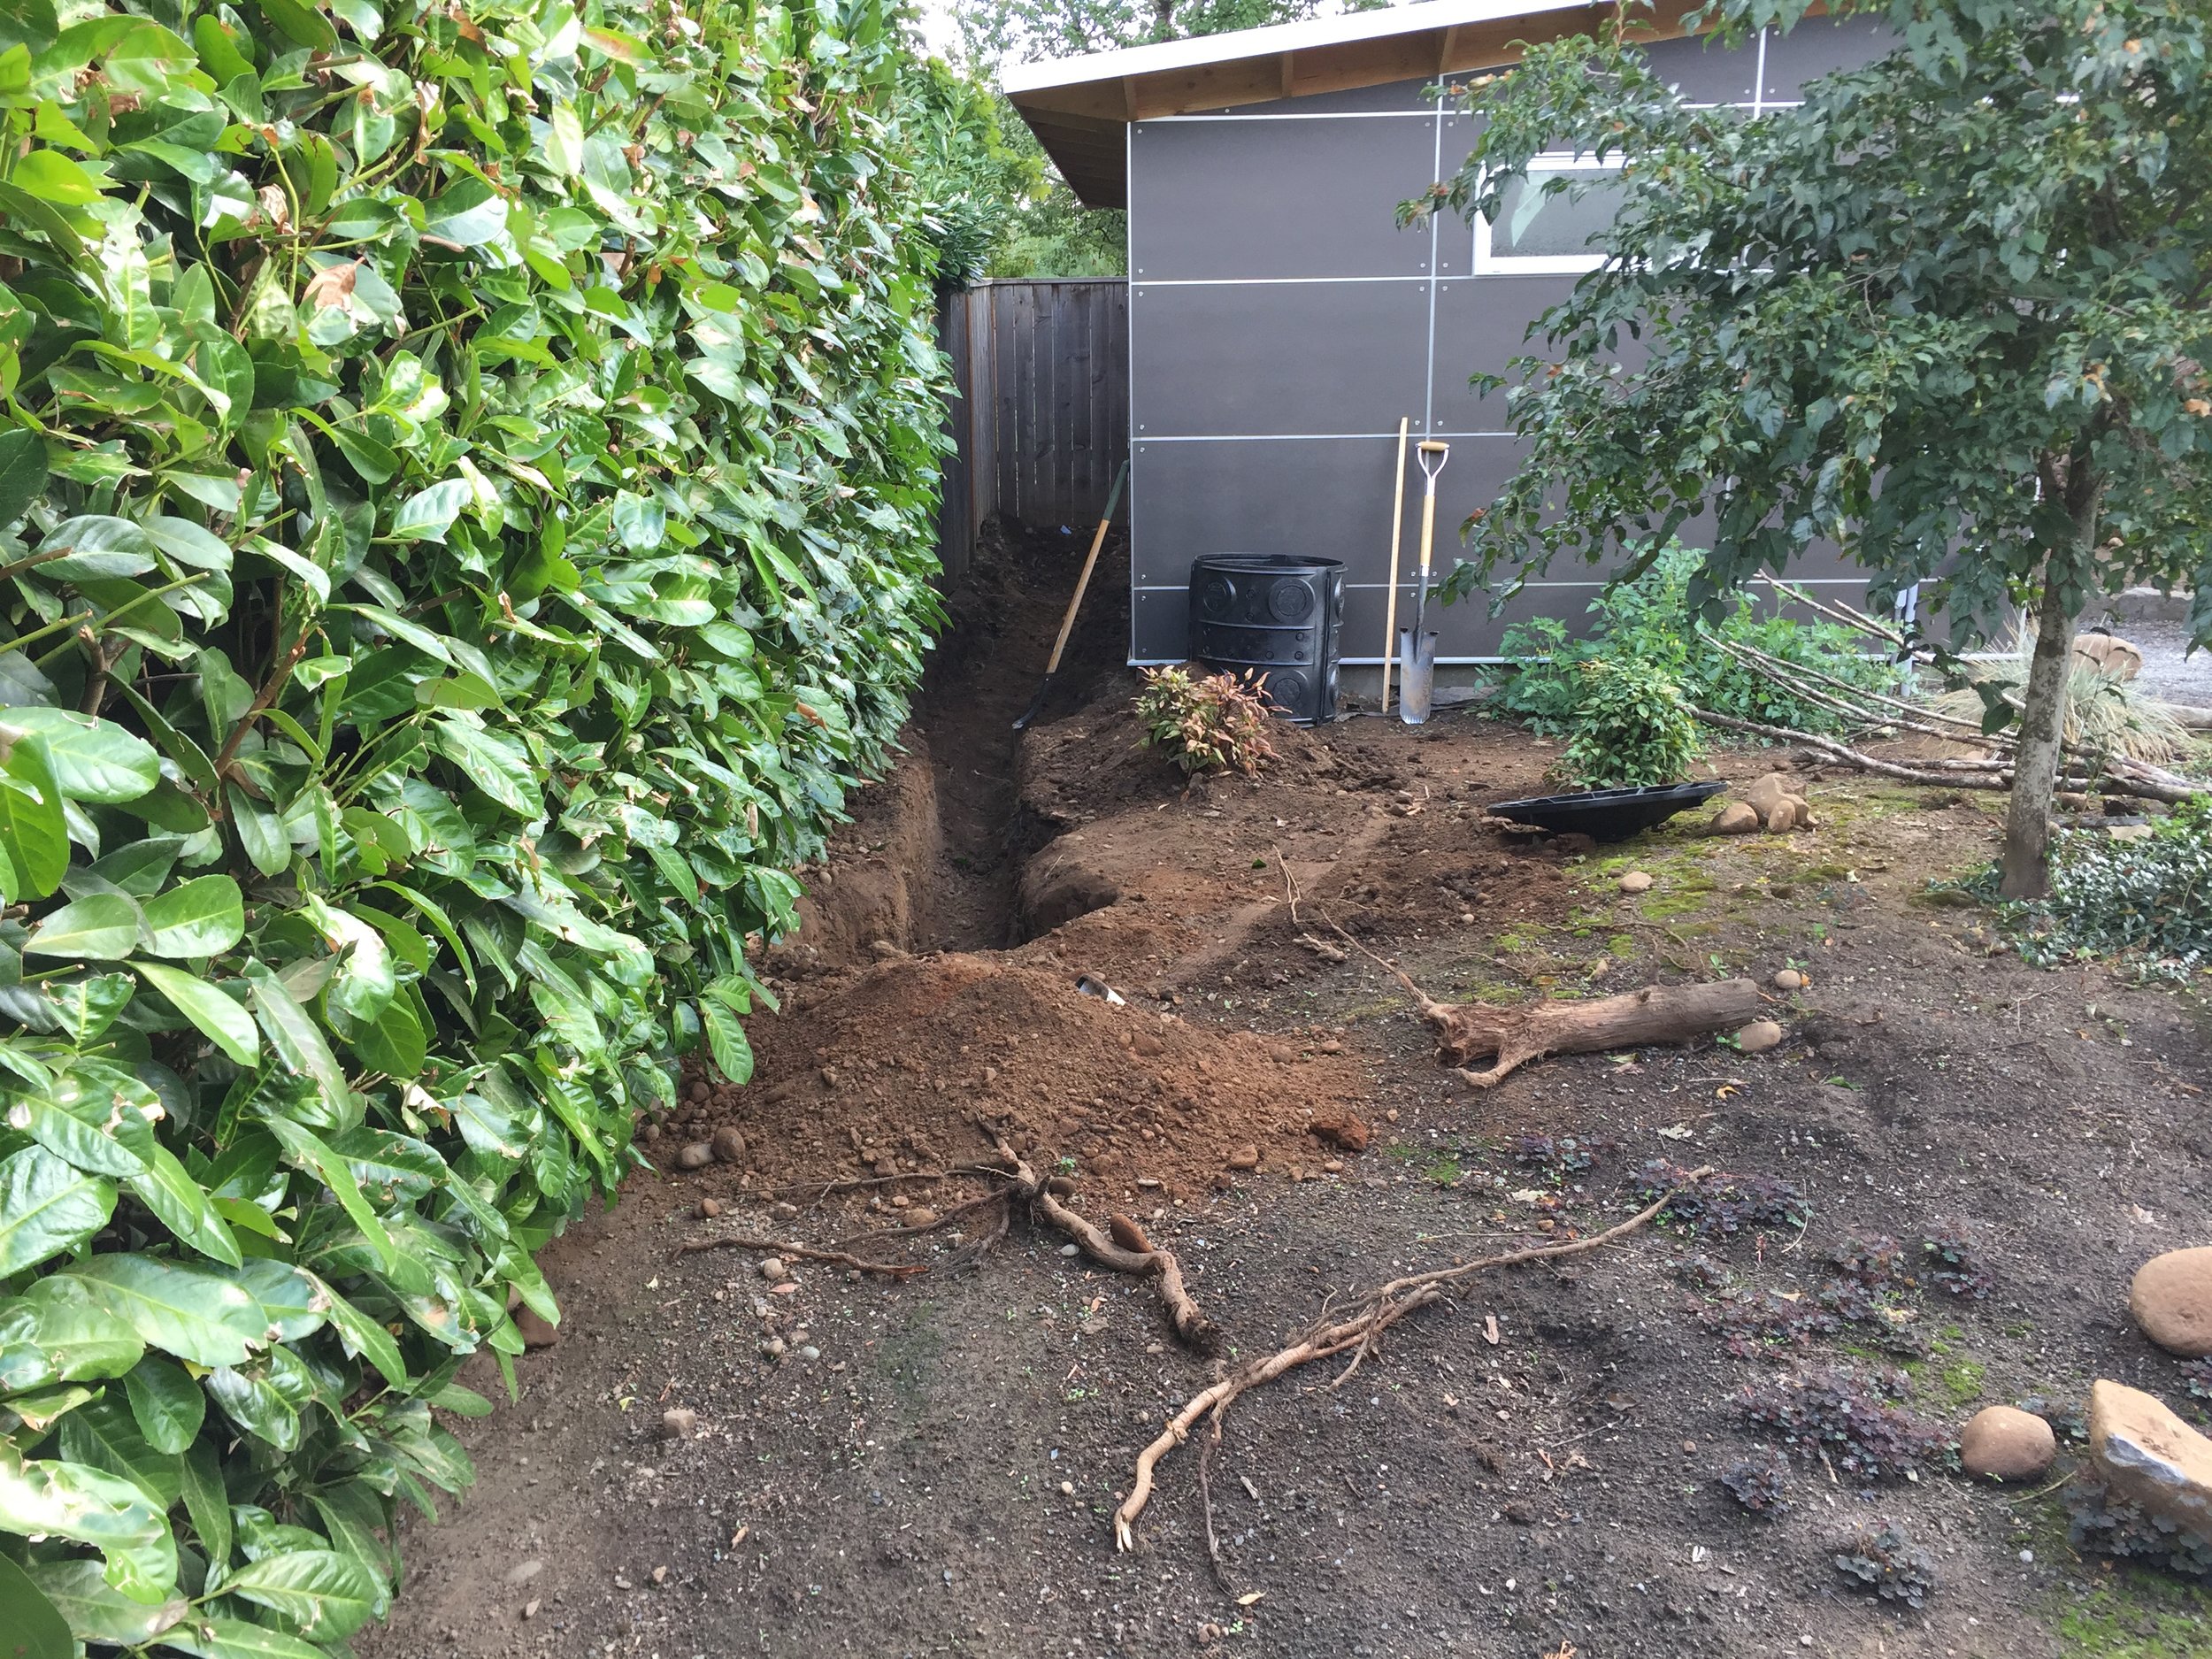
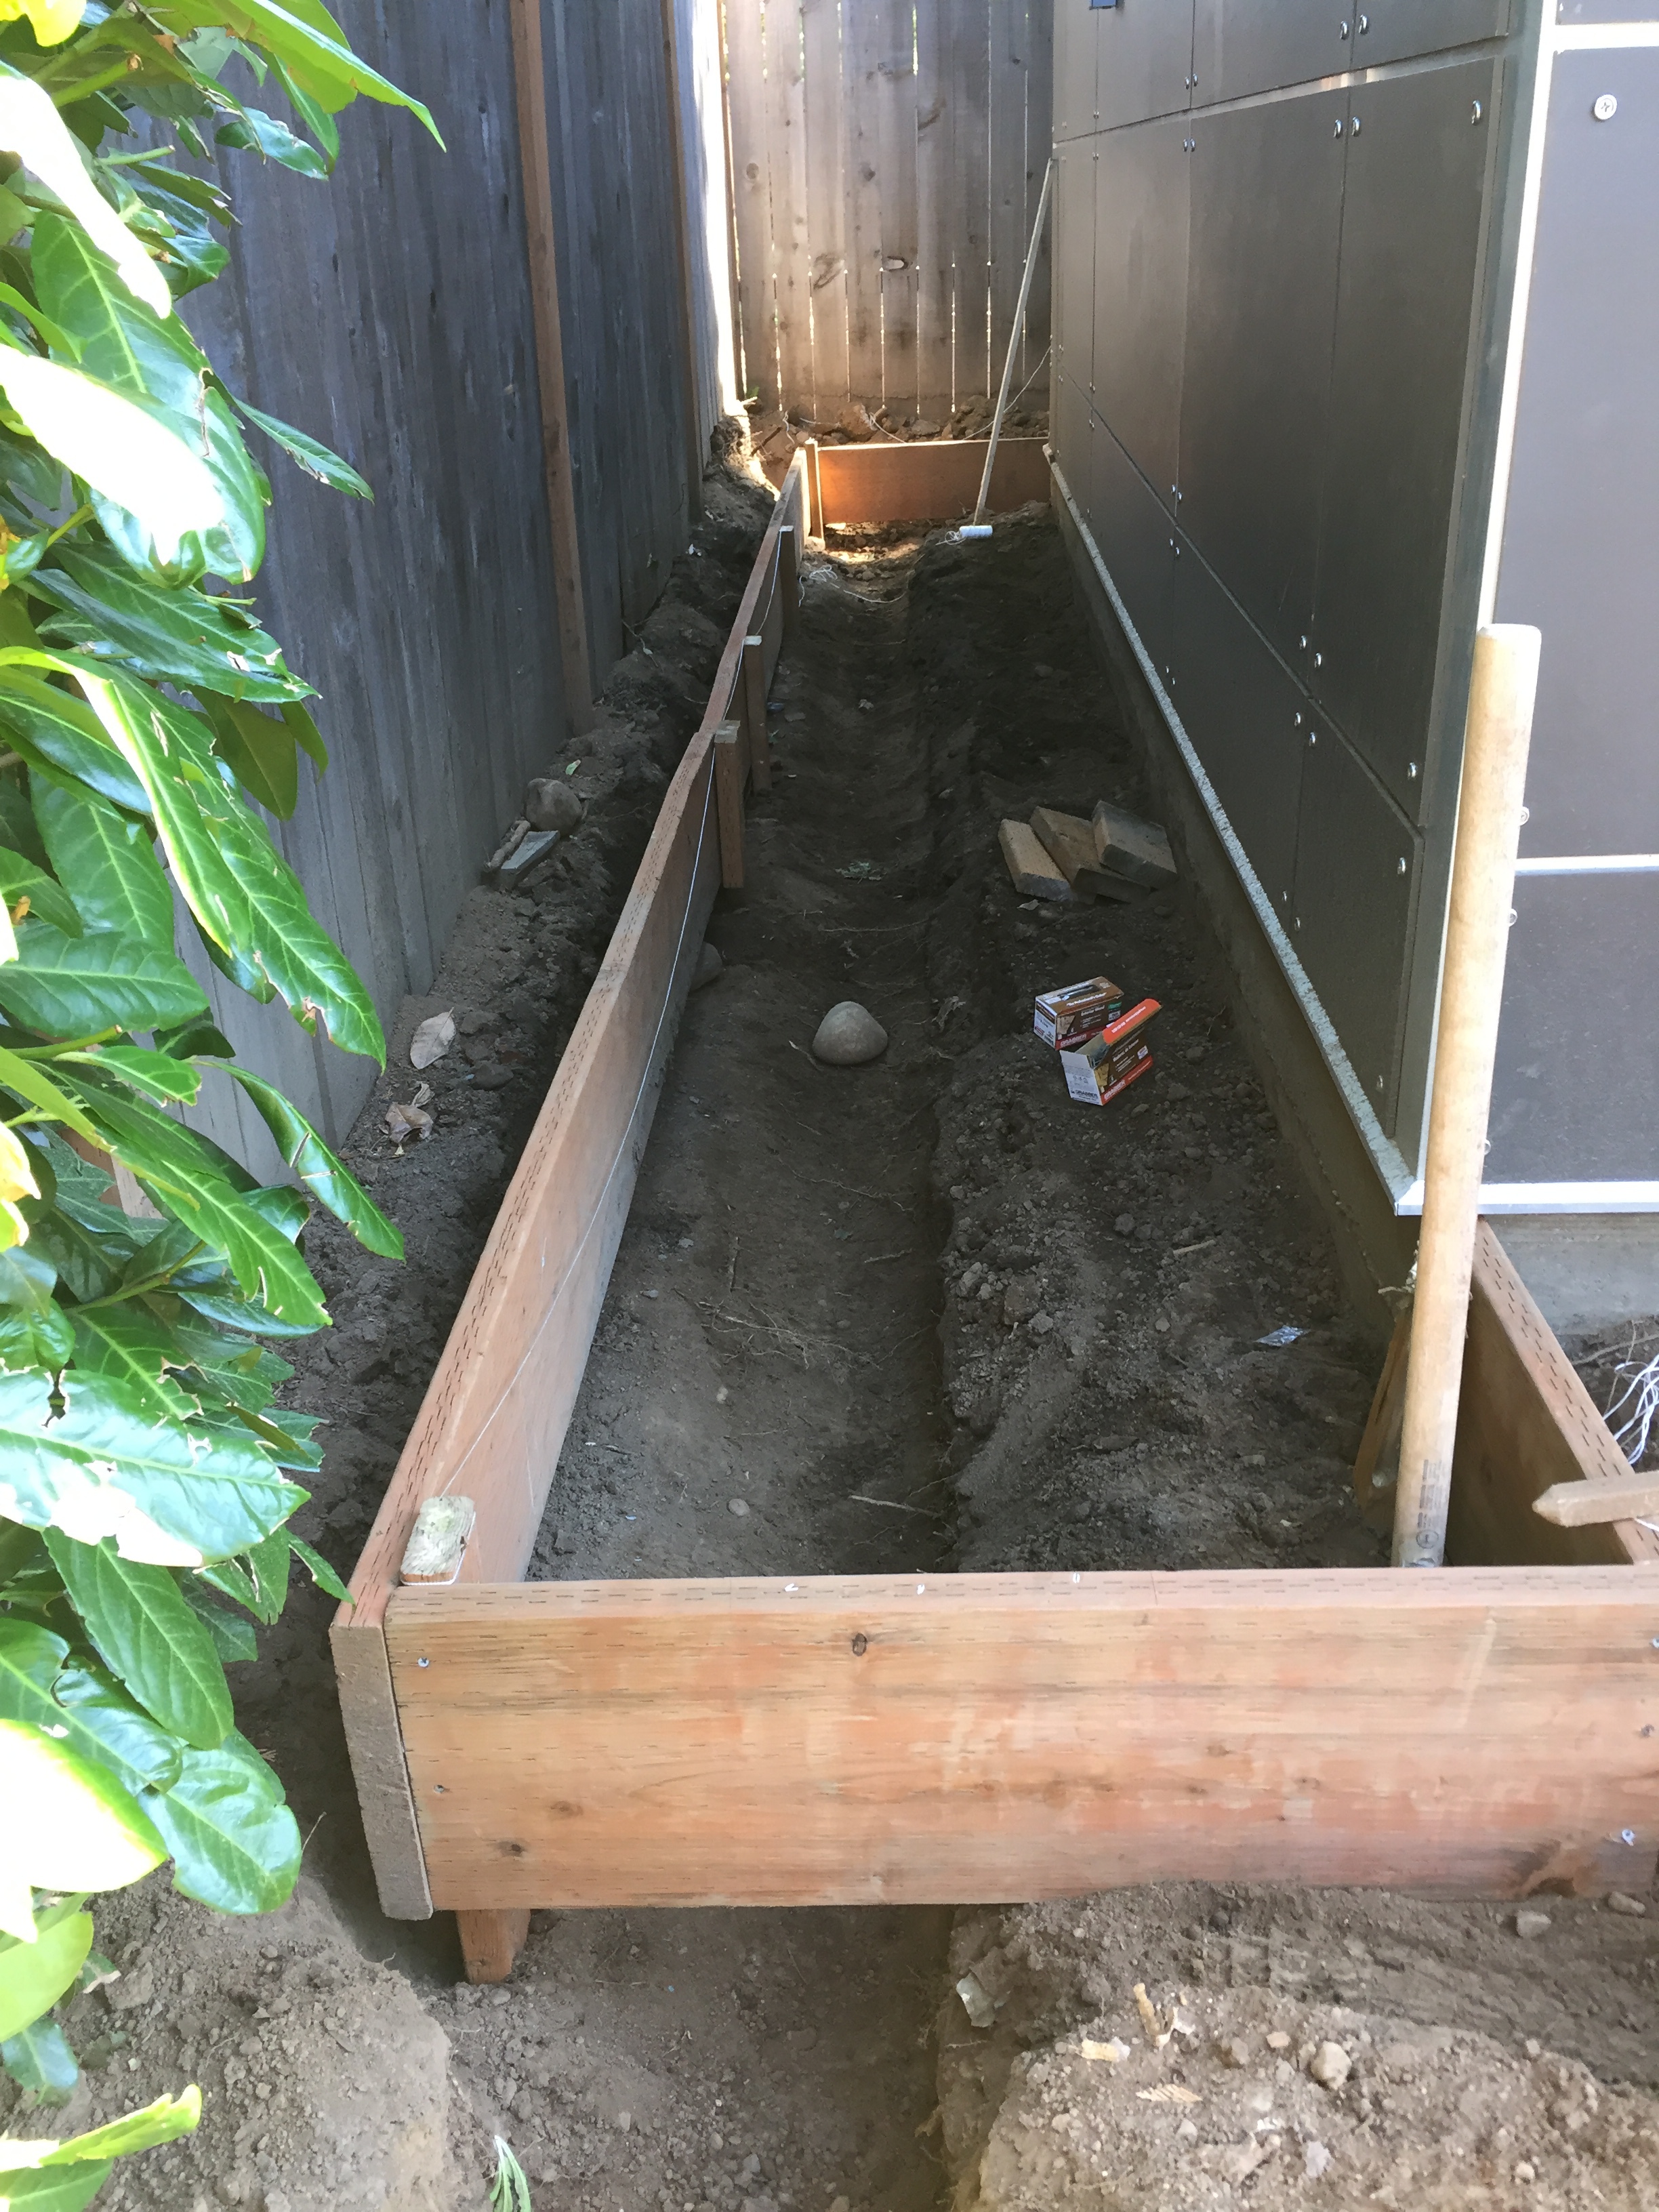
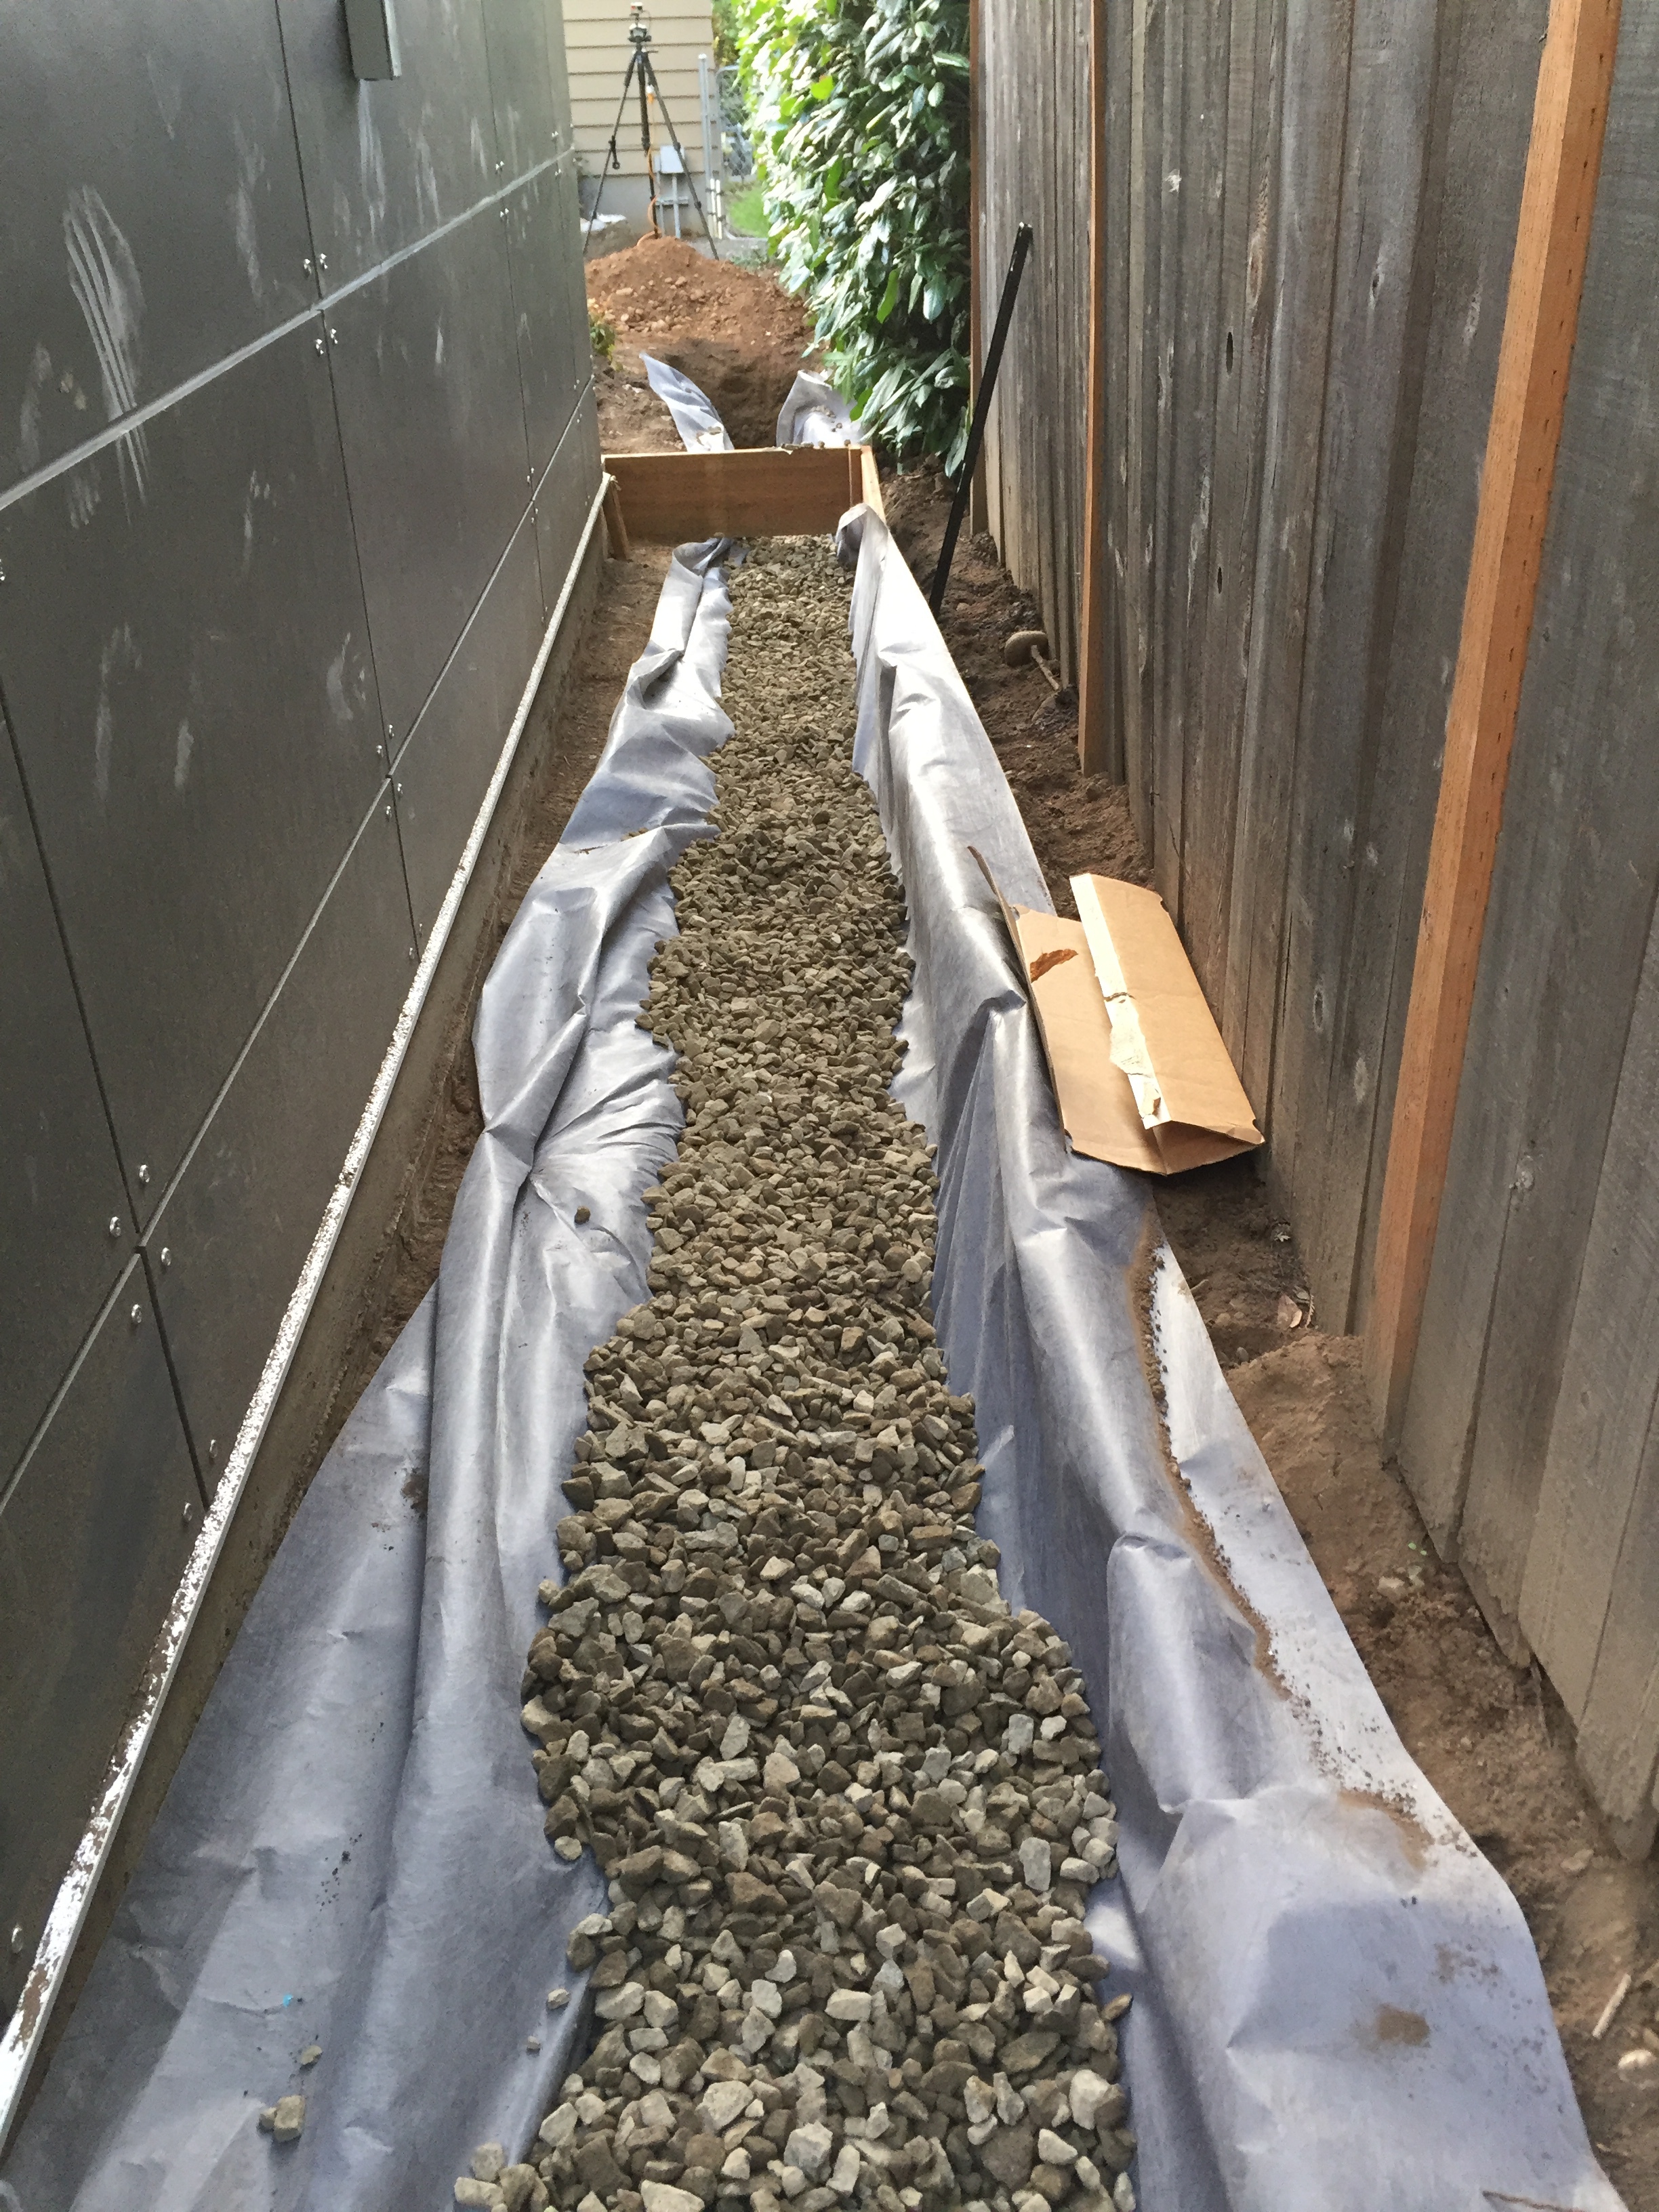
While the drywall finishing was in flux, I faced another reality that I should have planned for before the foundation went in – drainage. With a shed-style roof, all rain runoff would fall to the back side of the structure. While the soil here drains reasonably well, we get a LOT of rain in Portland. So with the rainy season approaching, I felt like a race against the weather was beginning. I had to figure out how to effectively drain all this runoff.
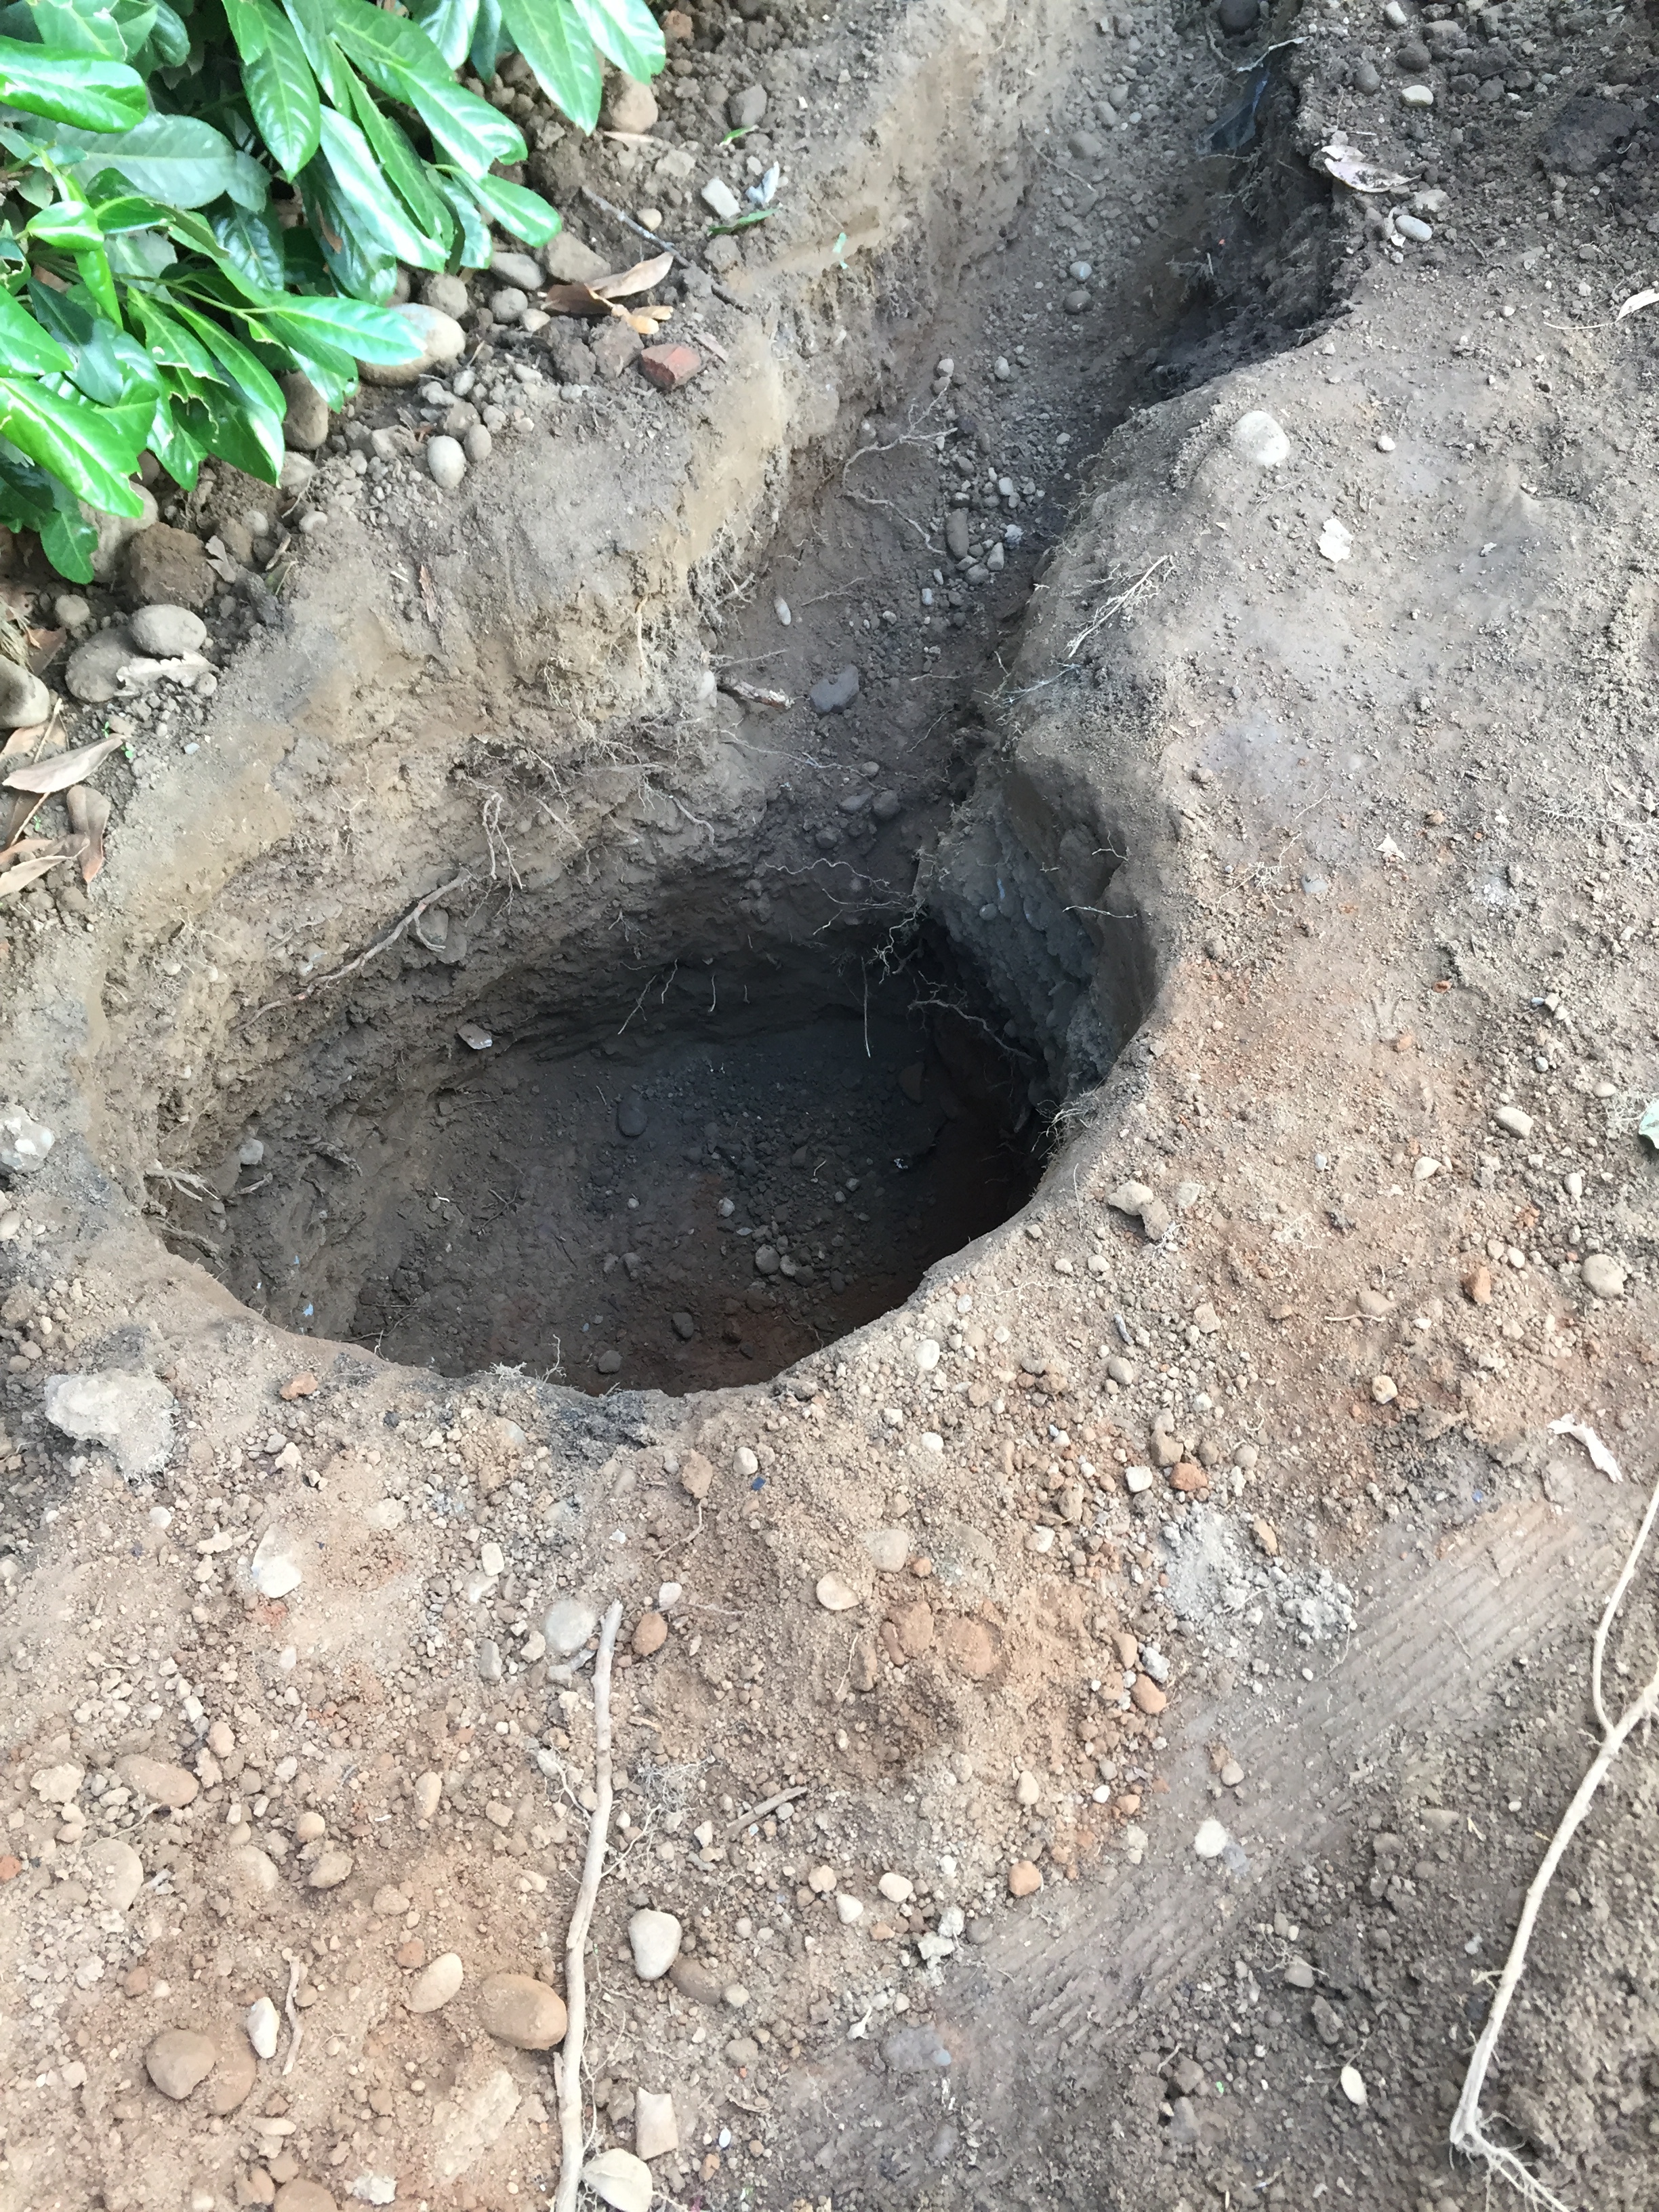
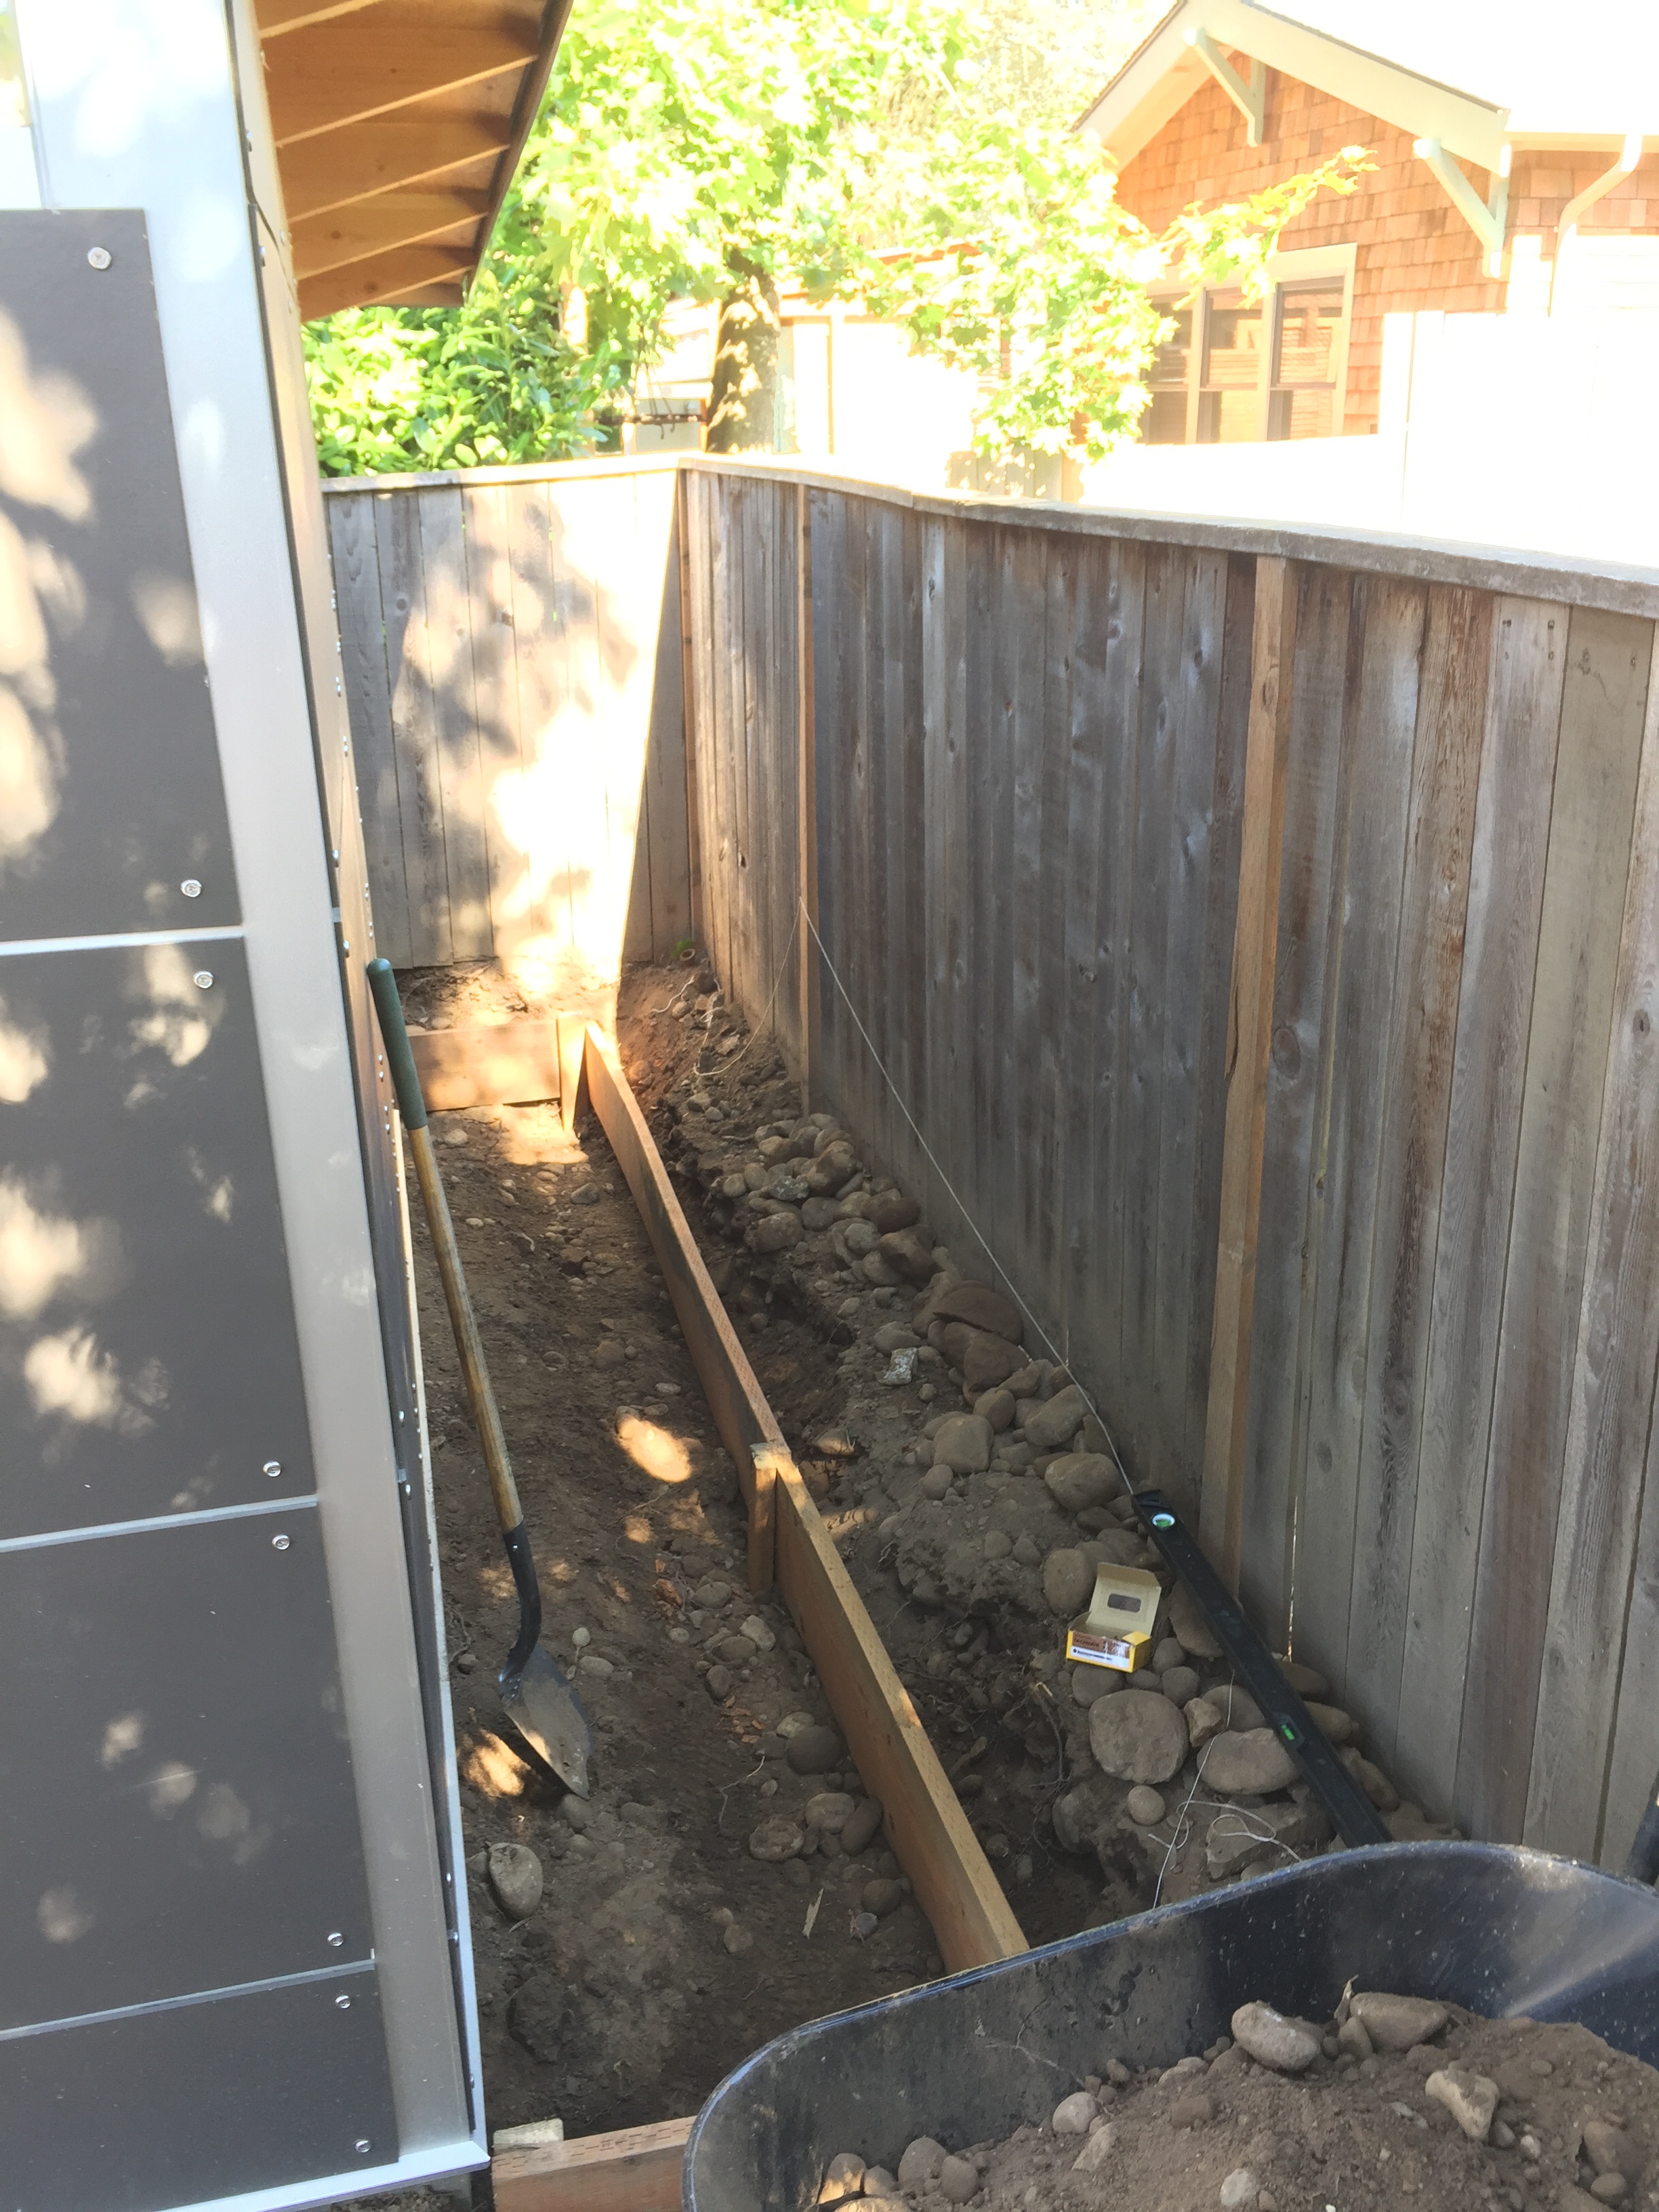
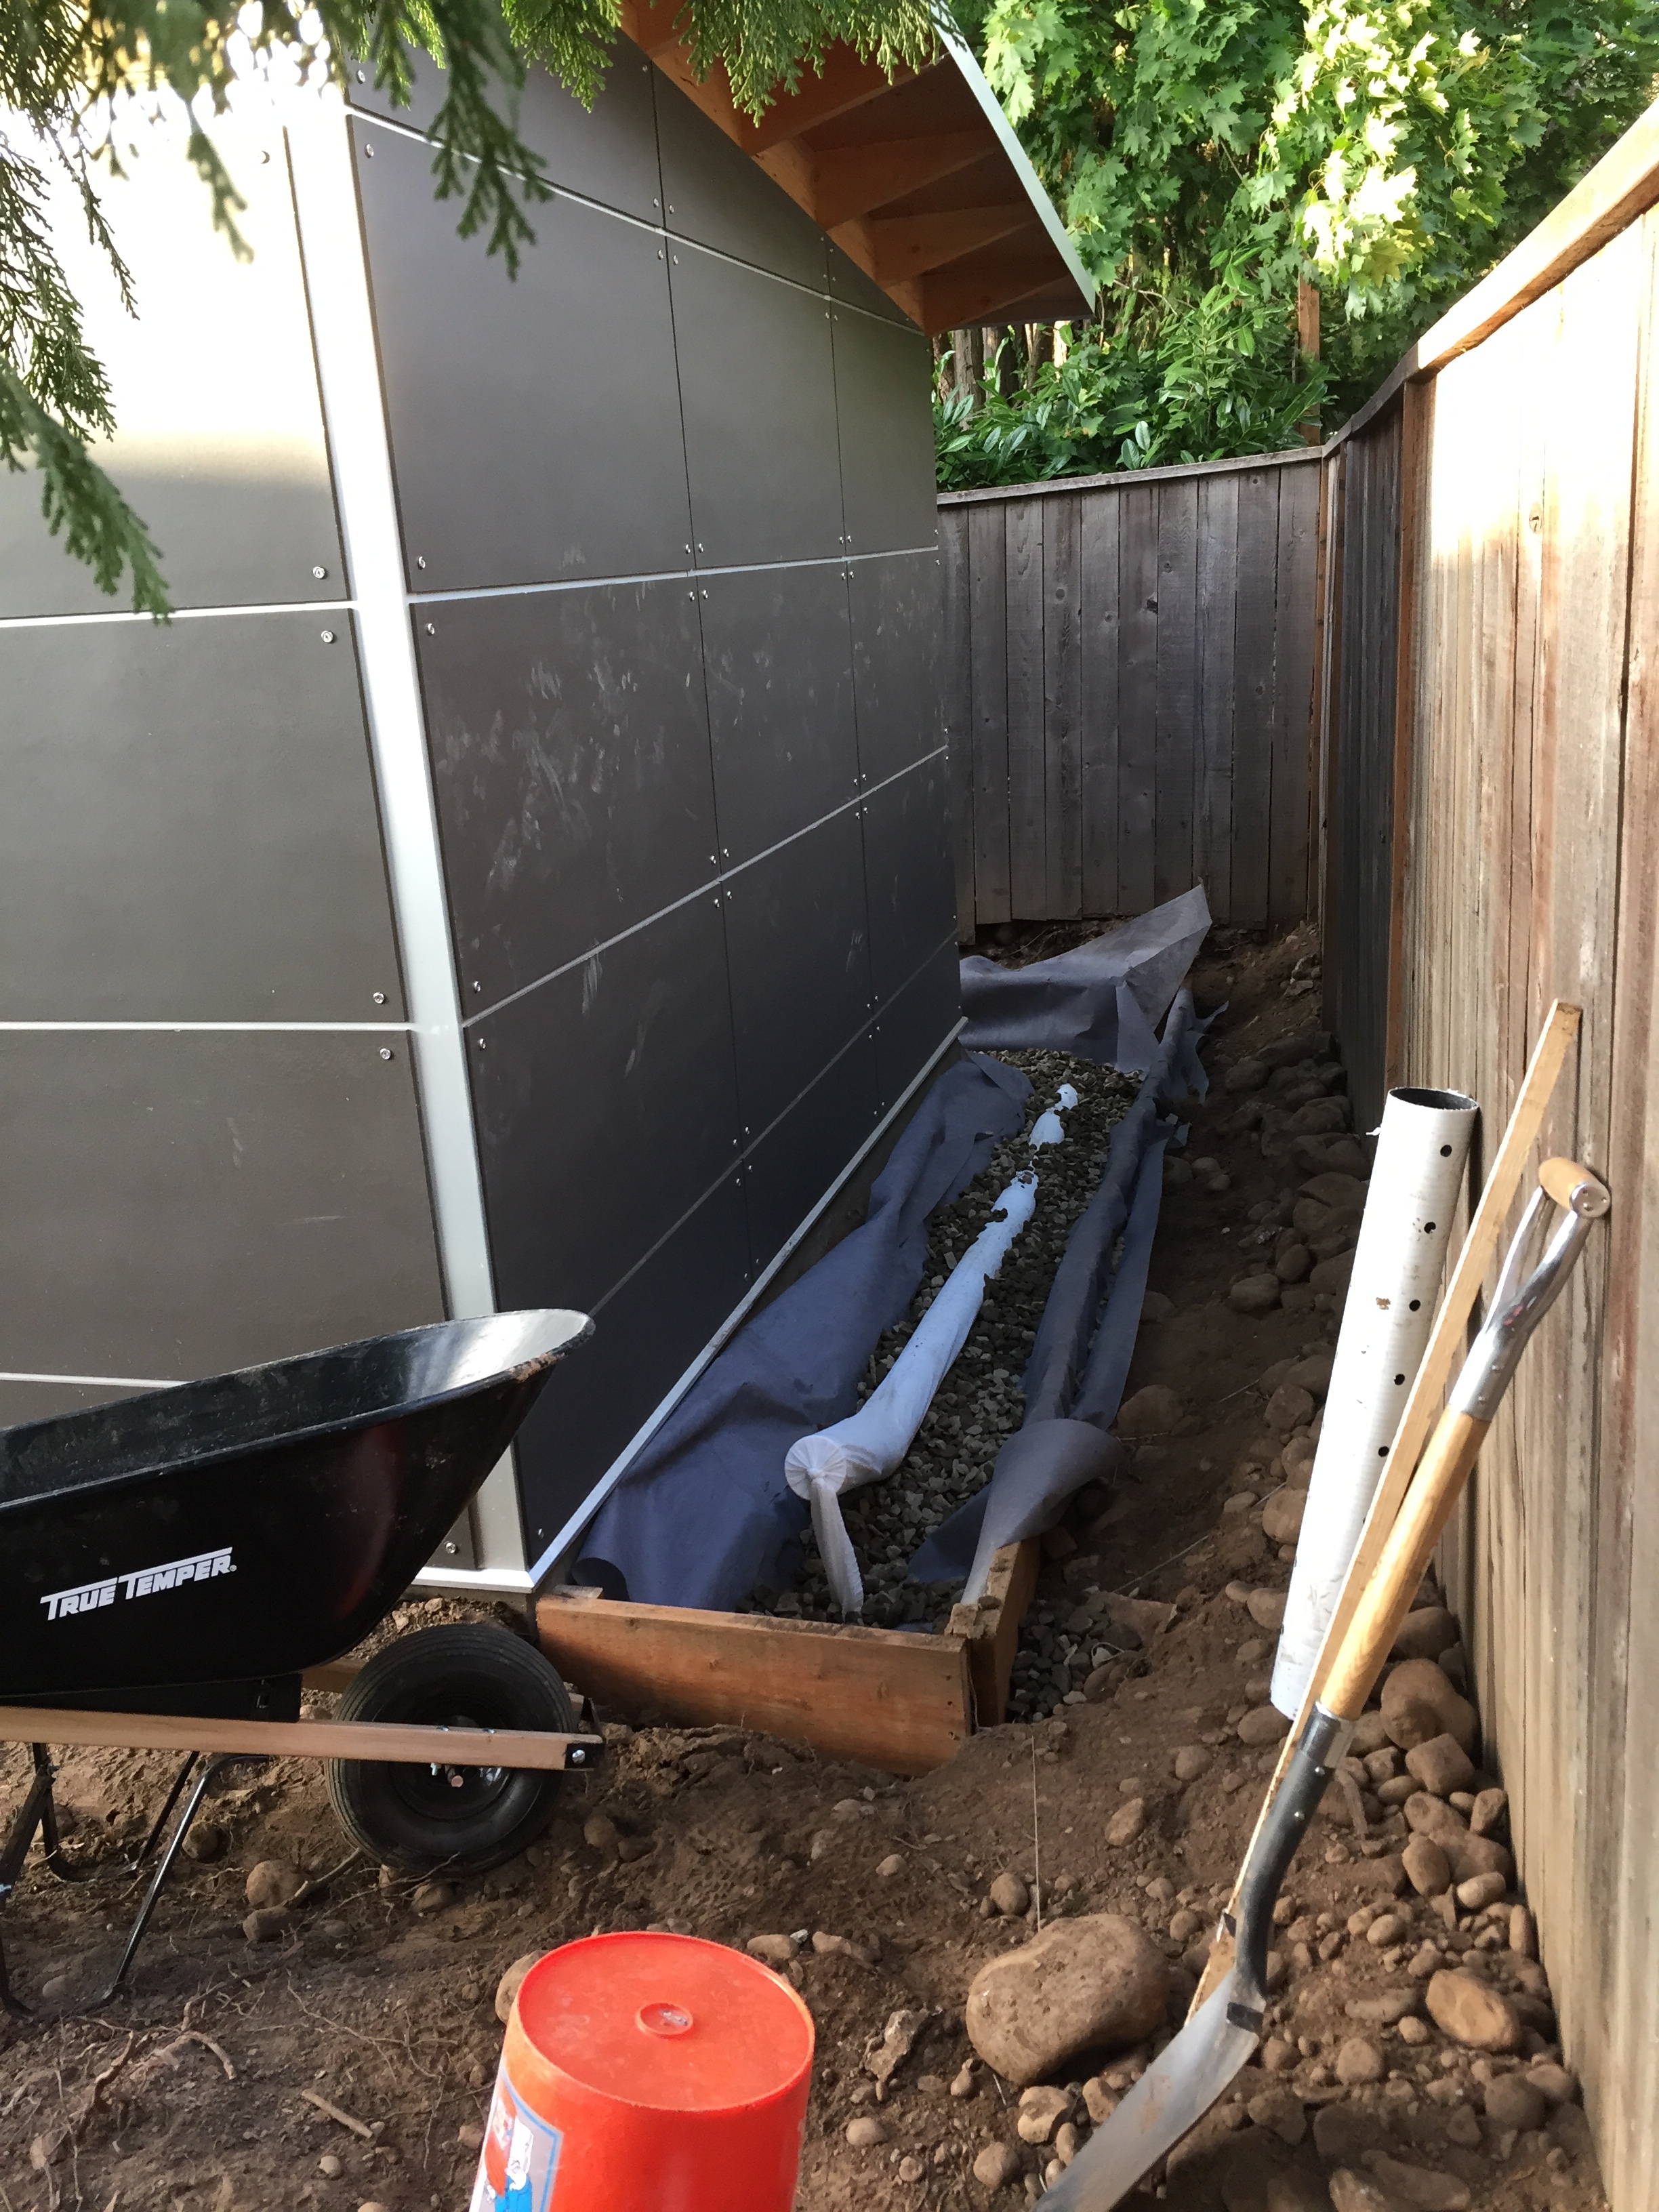
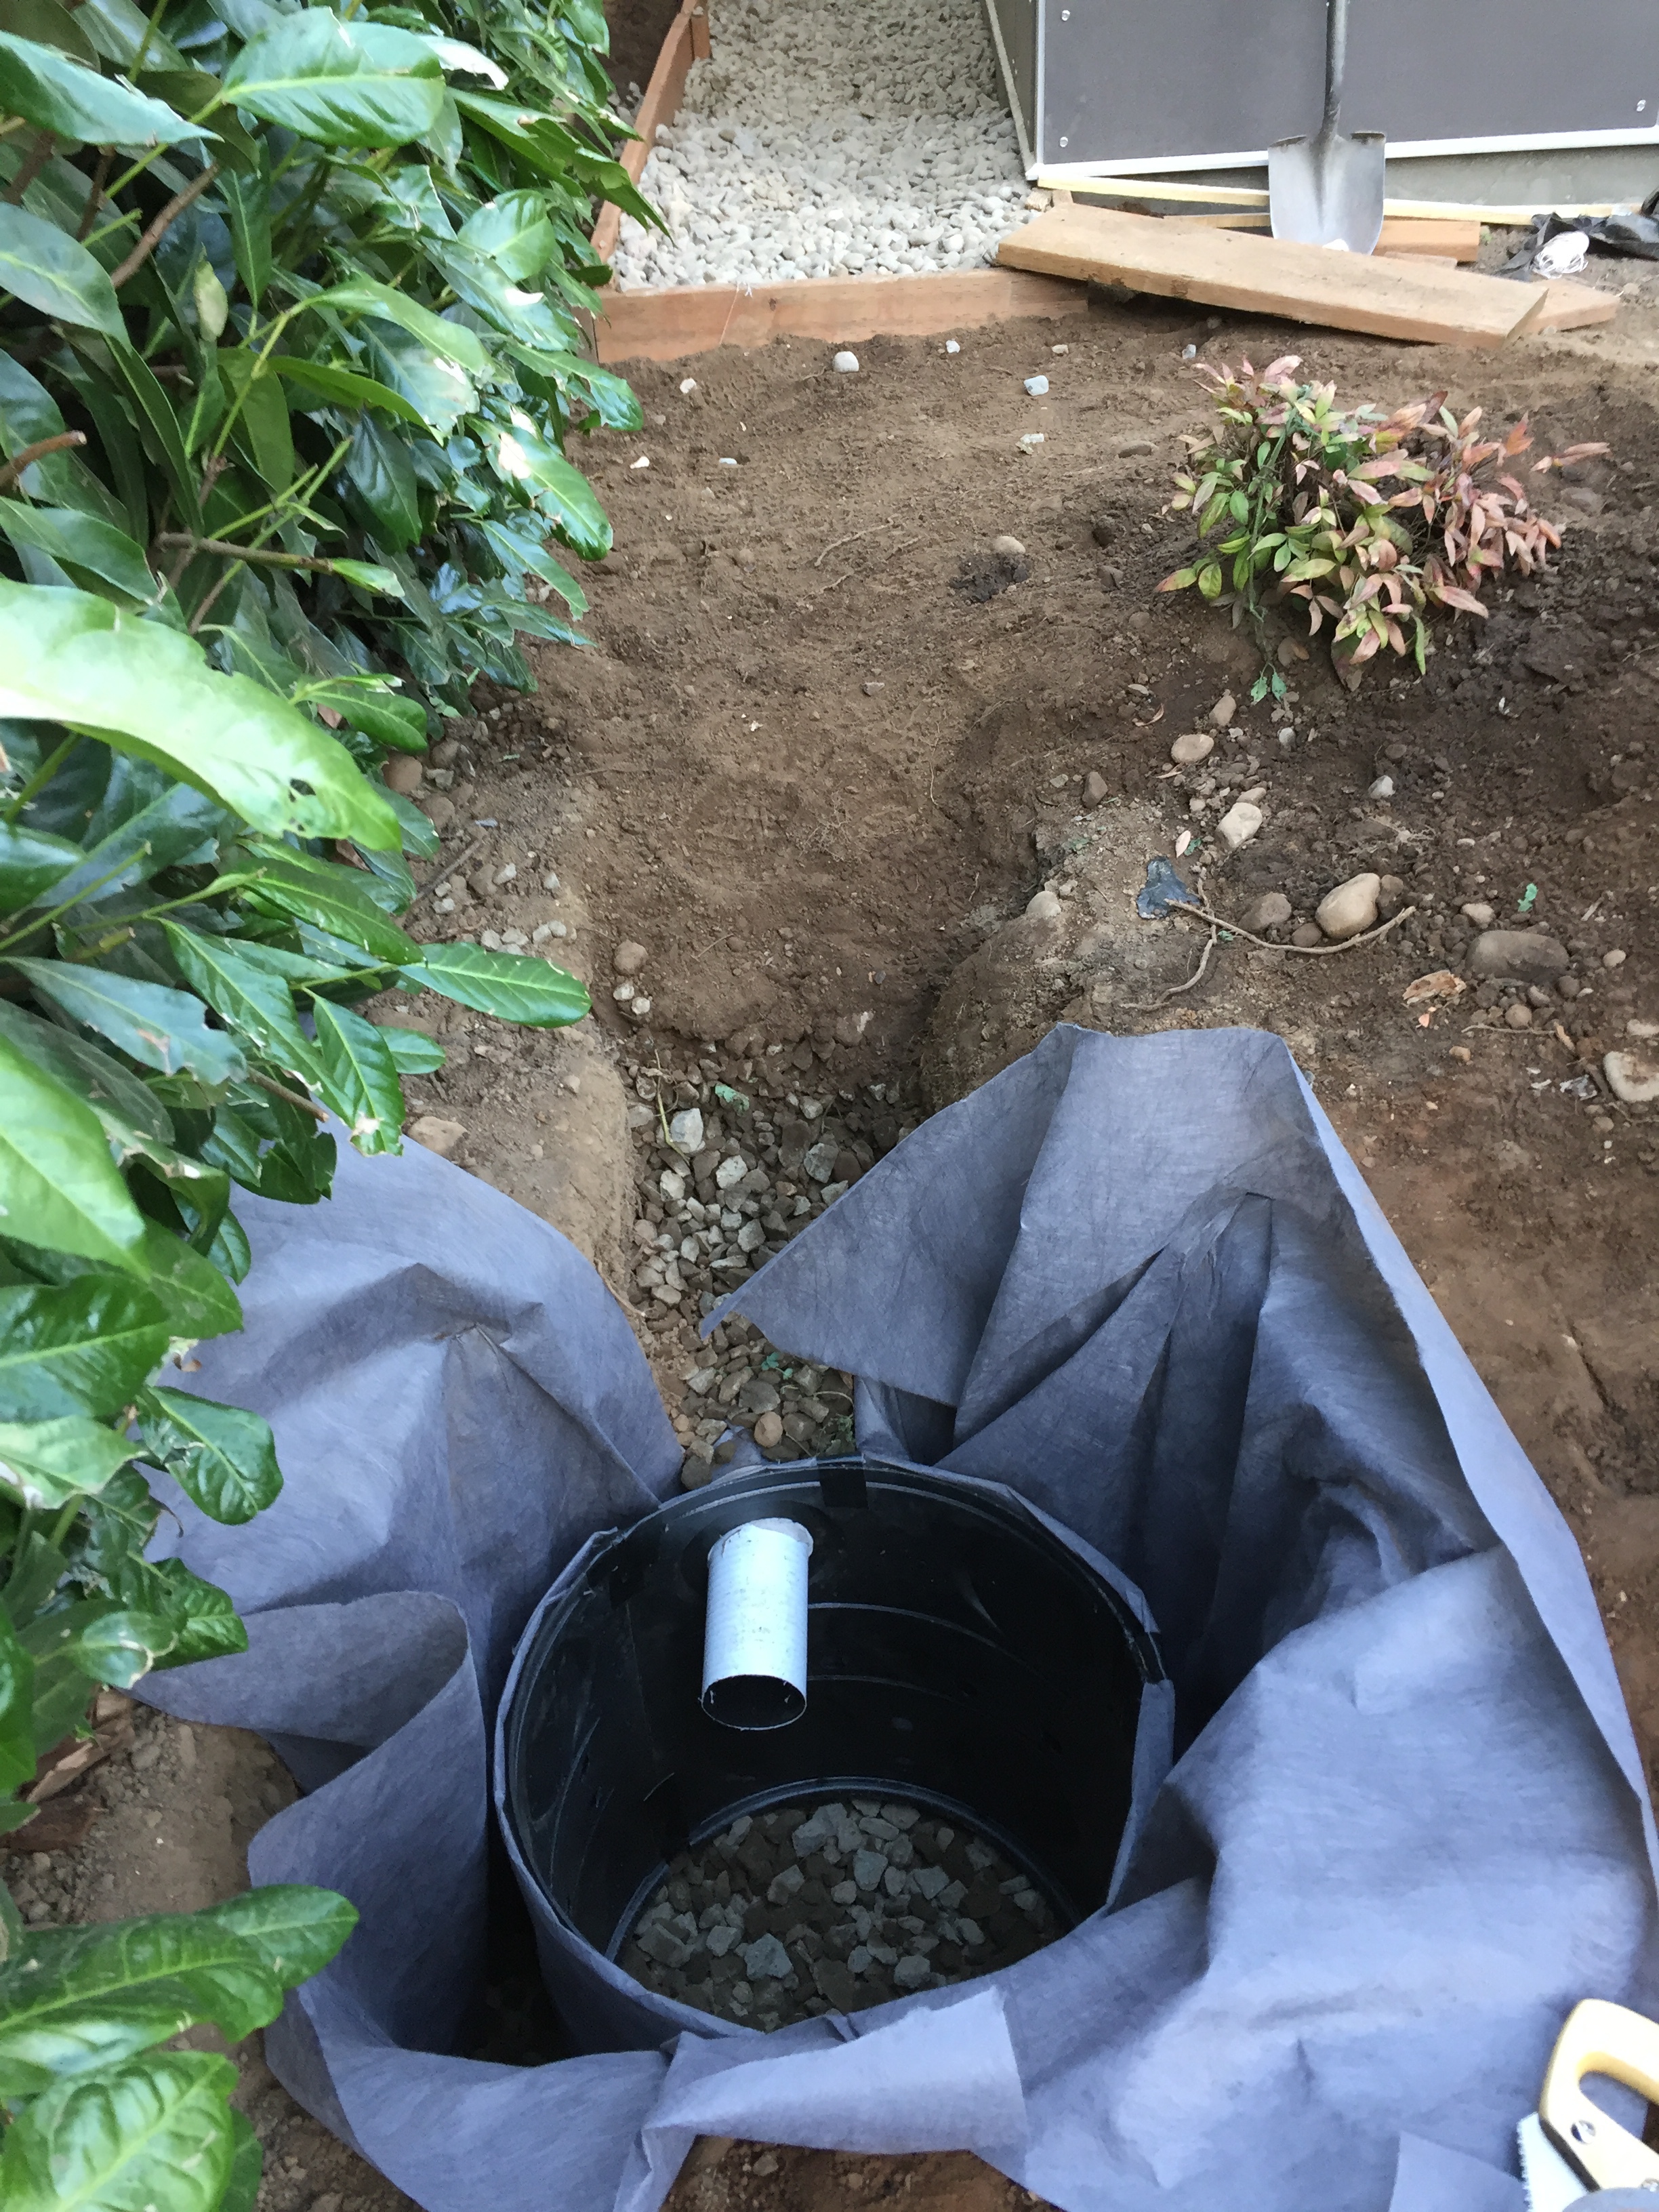
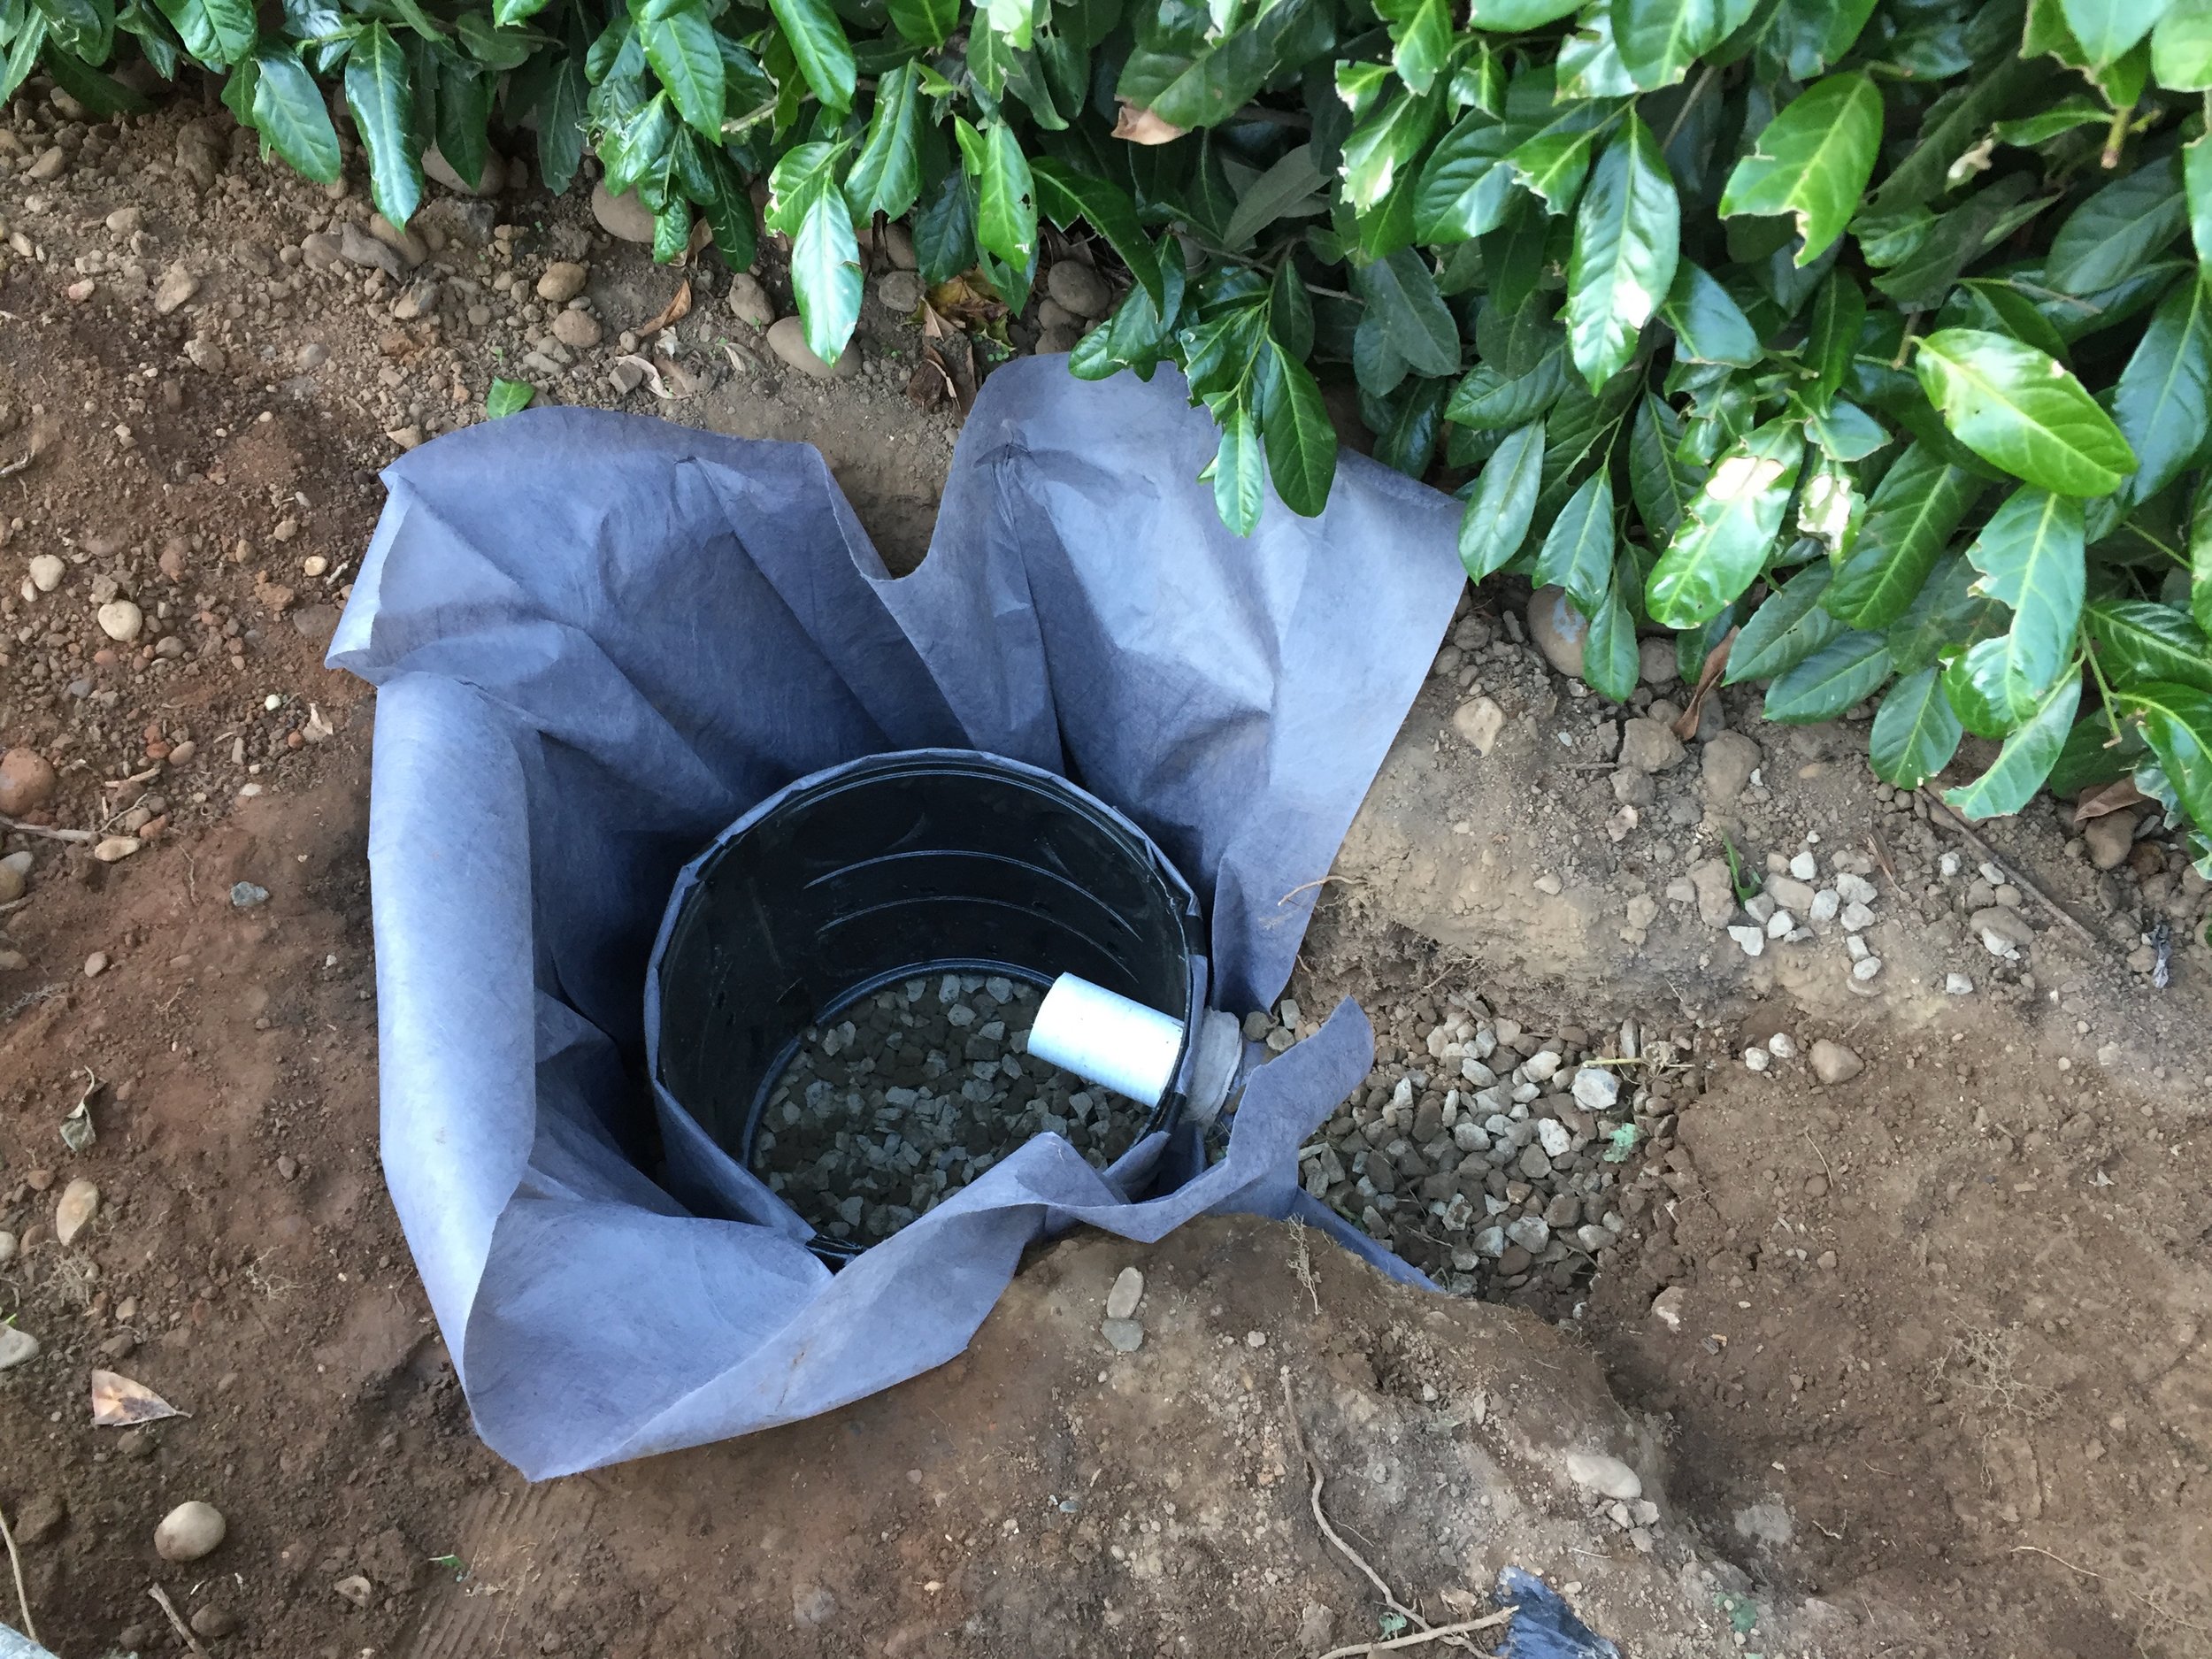
I decided to build a dry well fed by a french drain. Essentially, any water that collected around the building would drain through a rock bed, which would flood up into a perforate pipe, that would then carry the water away from the building and into a collection tank. Any water that collected here would slowly seep into the ground naturally.
This involved a LOT of digging, and a lot of hauling wheelbarrows full of rock. I was sore for days after this job and I have a newfound respect for people who do this sort of work every day.

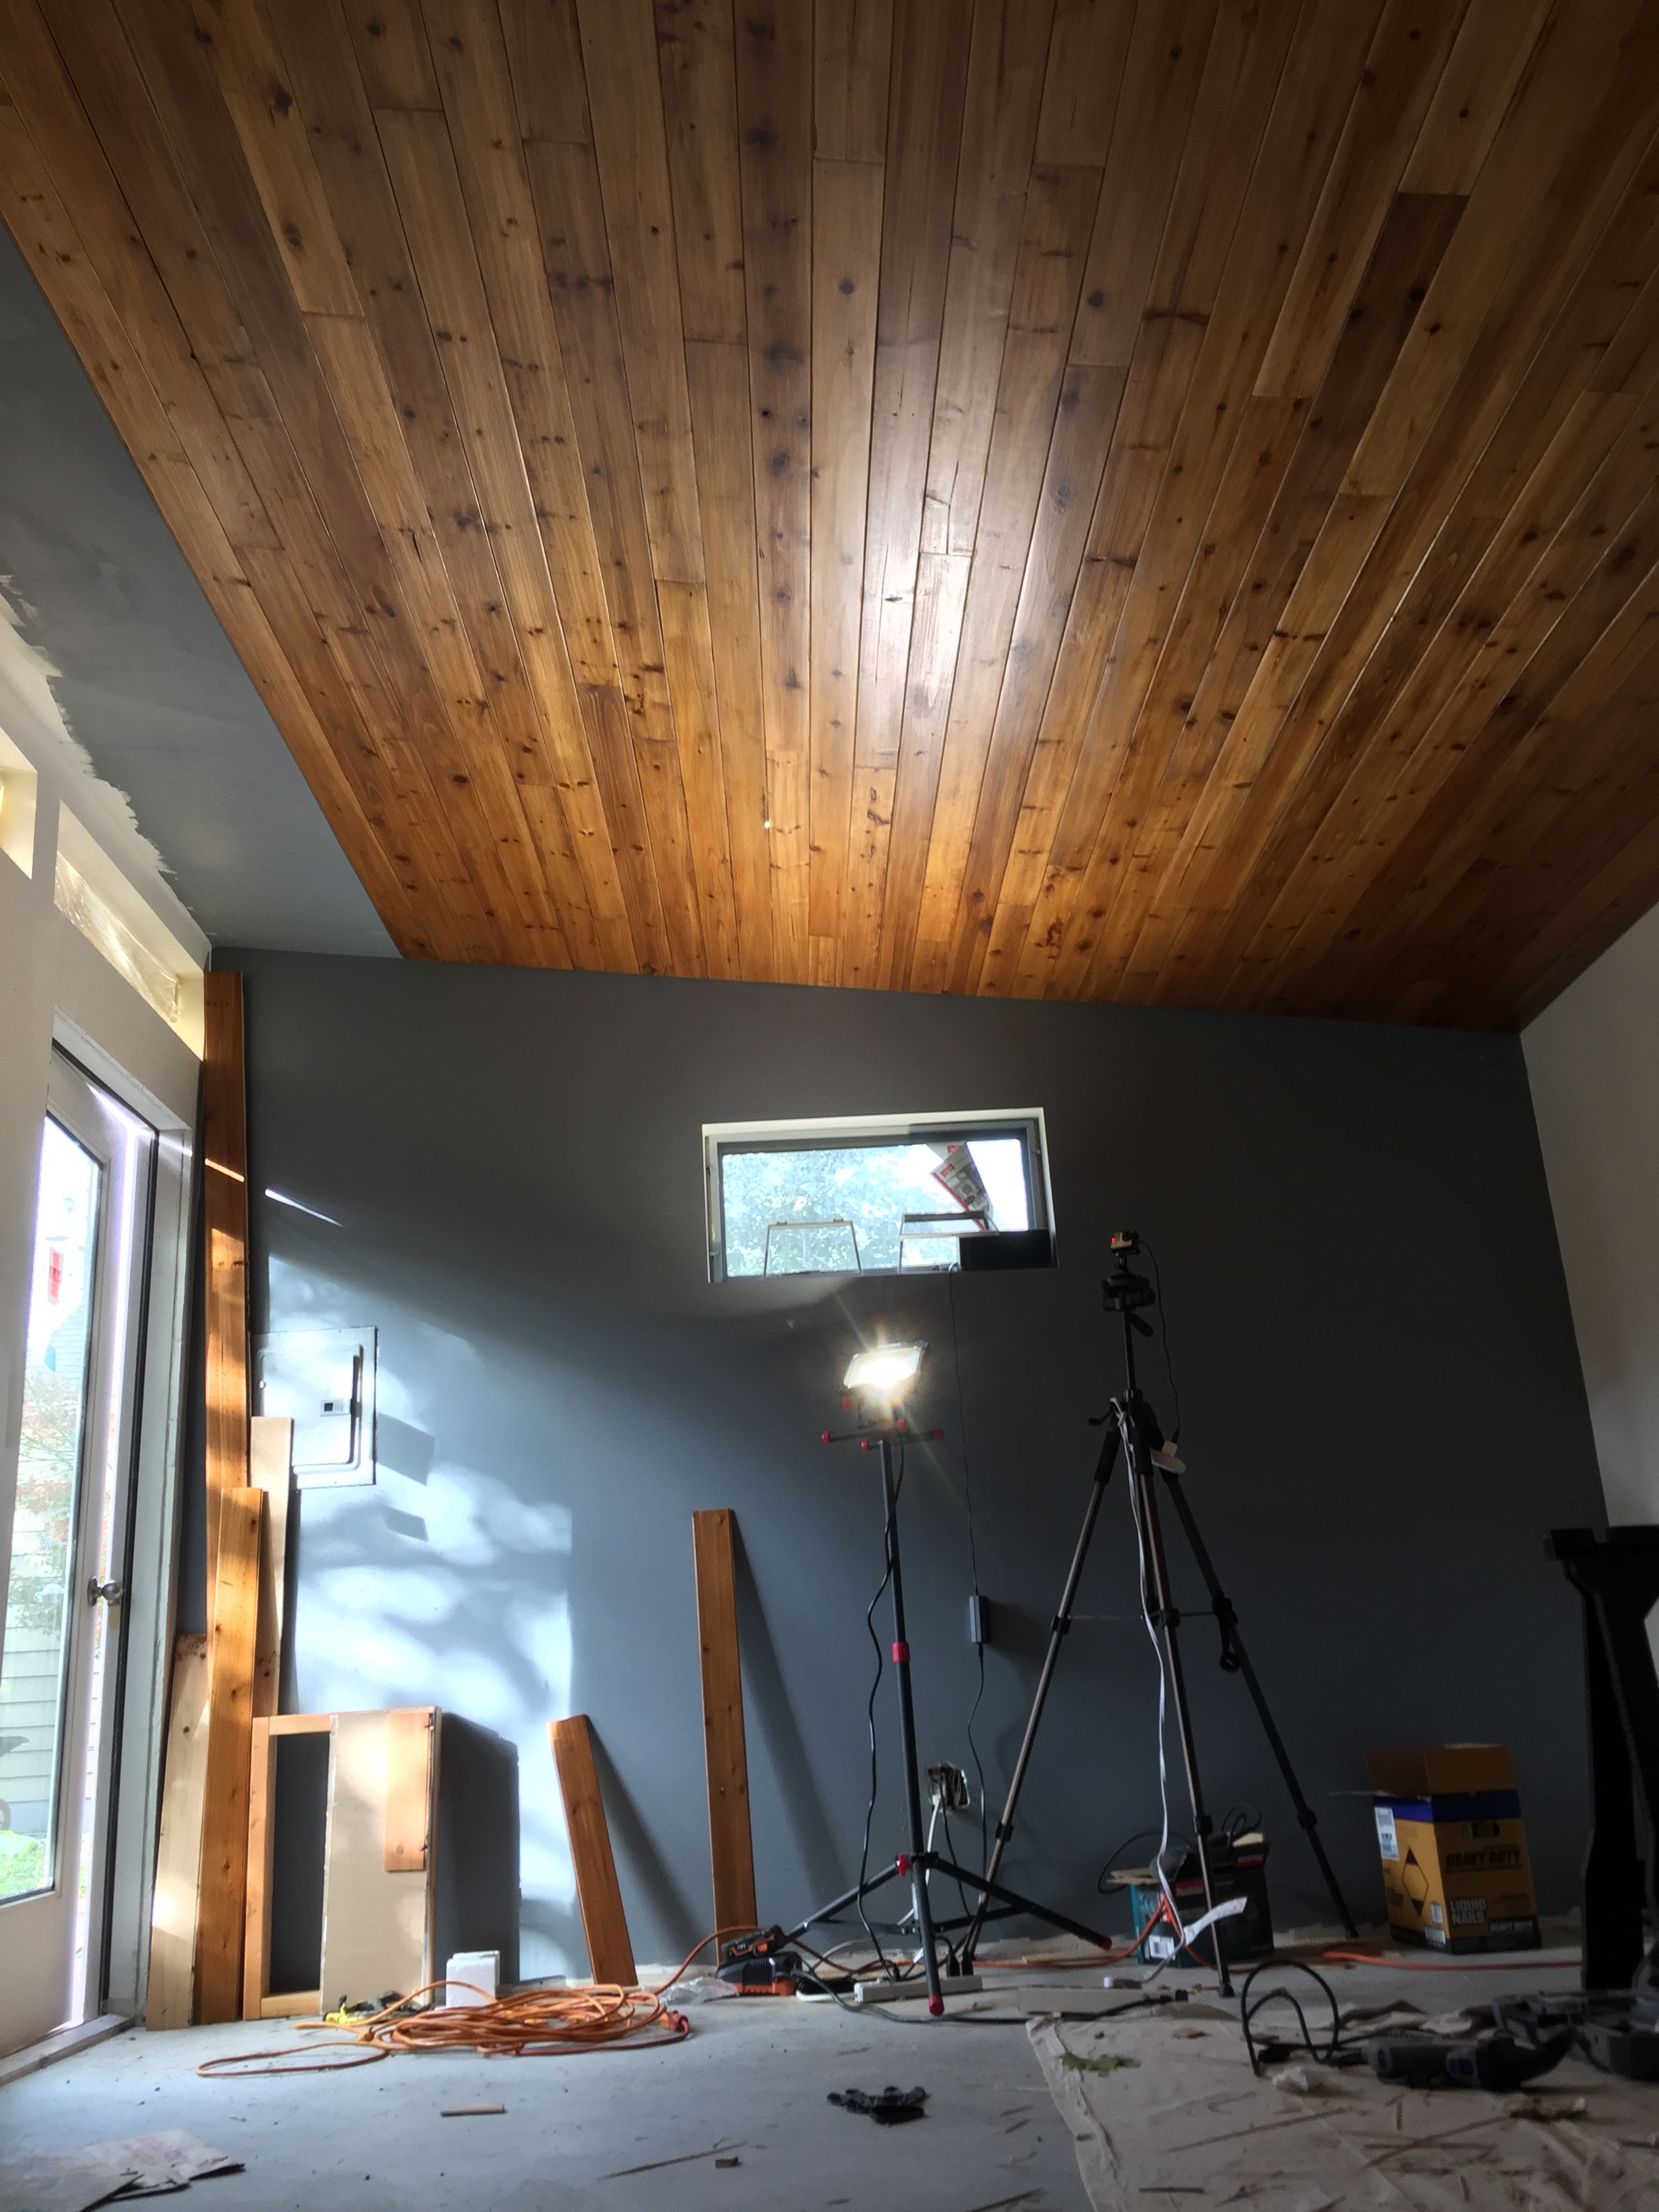
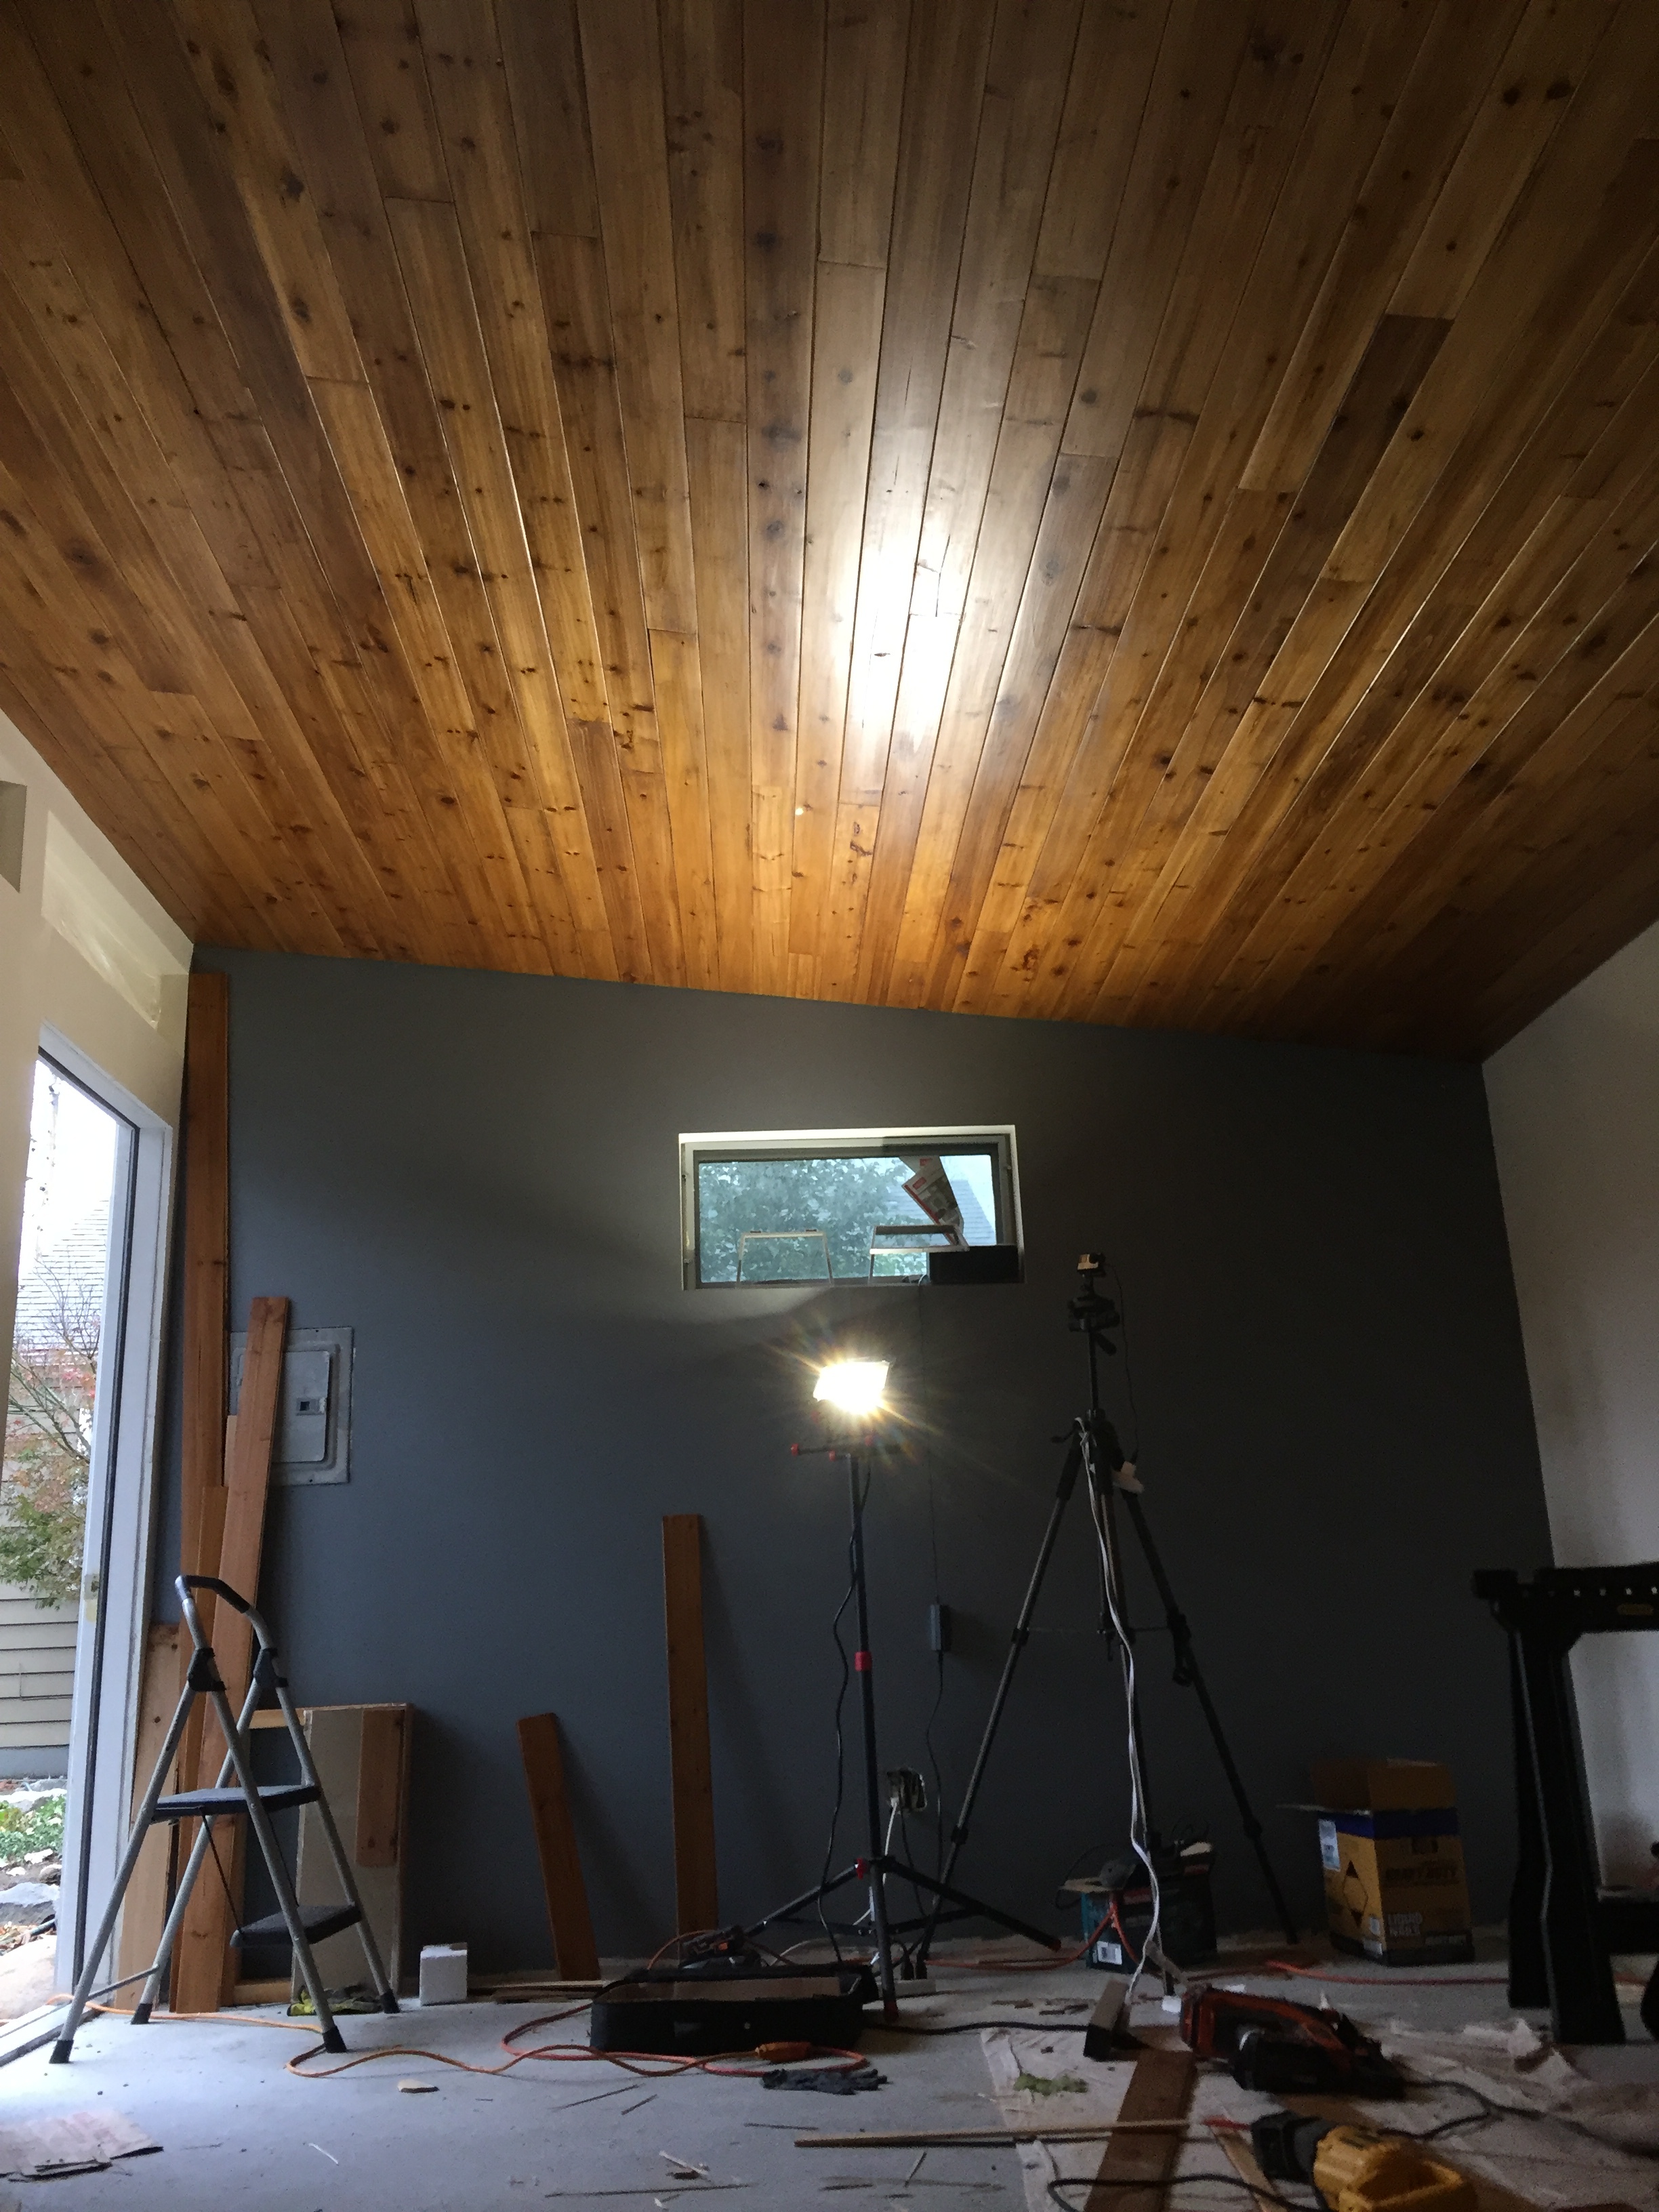
Ceiling
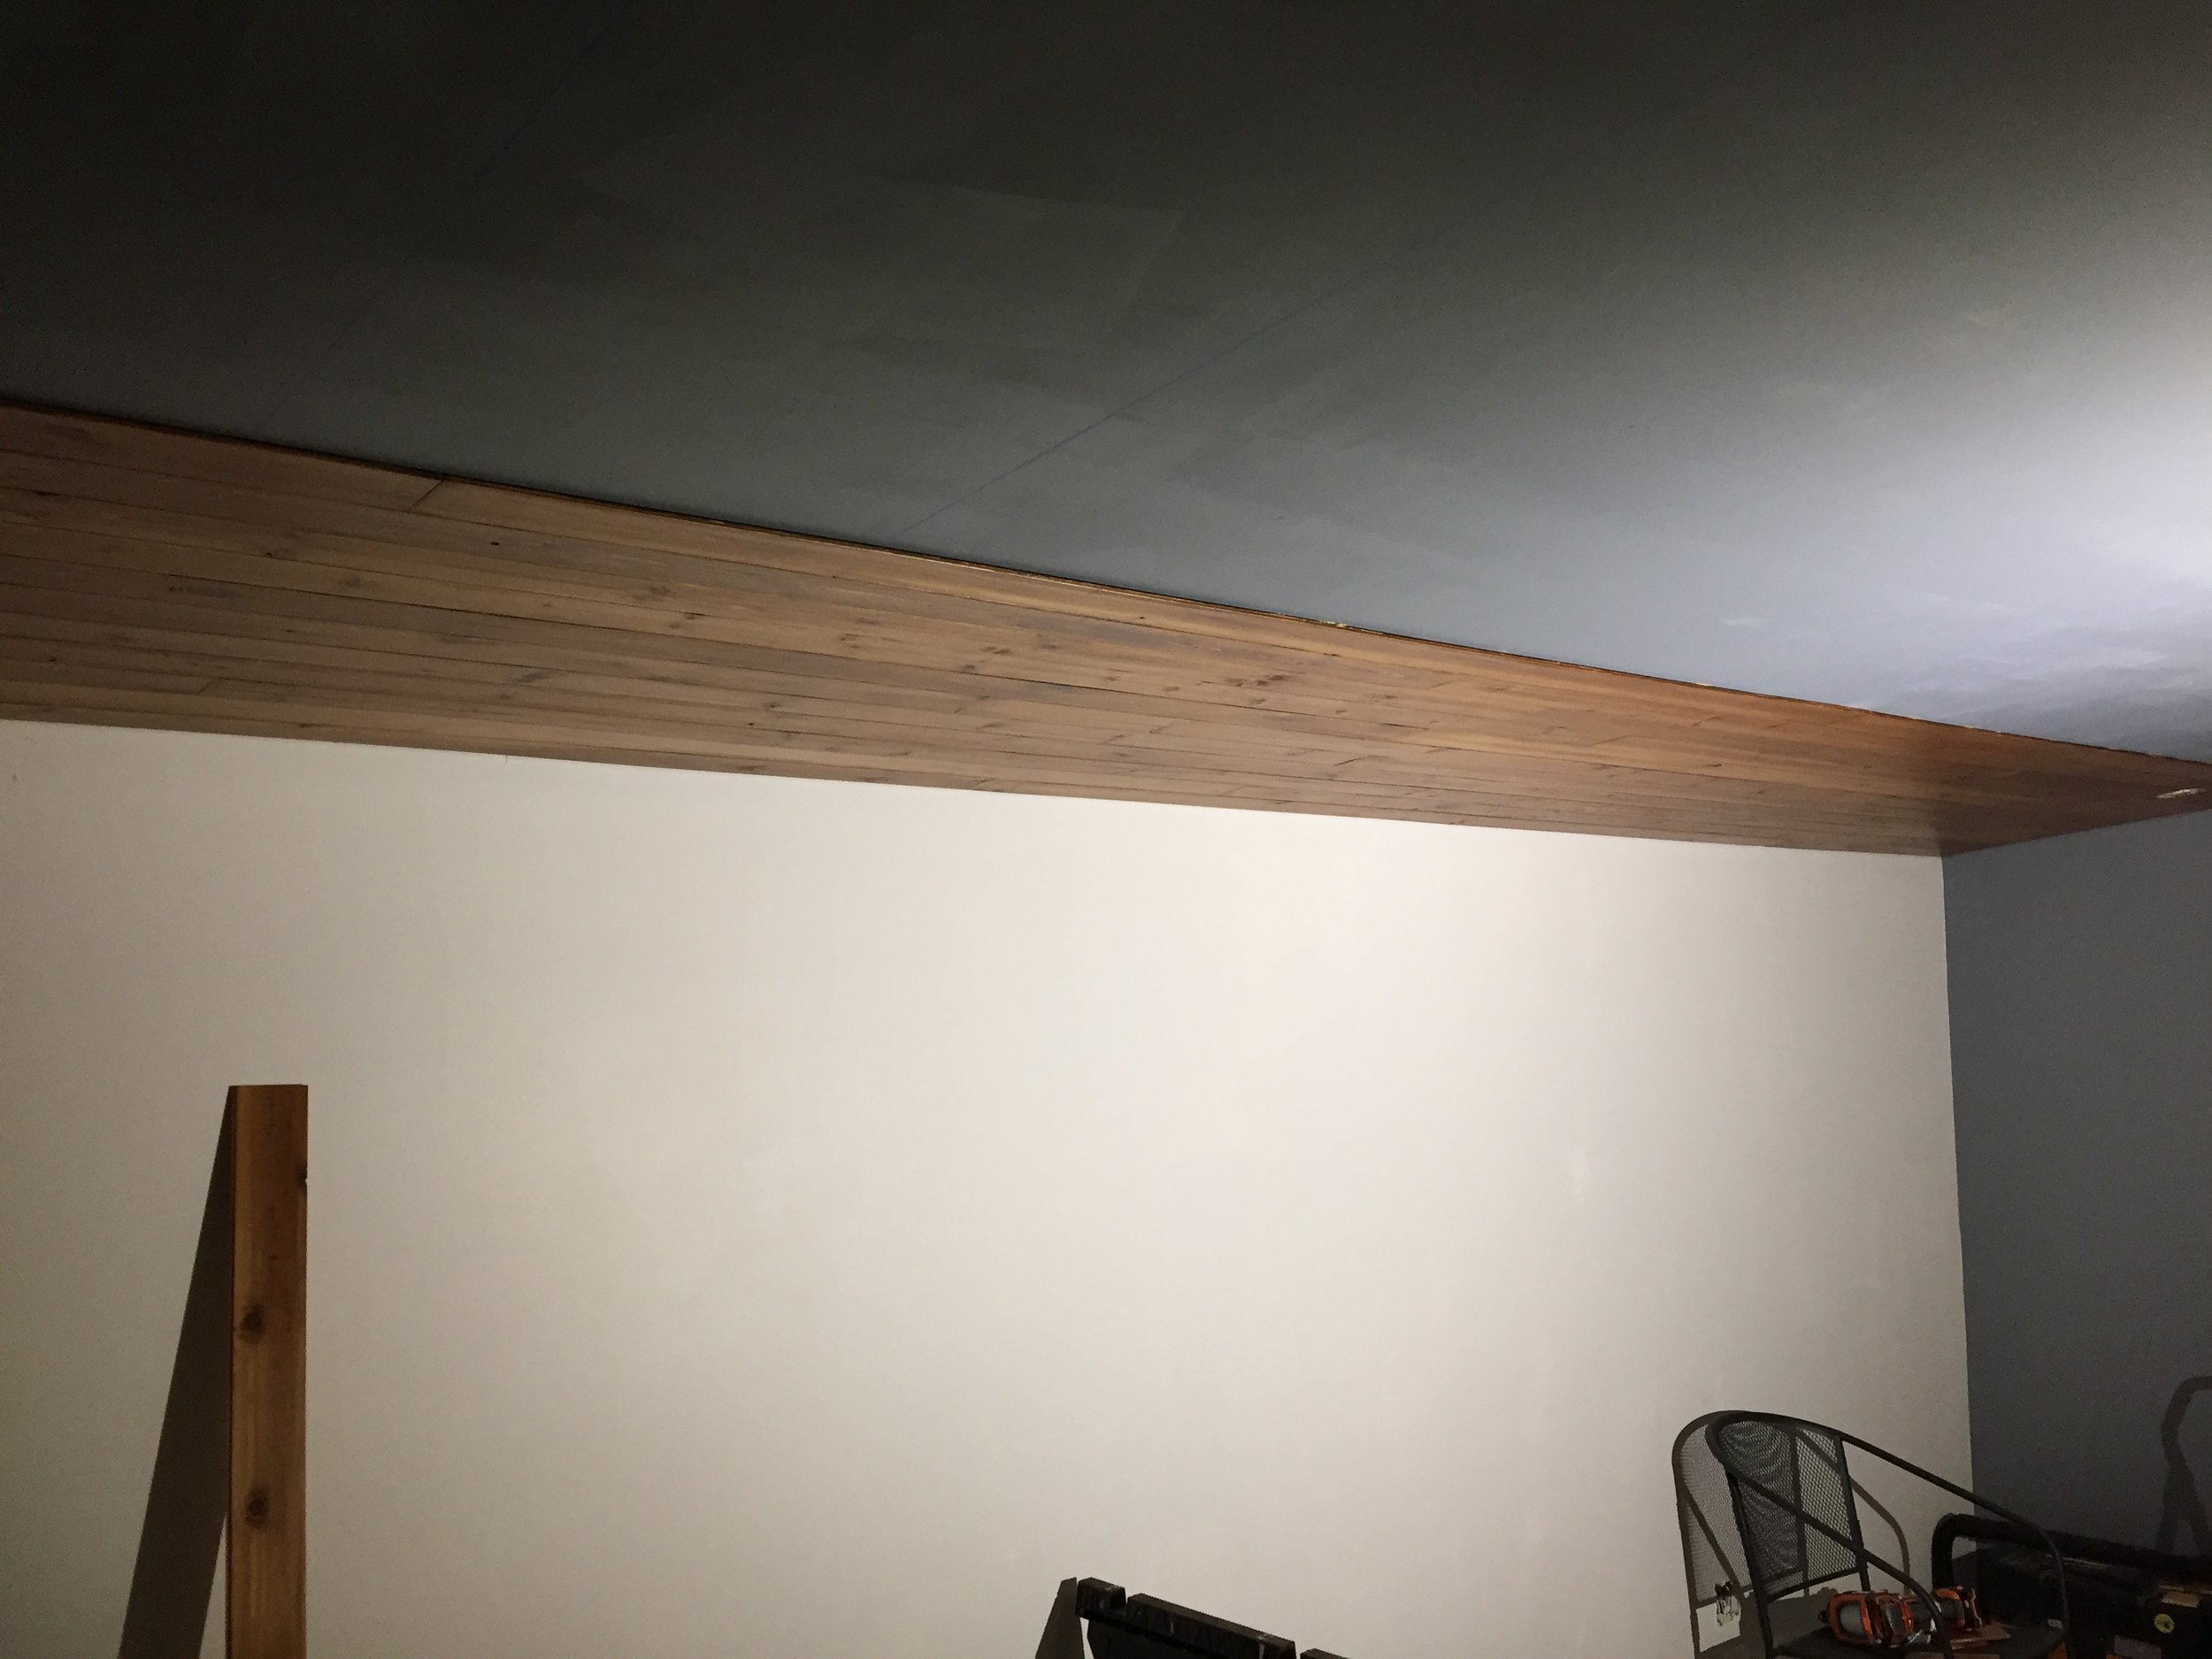
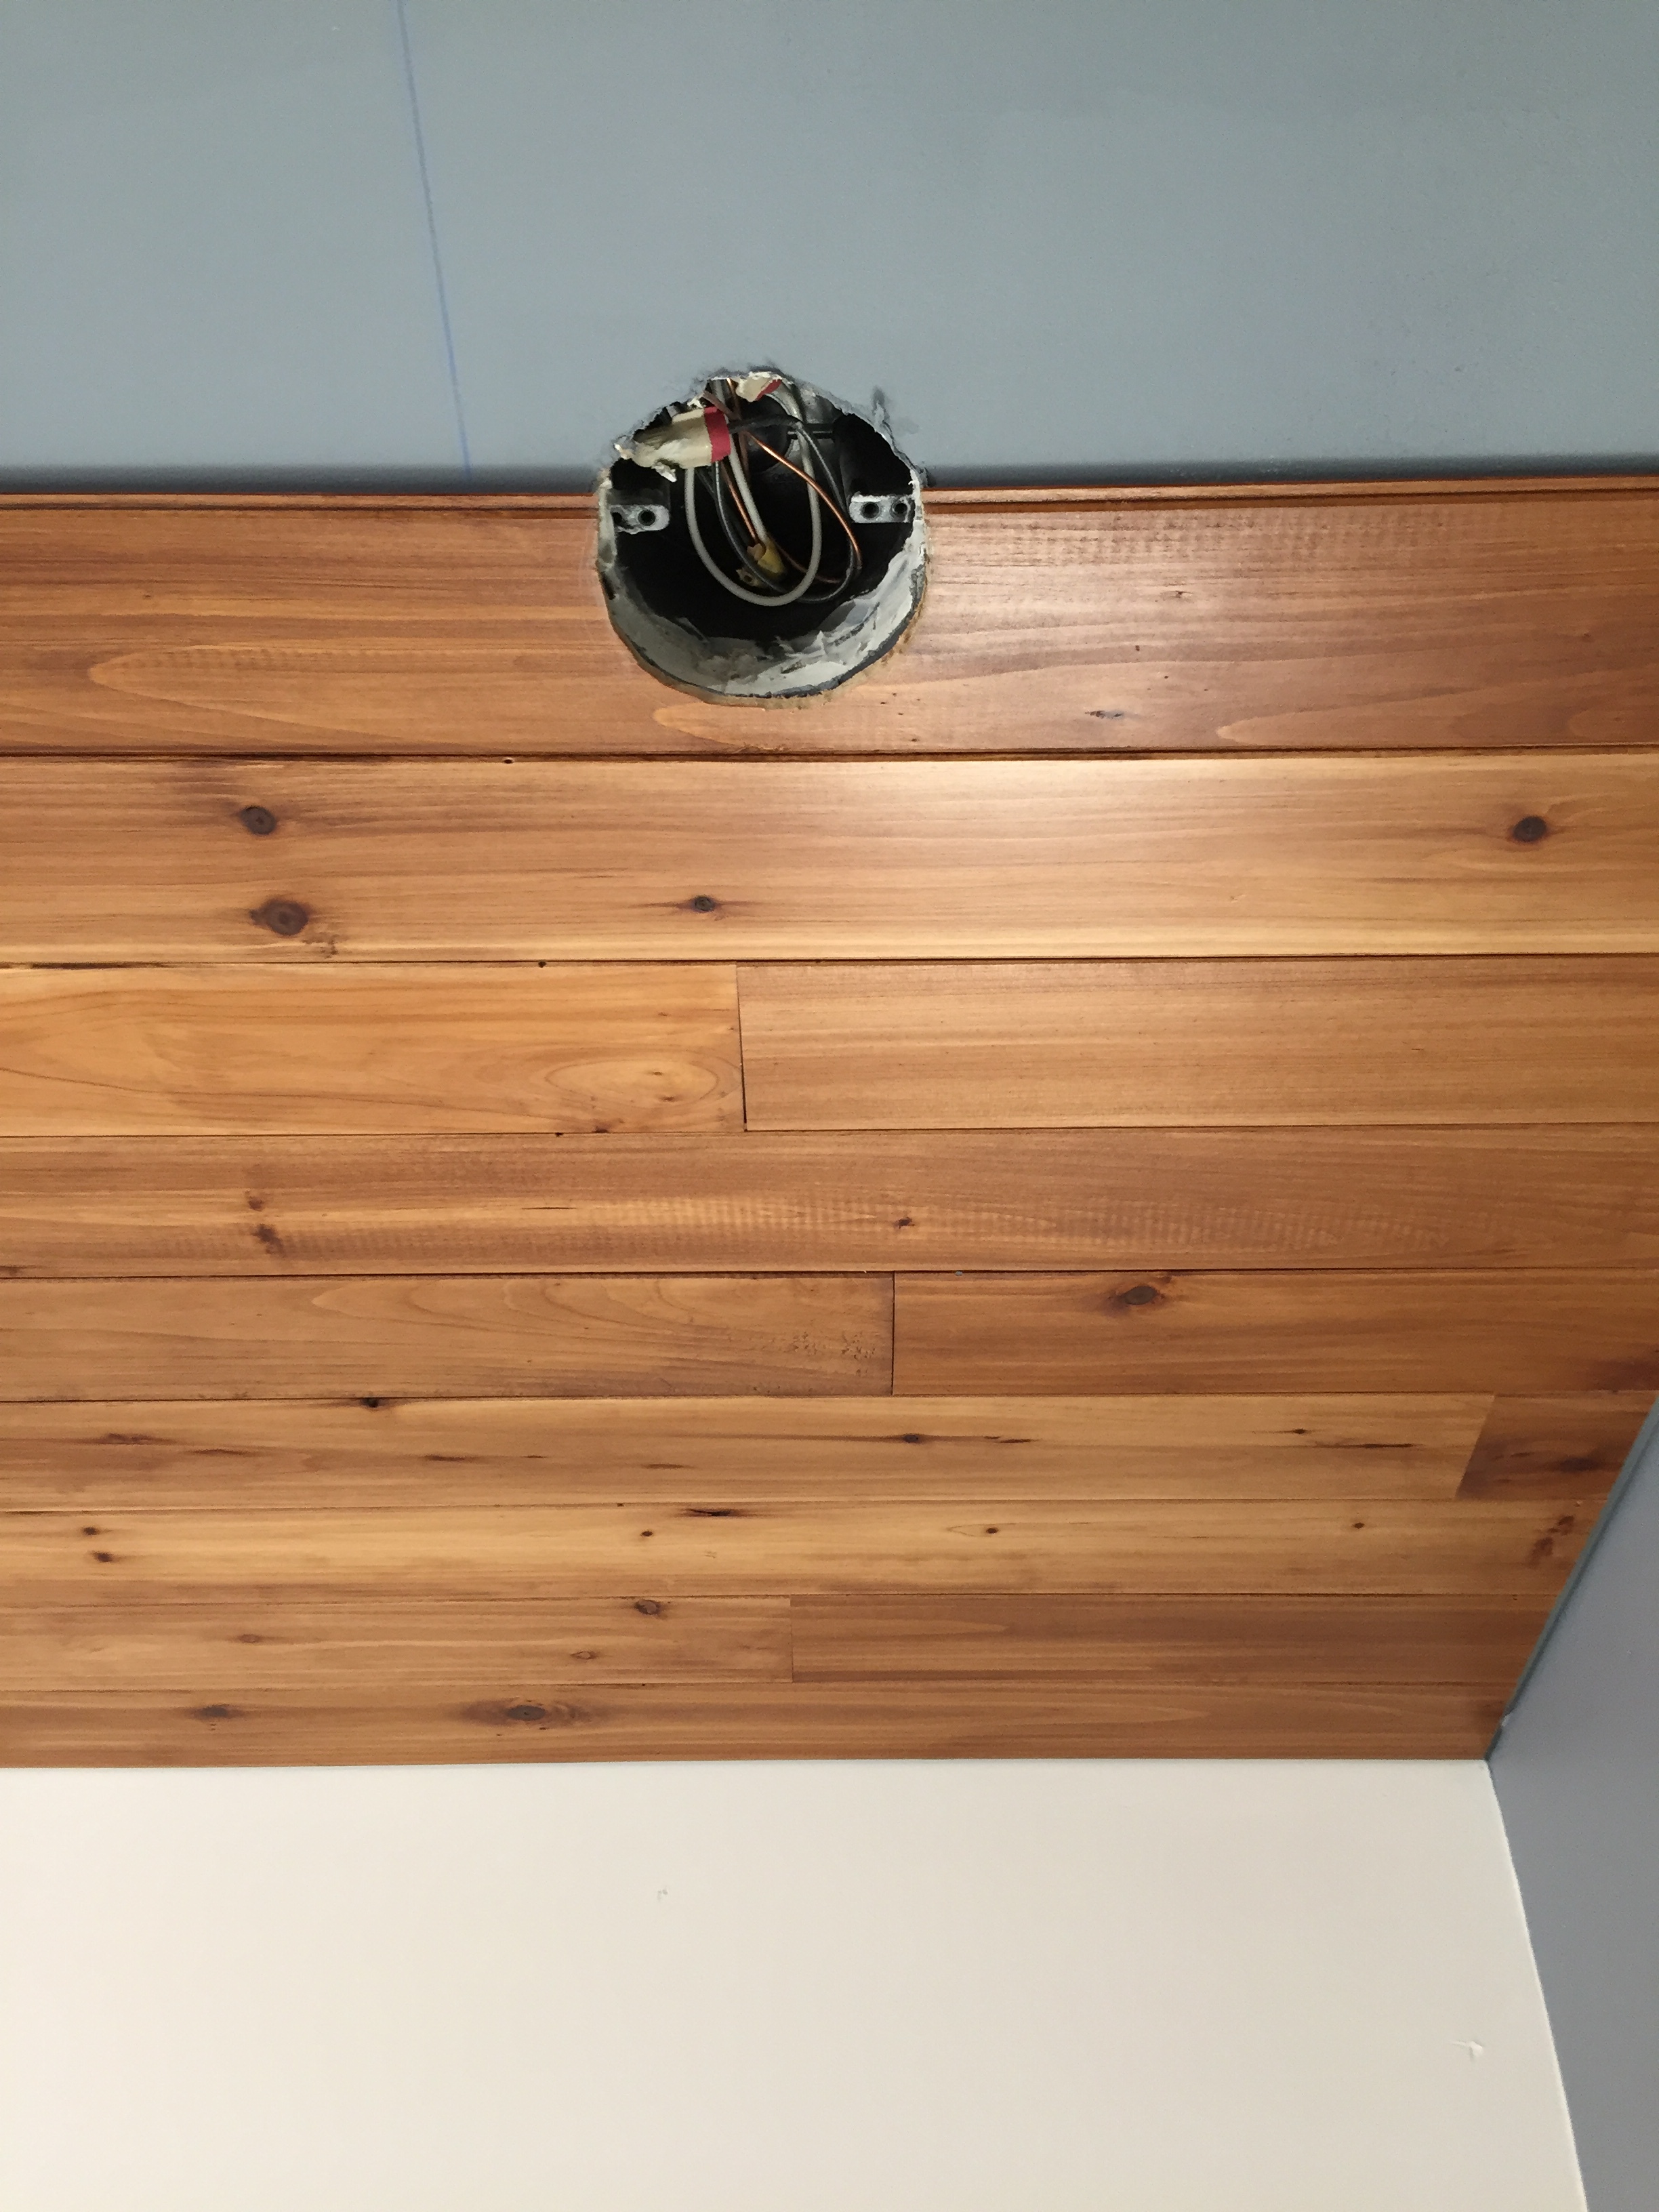
Before I could actually complete the electrical finish work (and final permitting), I had to finish the ceiling. I really wanted to do a tongue and groove wood ceiling to create a warm atmosphere, so this needed to be installed prior to the track lighting.
The ceiling took weeks. To minimize the amount of space lost by adding yet another layer to the double-drywall ceiling, I opted for these 1/4" cedar planks that come in 8-foot lengths. You can buy these in packs of six at Home Depot or Lowes, and they're reasonably priced. They do, however take a lot of work if you plan to finish them. Also, because they're so thin, and the cedar is on the soft side (and has lots of knots), you have to factor in for about 10% of waste when you're buying these.
Prepping the boards involved the following steps:
Sanding
Applying wood conditioner so the stain would apply more evenly
Staining
Applying a first coat of polyurethane finish (I opted for satin, the least glossy)
Lightly sanding again
Then applying a second layer of polyurethane finish
I think I ended up with 120 of these planks to prep. I didn't realize how long the prep and finishing process would take, so just getting the planks to the point to where I could start installing them on the ceiling took weeks!

Just a few of the ceiling planks during the prepping/finishing process.
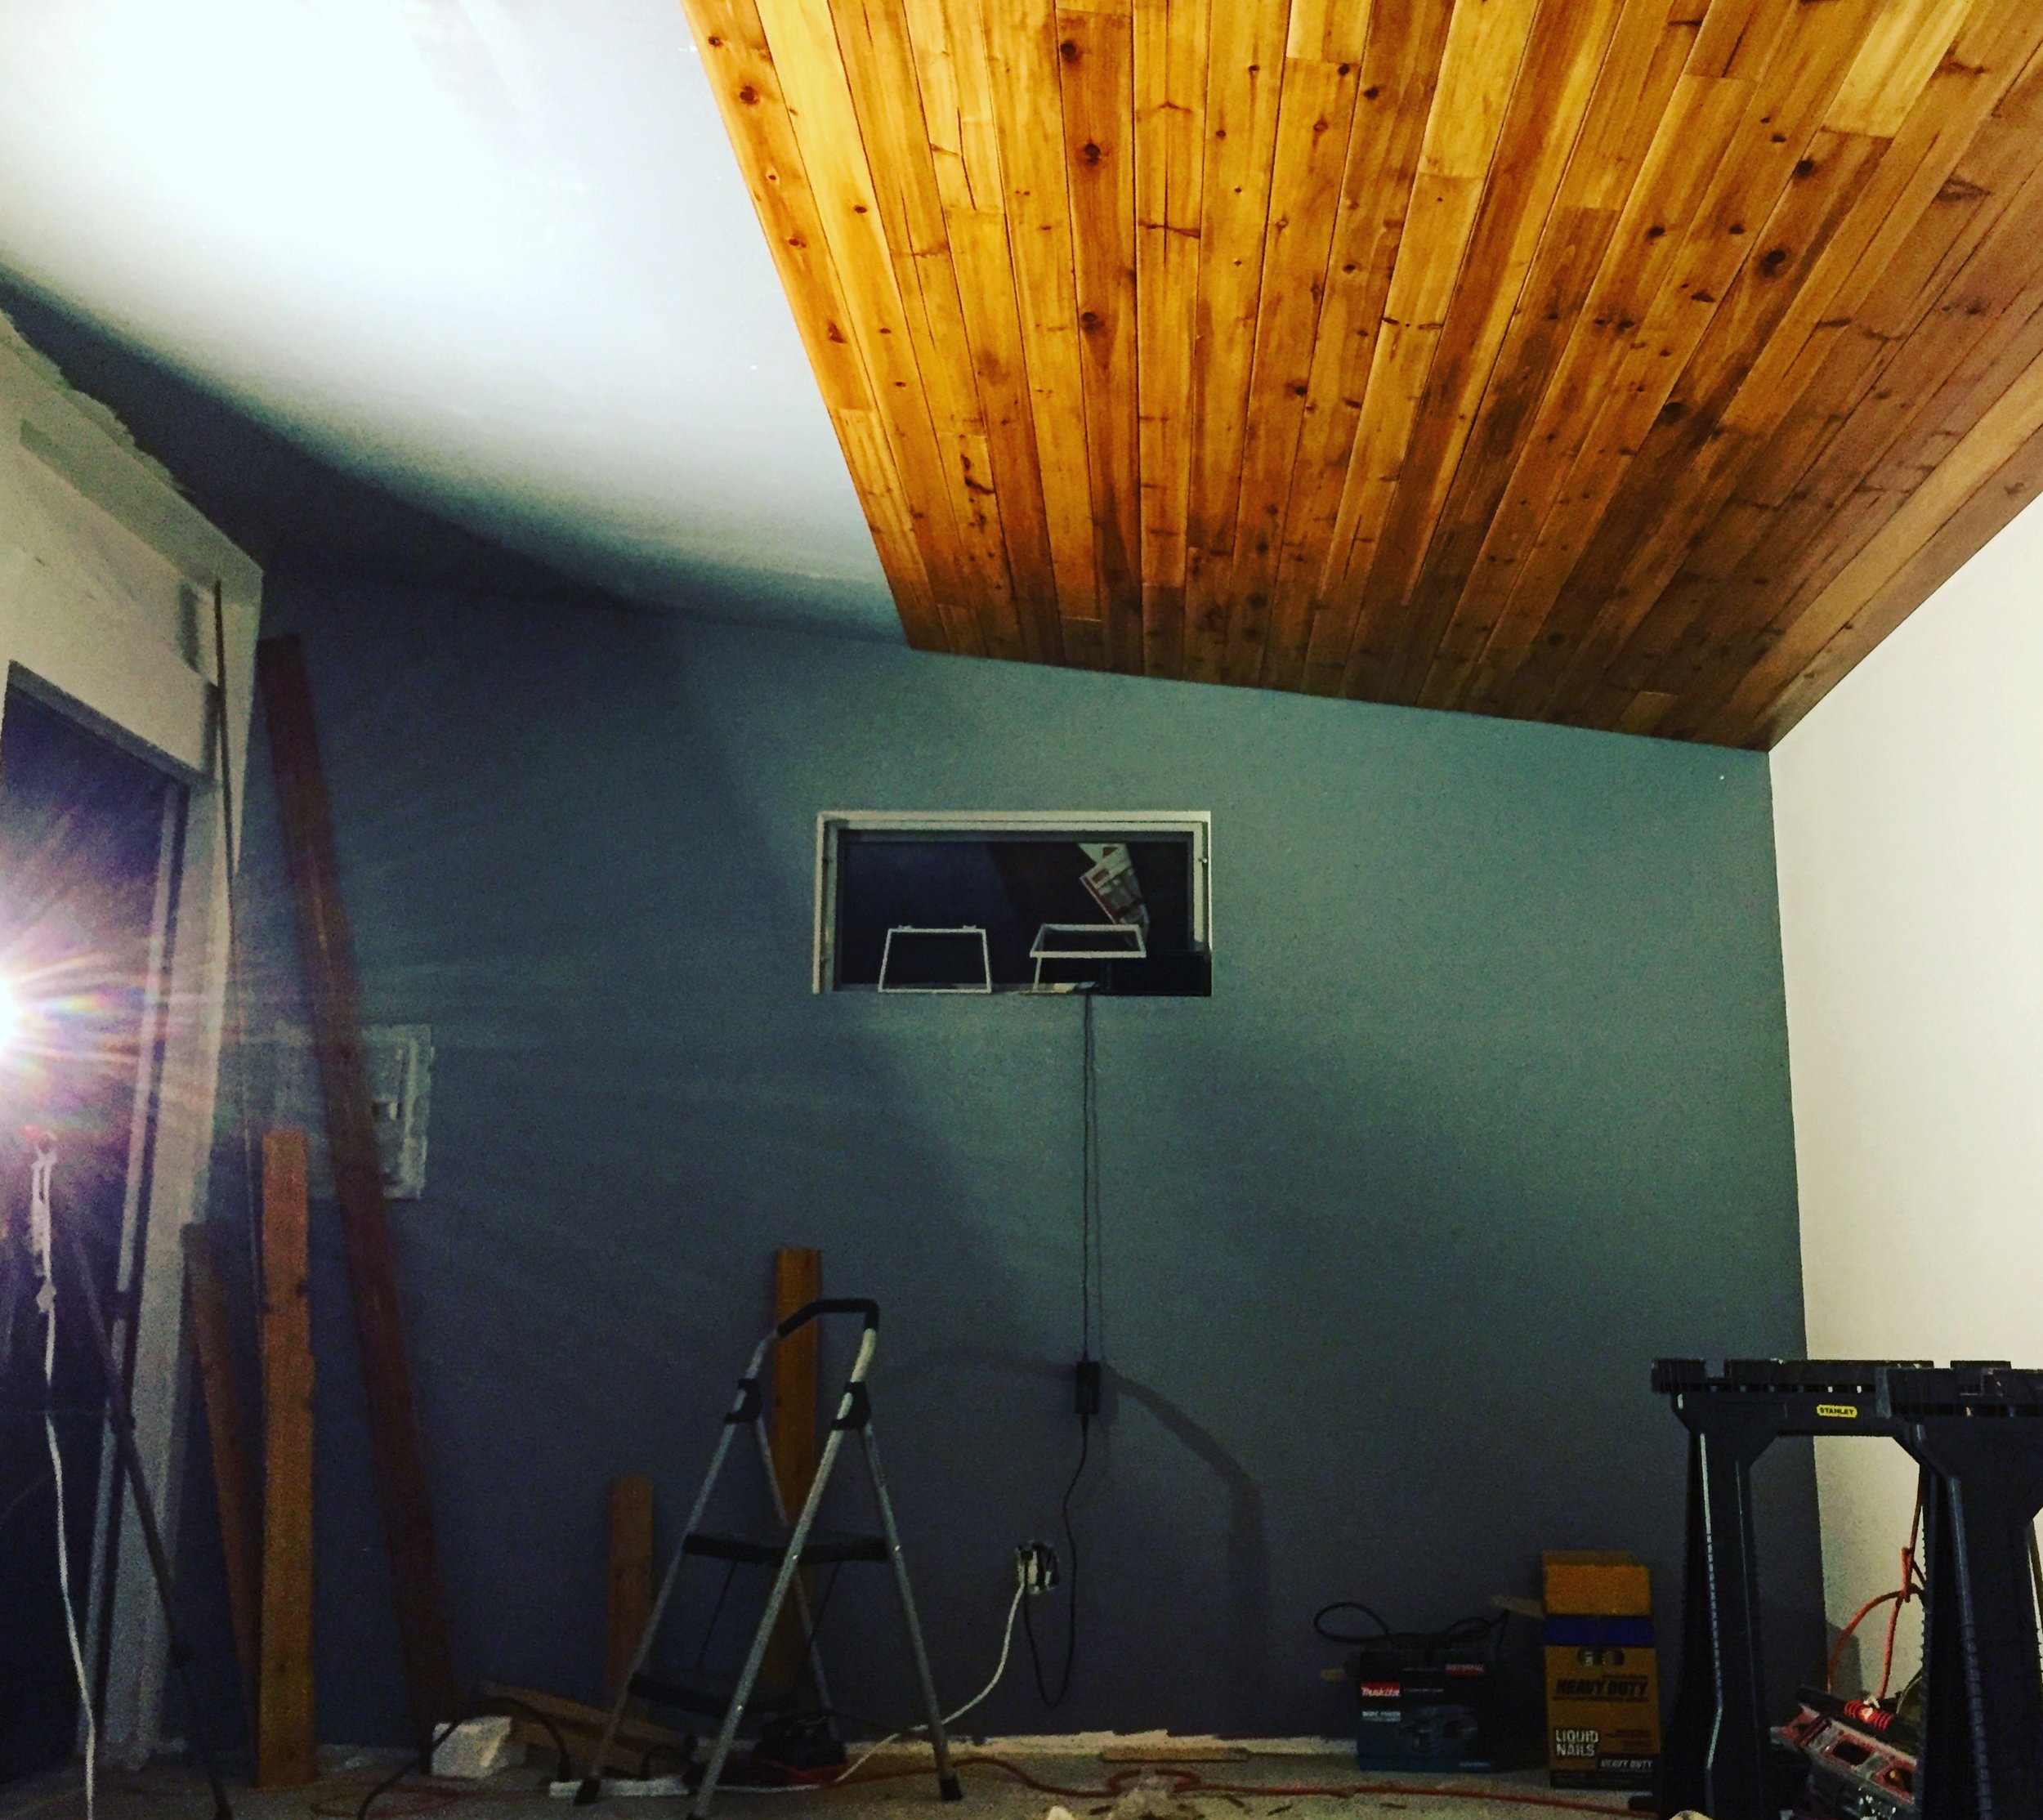
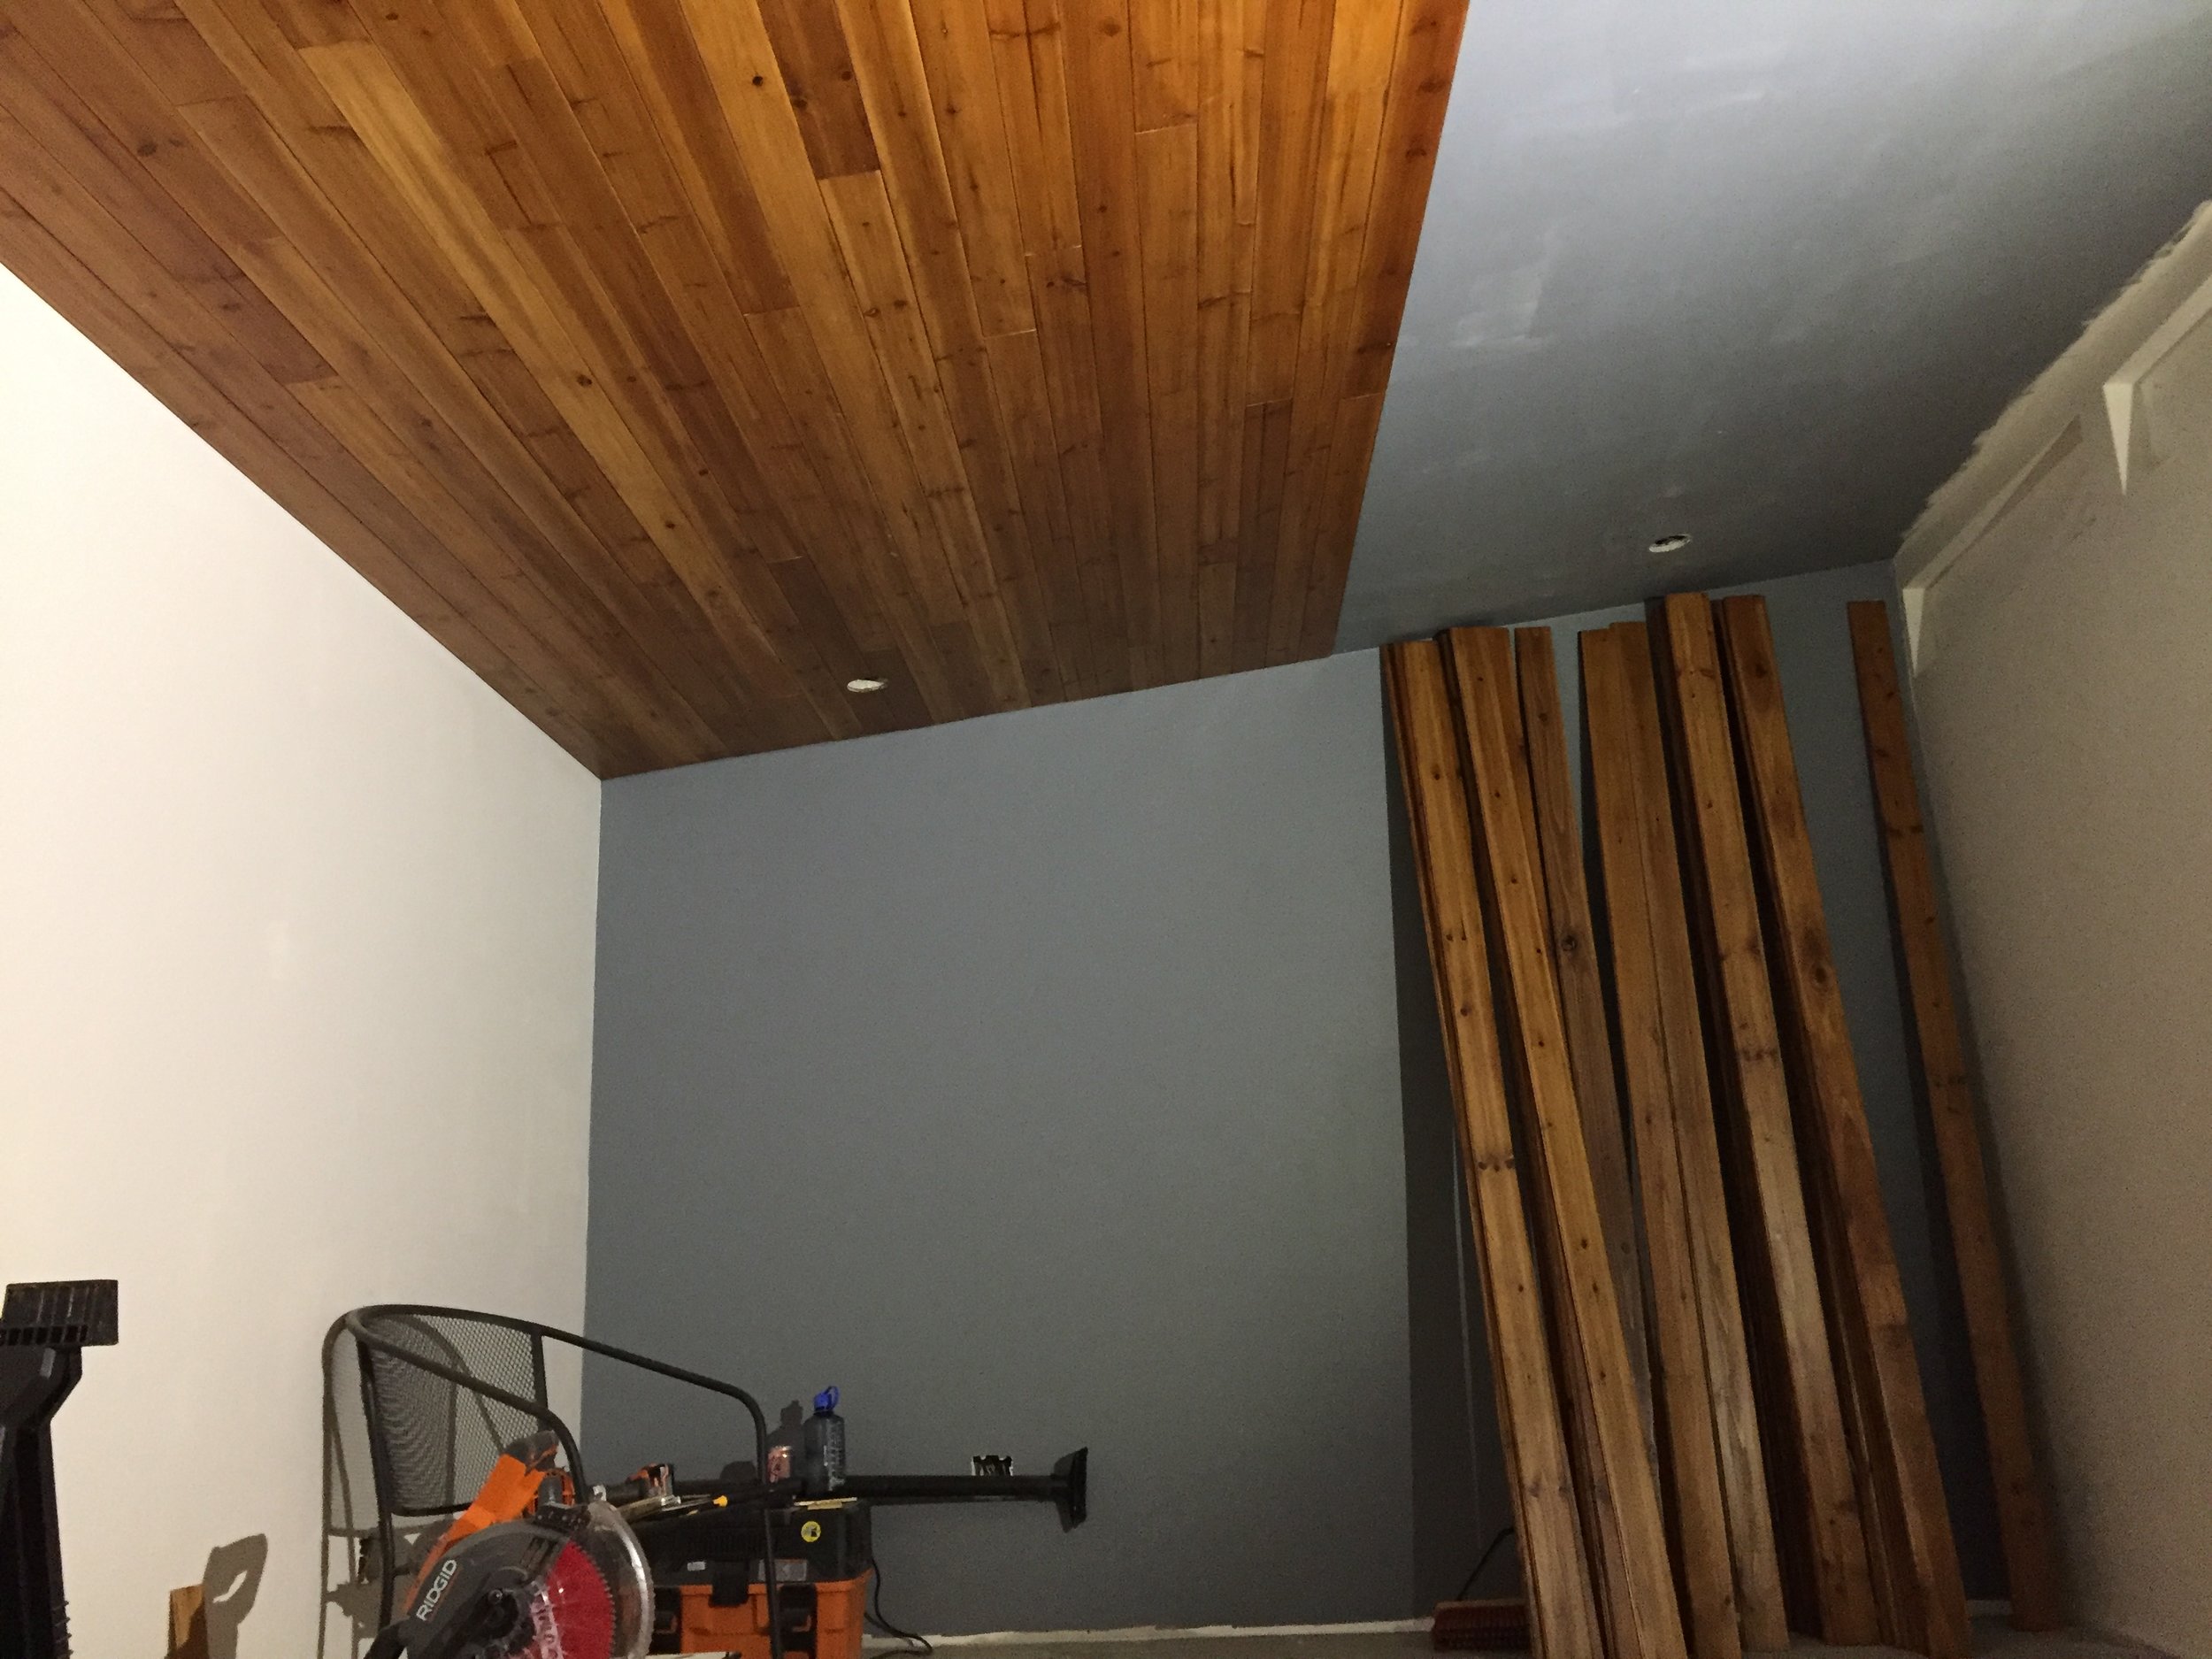
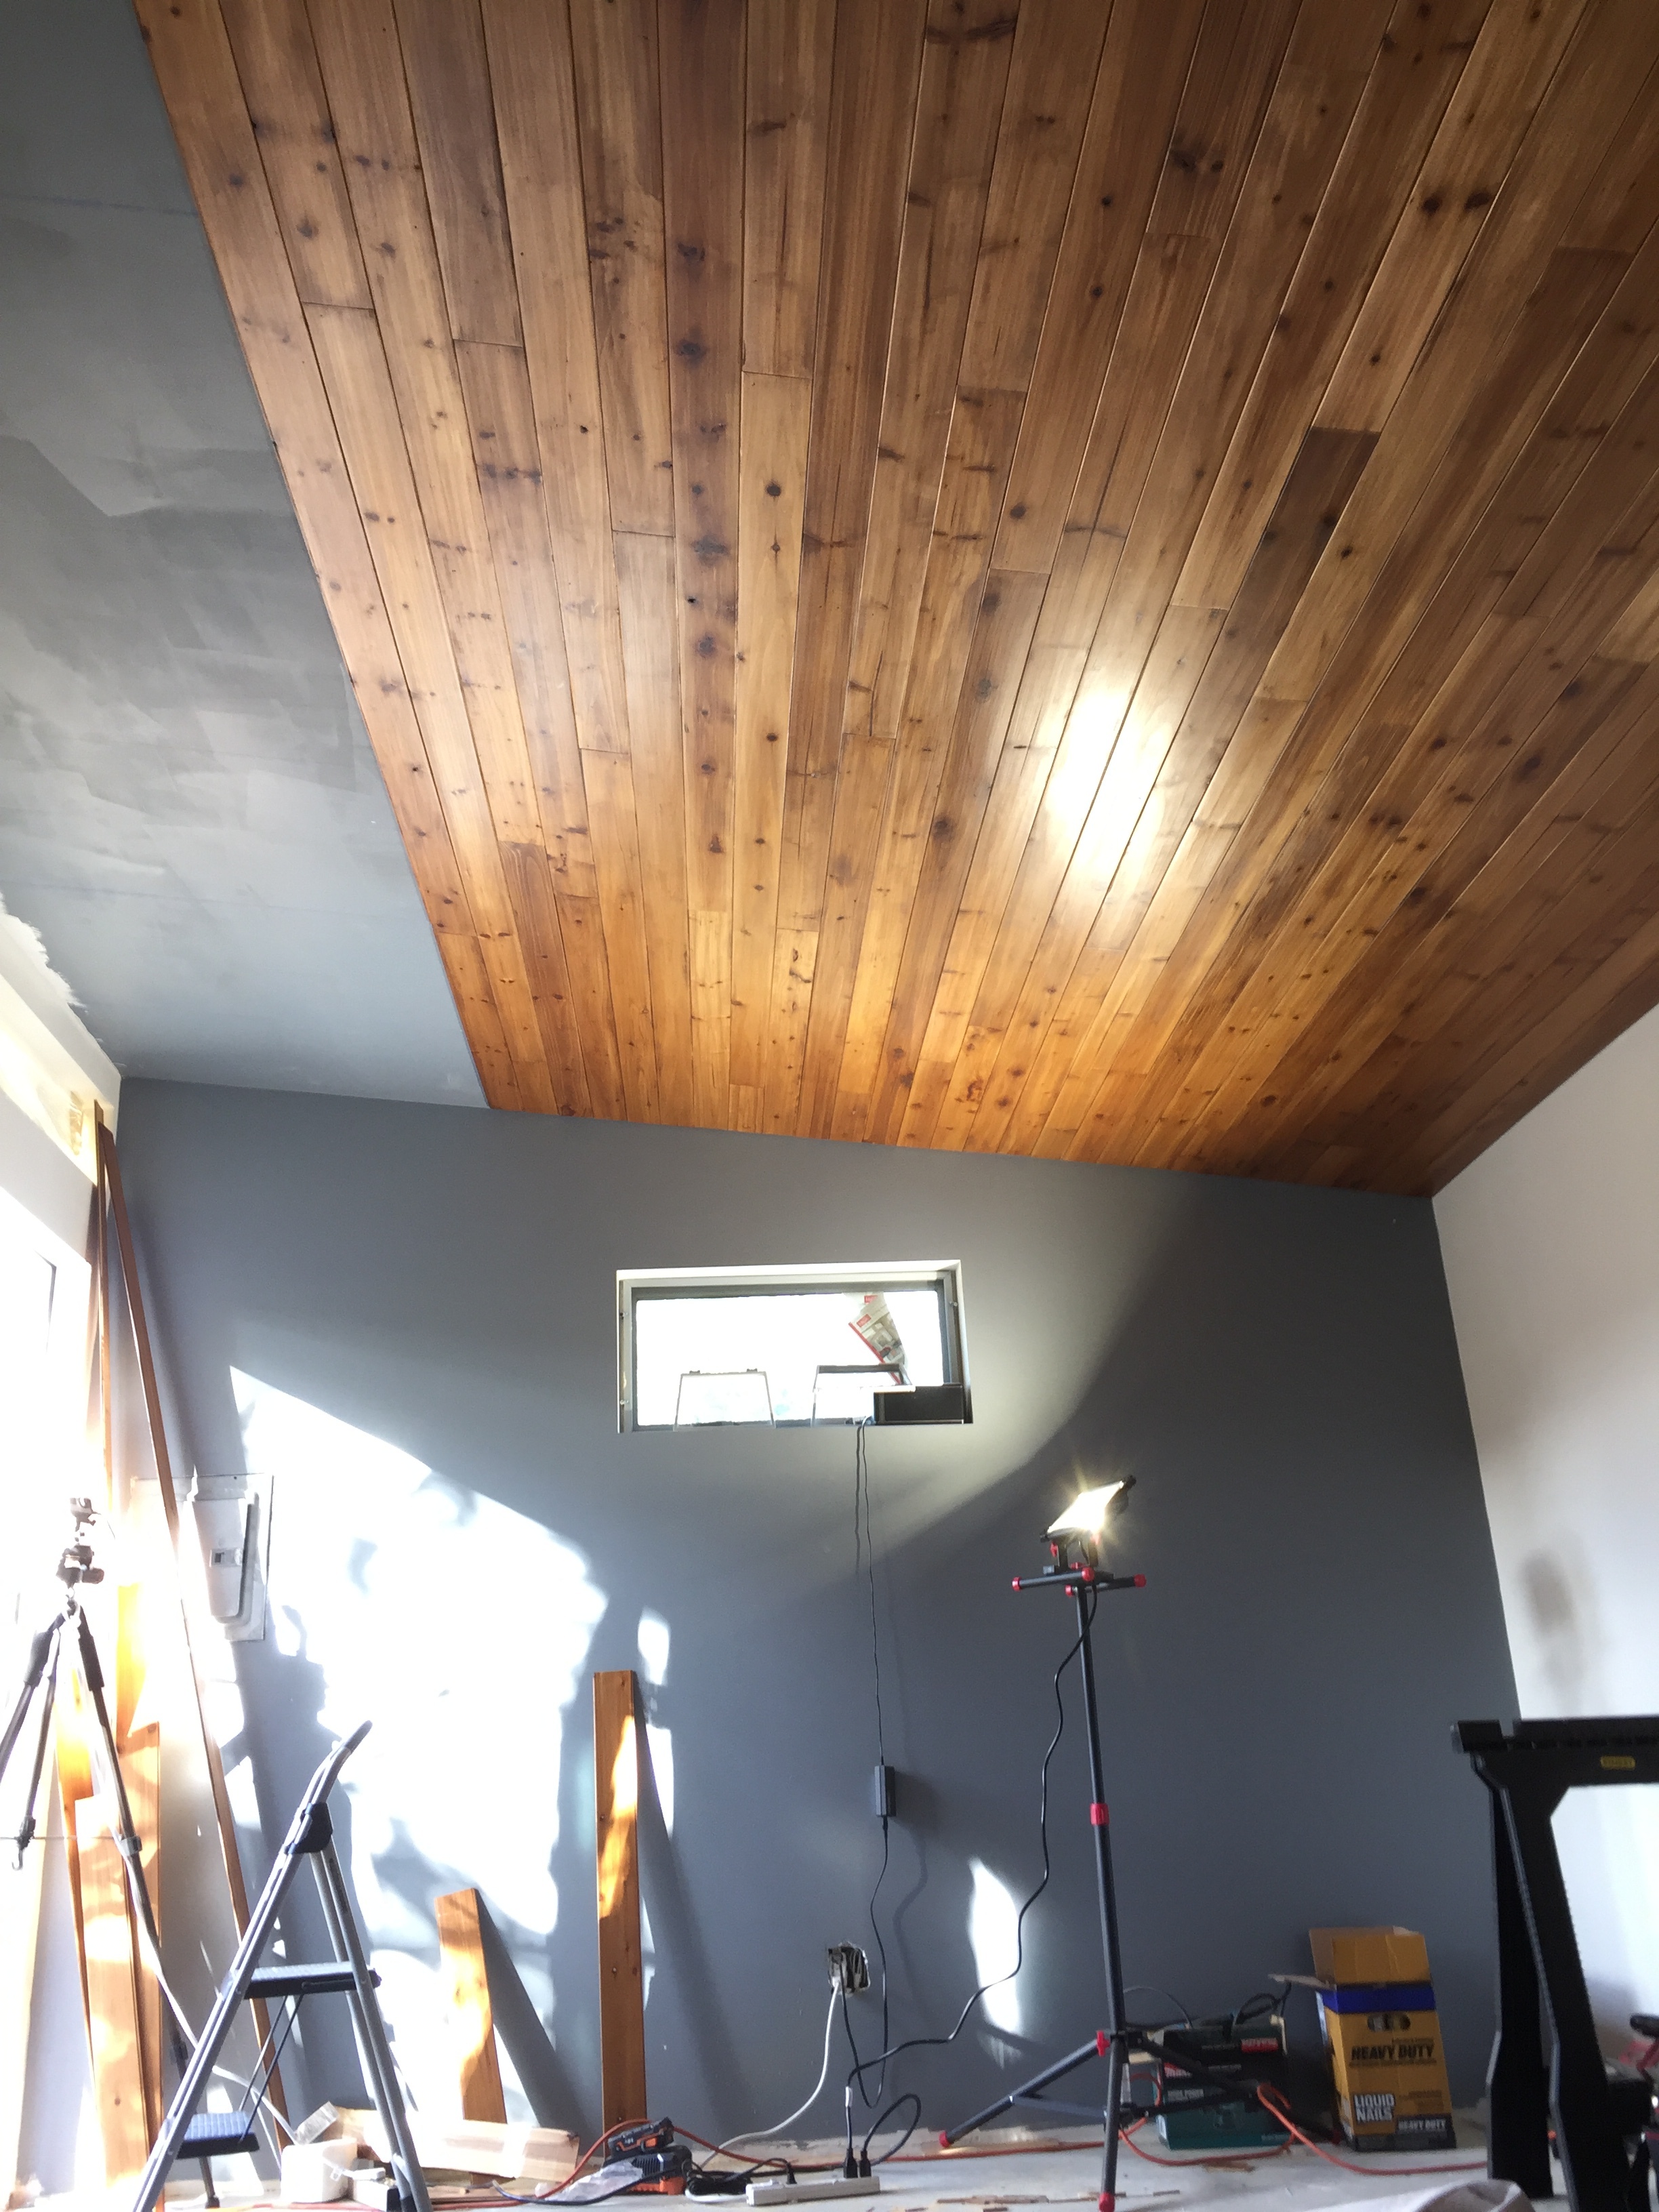
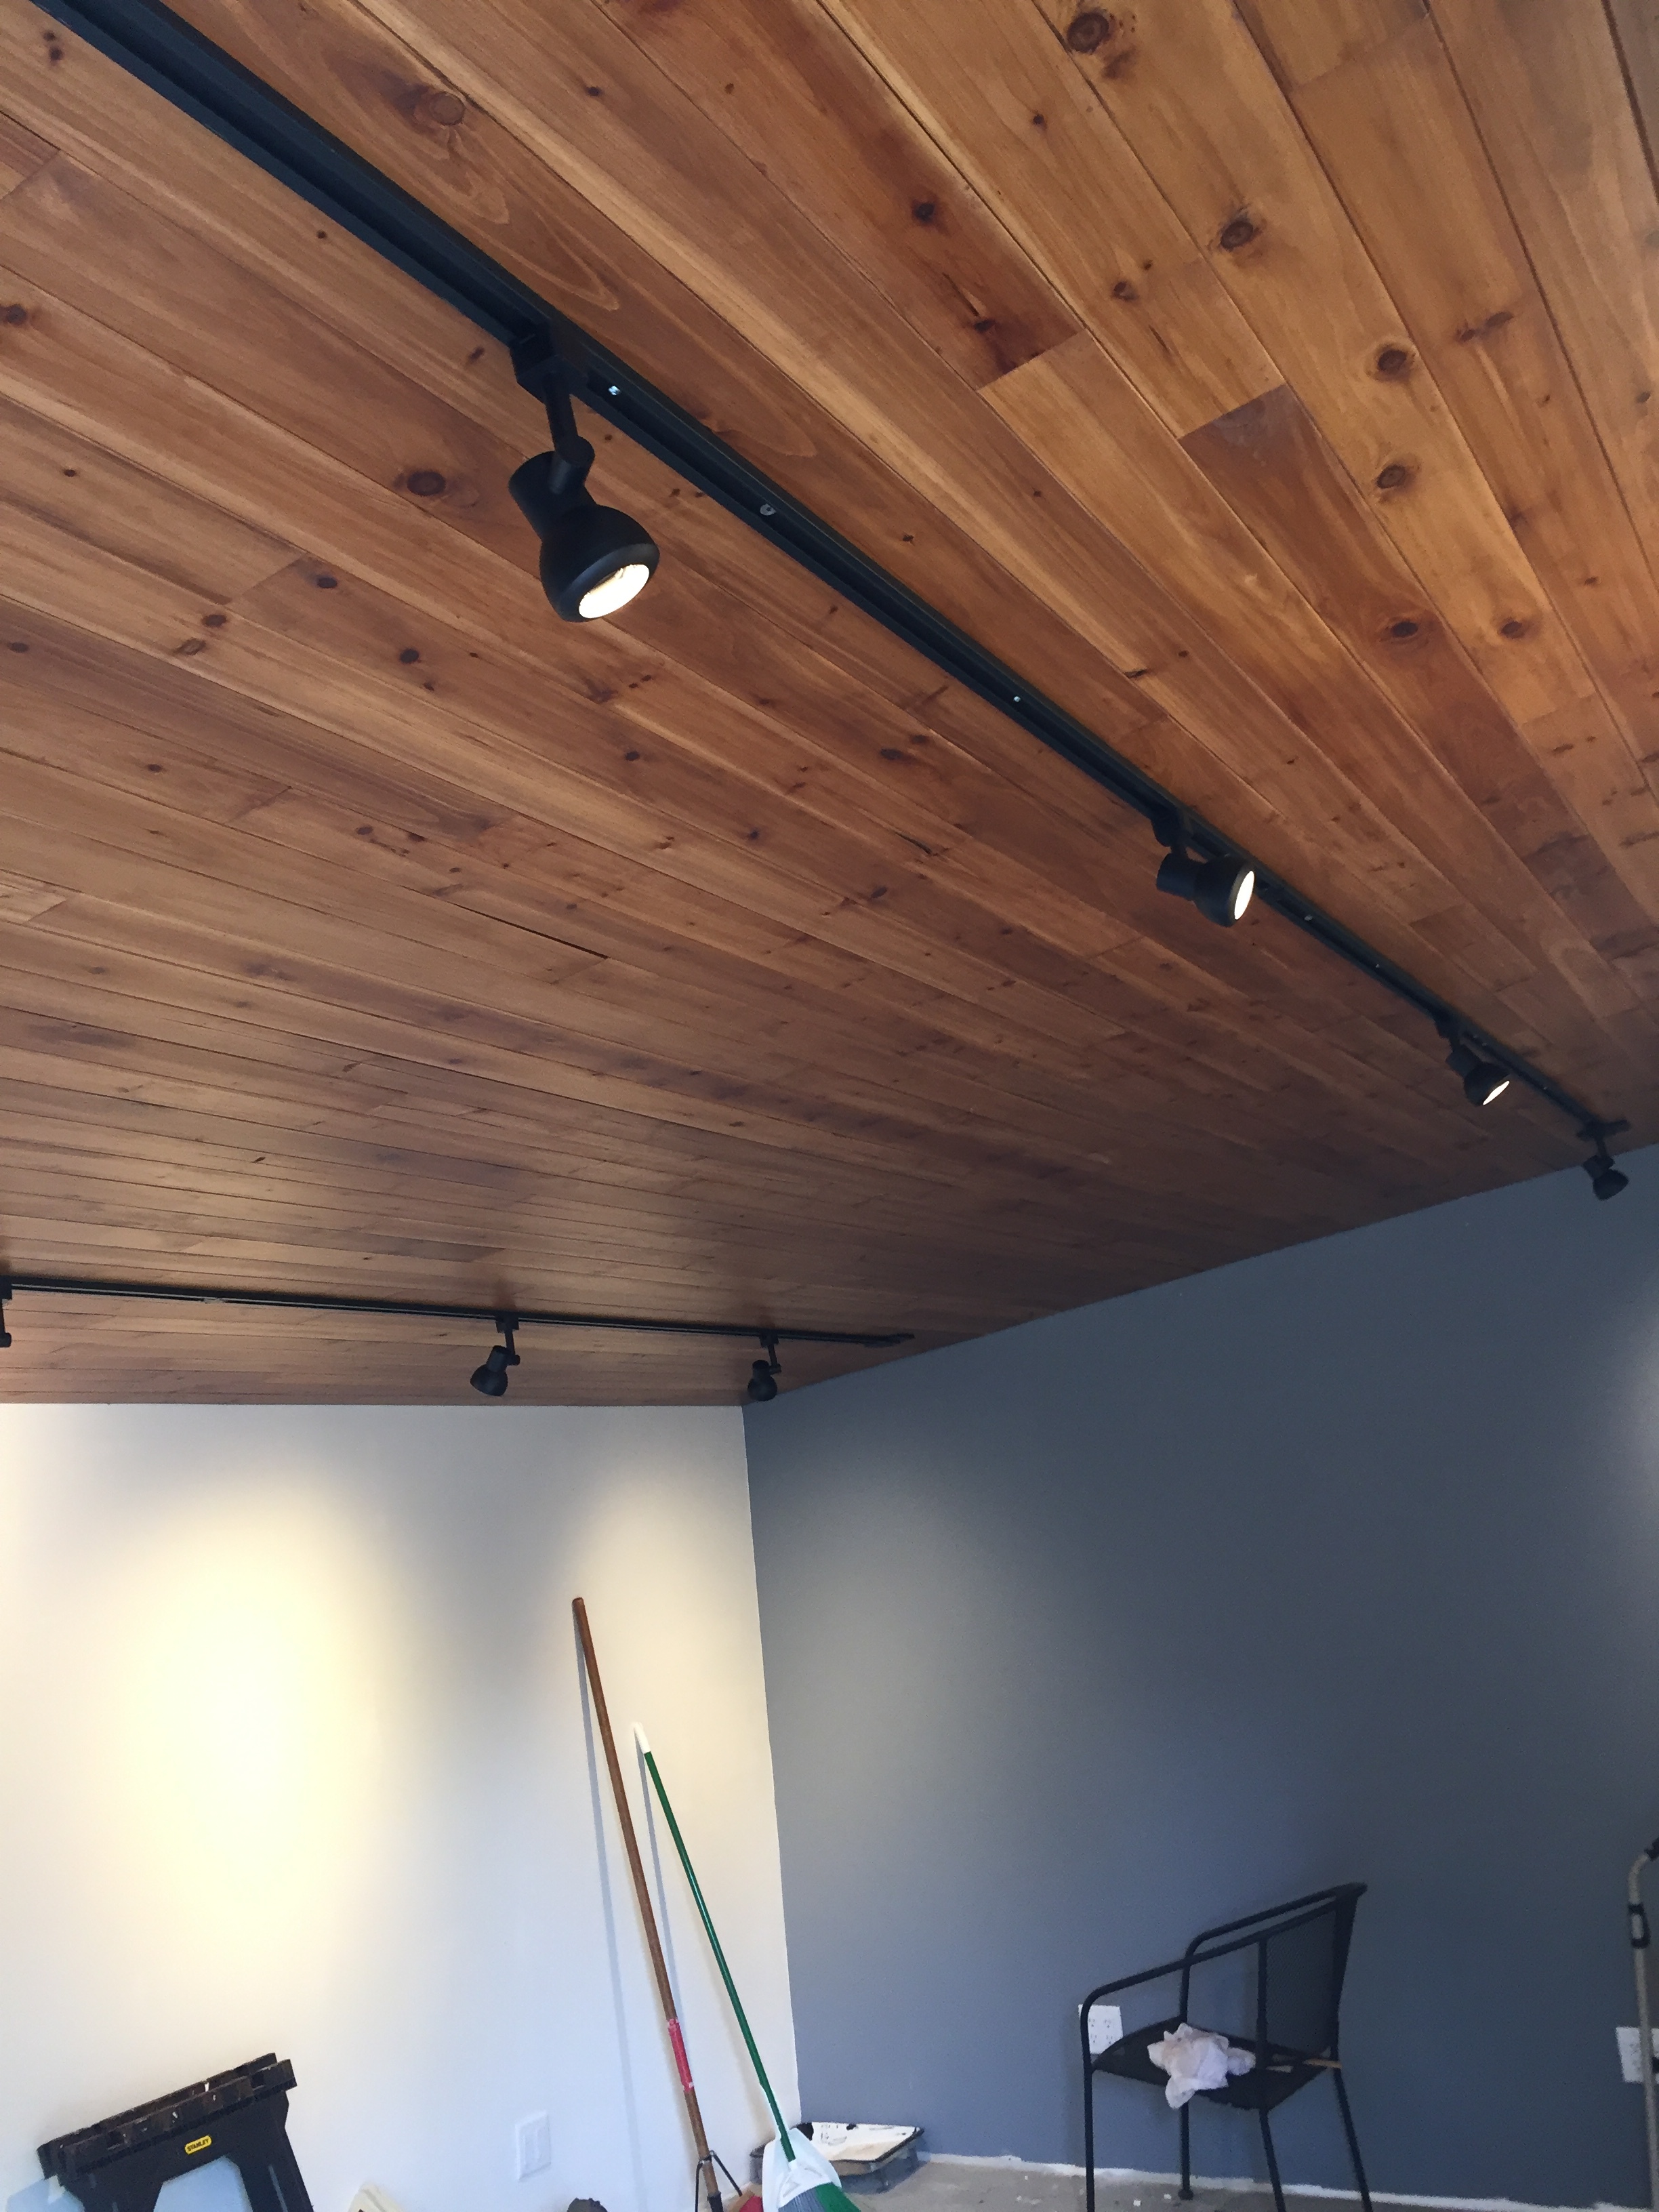
After several weeks of prepping planks (and smelling up the house with chemicals), it was time to start installing them on the ceiling. Since they'd be on the ceiling, and the fact that gravity is a thing, I couldn't merely tack them up, or rely on liquid nails. So I did both – a bead of liquid nails along the board, followed by a blind nail into the joint where the tongue meets the board. If done right, you won't actually see the nail holes.
Since I had to nail into the ceiling joists beneath two layers of drywall, I had to find a nail gun that would accept 2" finishing nails. Also, since these boards are quite thin and come with a fair amount of flex and unevenness, getting the actual tongues and grooves to align and insert properly was a real challenge. The process of installation took a lot of patience. I'd typically work for a couple hours at a time and get five or six rows up if things were going well.


With paint on the walls, the tedious ceiling project complete, and the finalized electrical work and lighting done, I had a 12,000 BTU ductless mini-split AC and heat pump installed. I initially thought I could buy a cheap model online then find a local installer to help me get the unit in, but as it turns out, that's not quite so common. I ended up hiring a local heating/cooling company to do the work which was more expensive, but a lot more reliable. As I learned, if you're installing one of these things there are really only two brands that the pros recommend – Mitsubishi or Daikin. It's super quiet, energy efficient, and gives me the ability to both heat the space during cold months and cool it in the summertime.
Floor
It's time to do the floor! I decided to go with a 12mm laminate (Pergo) floor since it's relatively inexpensive (compared to hardwood) and easy to install. The foundation had a few low spots that needed to be leveled out (with self-leveling compound) before I could put the actual floor in. This is more to ensure the floor is FLAT rather than level. Any high or low spots can cause flooring boards to flex and bow, degrading their strength.
I'd give my attempt at using the leveling compound about a C-minus. The valleys I was trying to fill in were relatively shallow and I didn't mark them clearly, so I just attempted to cover the whole floor, hoping the self-leveling would find its way to where it needed to go. In the end it was pretty sloppy, but still useable I think.
By this time the rainy/cold season was in full effect, so I was finding that the floor was tending to develop condensation near the outer edges. This is definitely not something you want happening under a wood (or laminate) floor, so I put two layers of Drylock masonry waterproofer down before putting a layer of Pergo Gold underlayment over that. The Pergo would then be installed directly on top of the underlayment as a 'floating' floor.
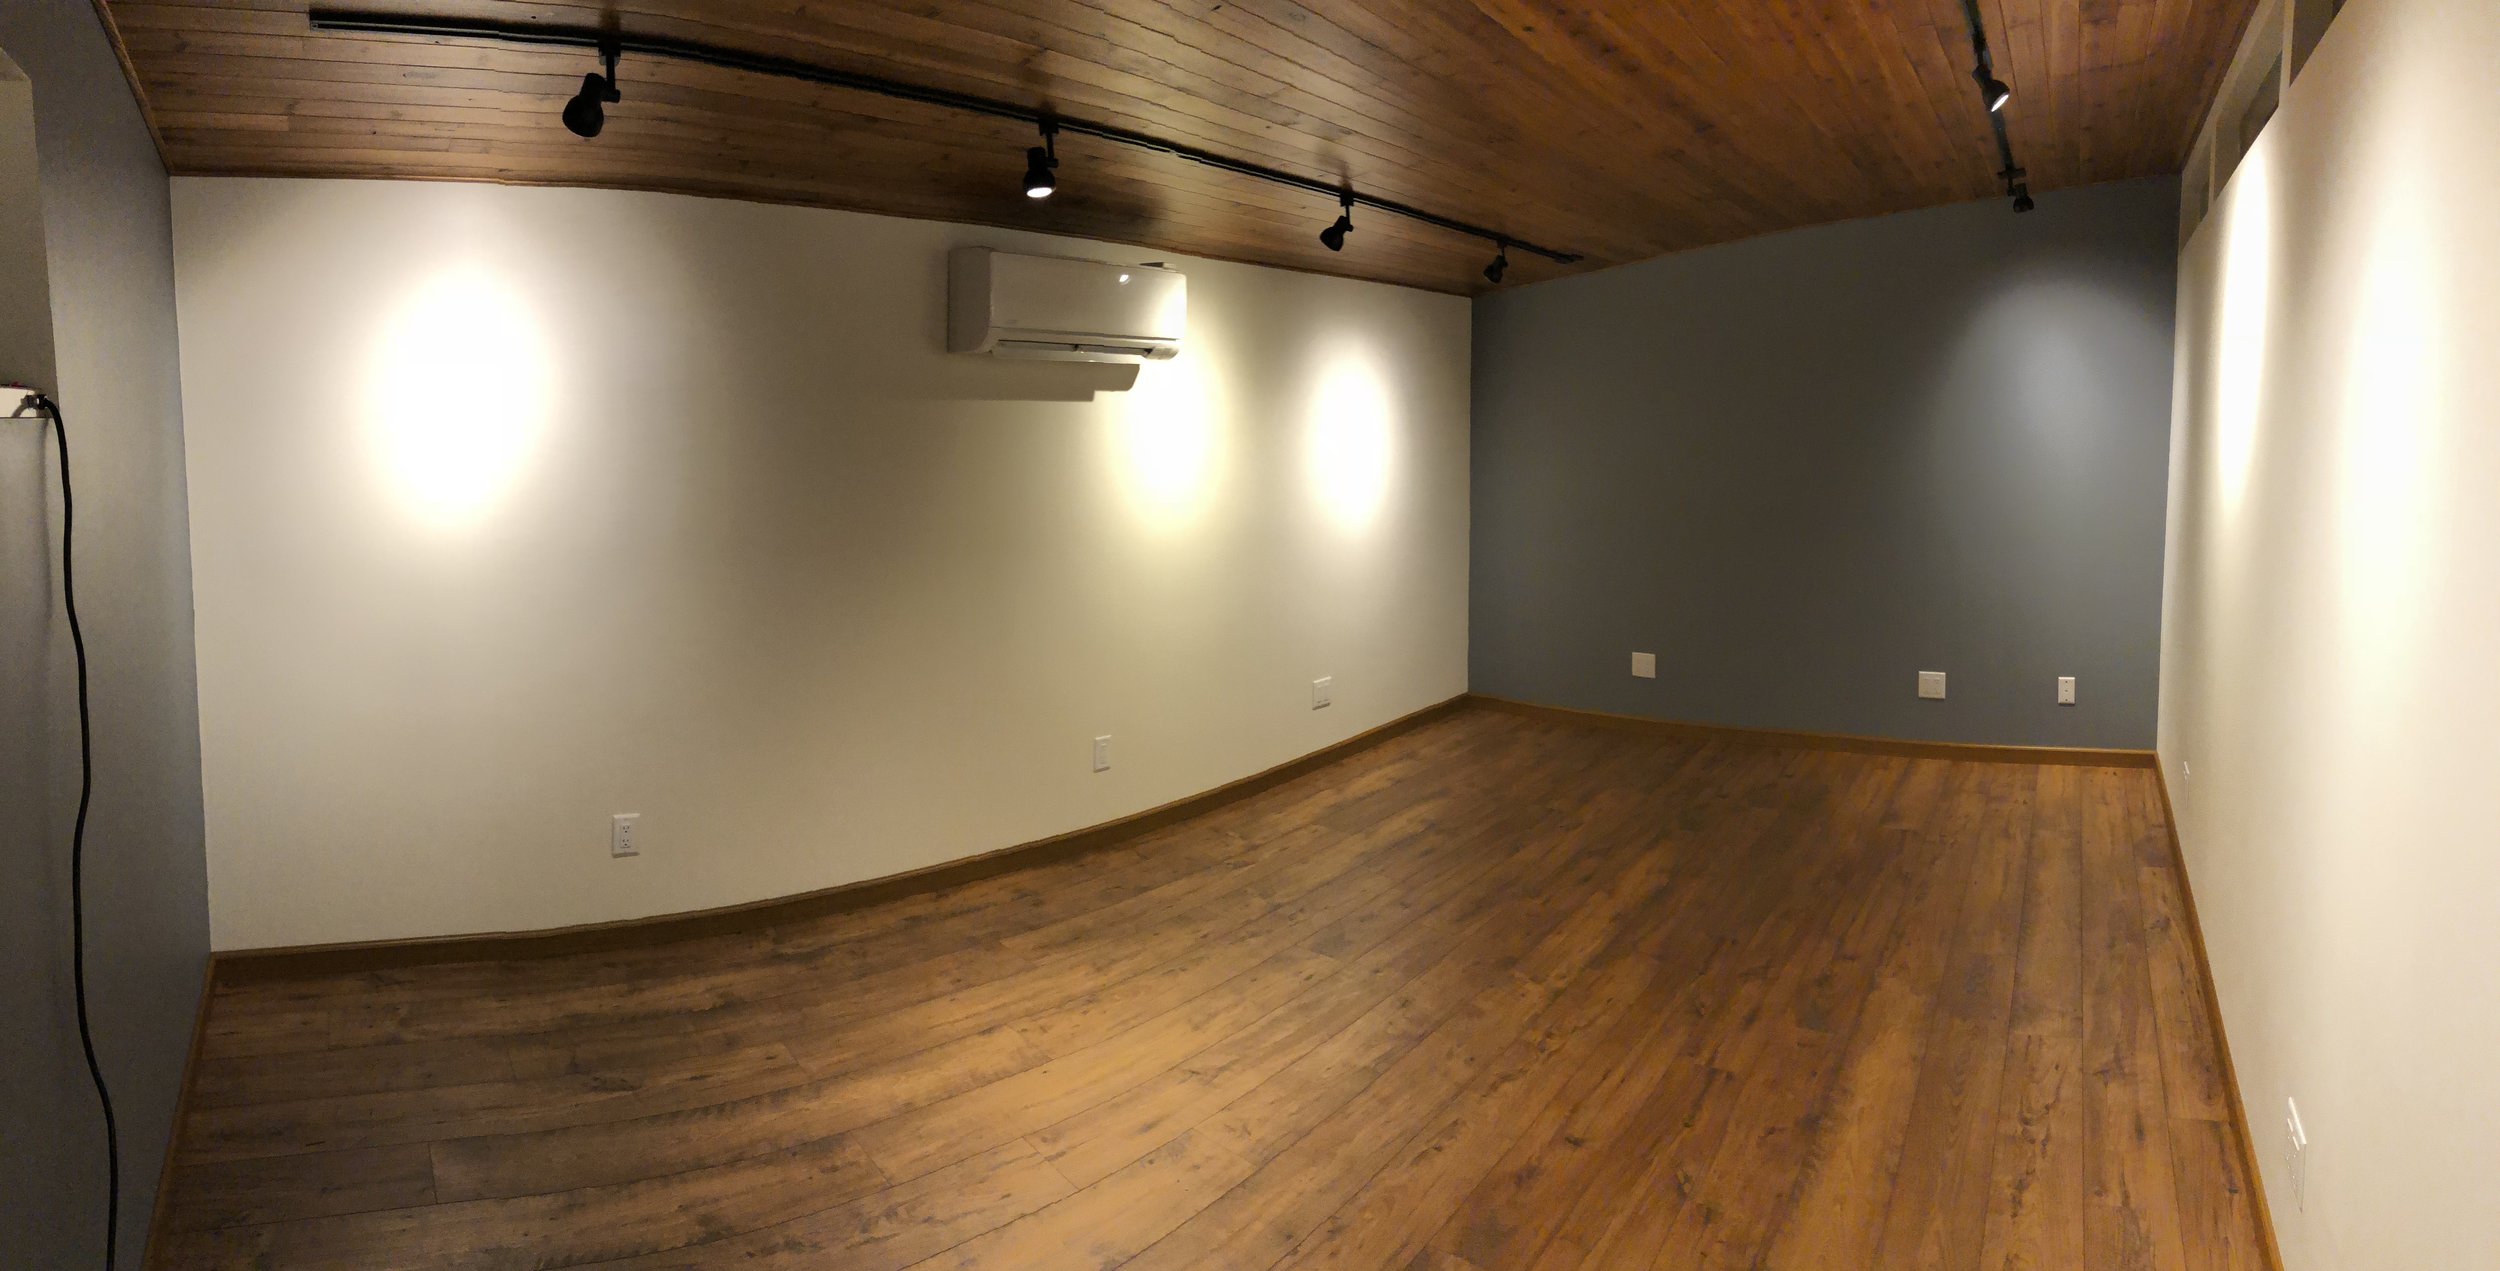
Floor and baseboards complete!
Door
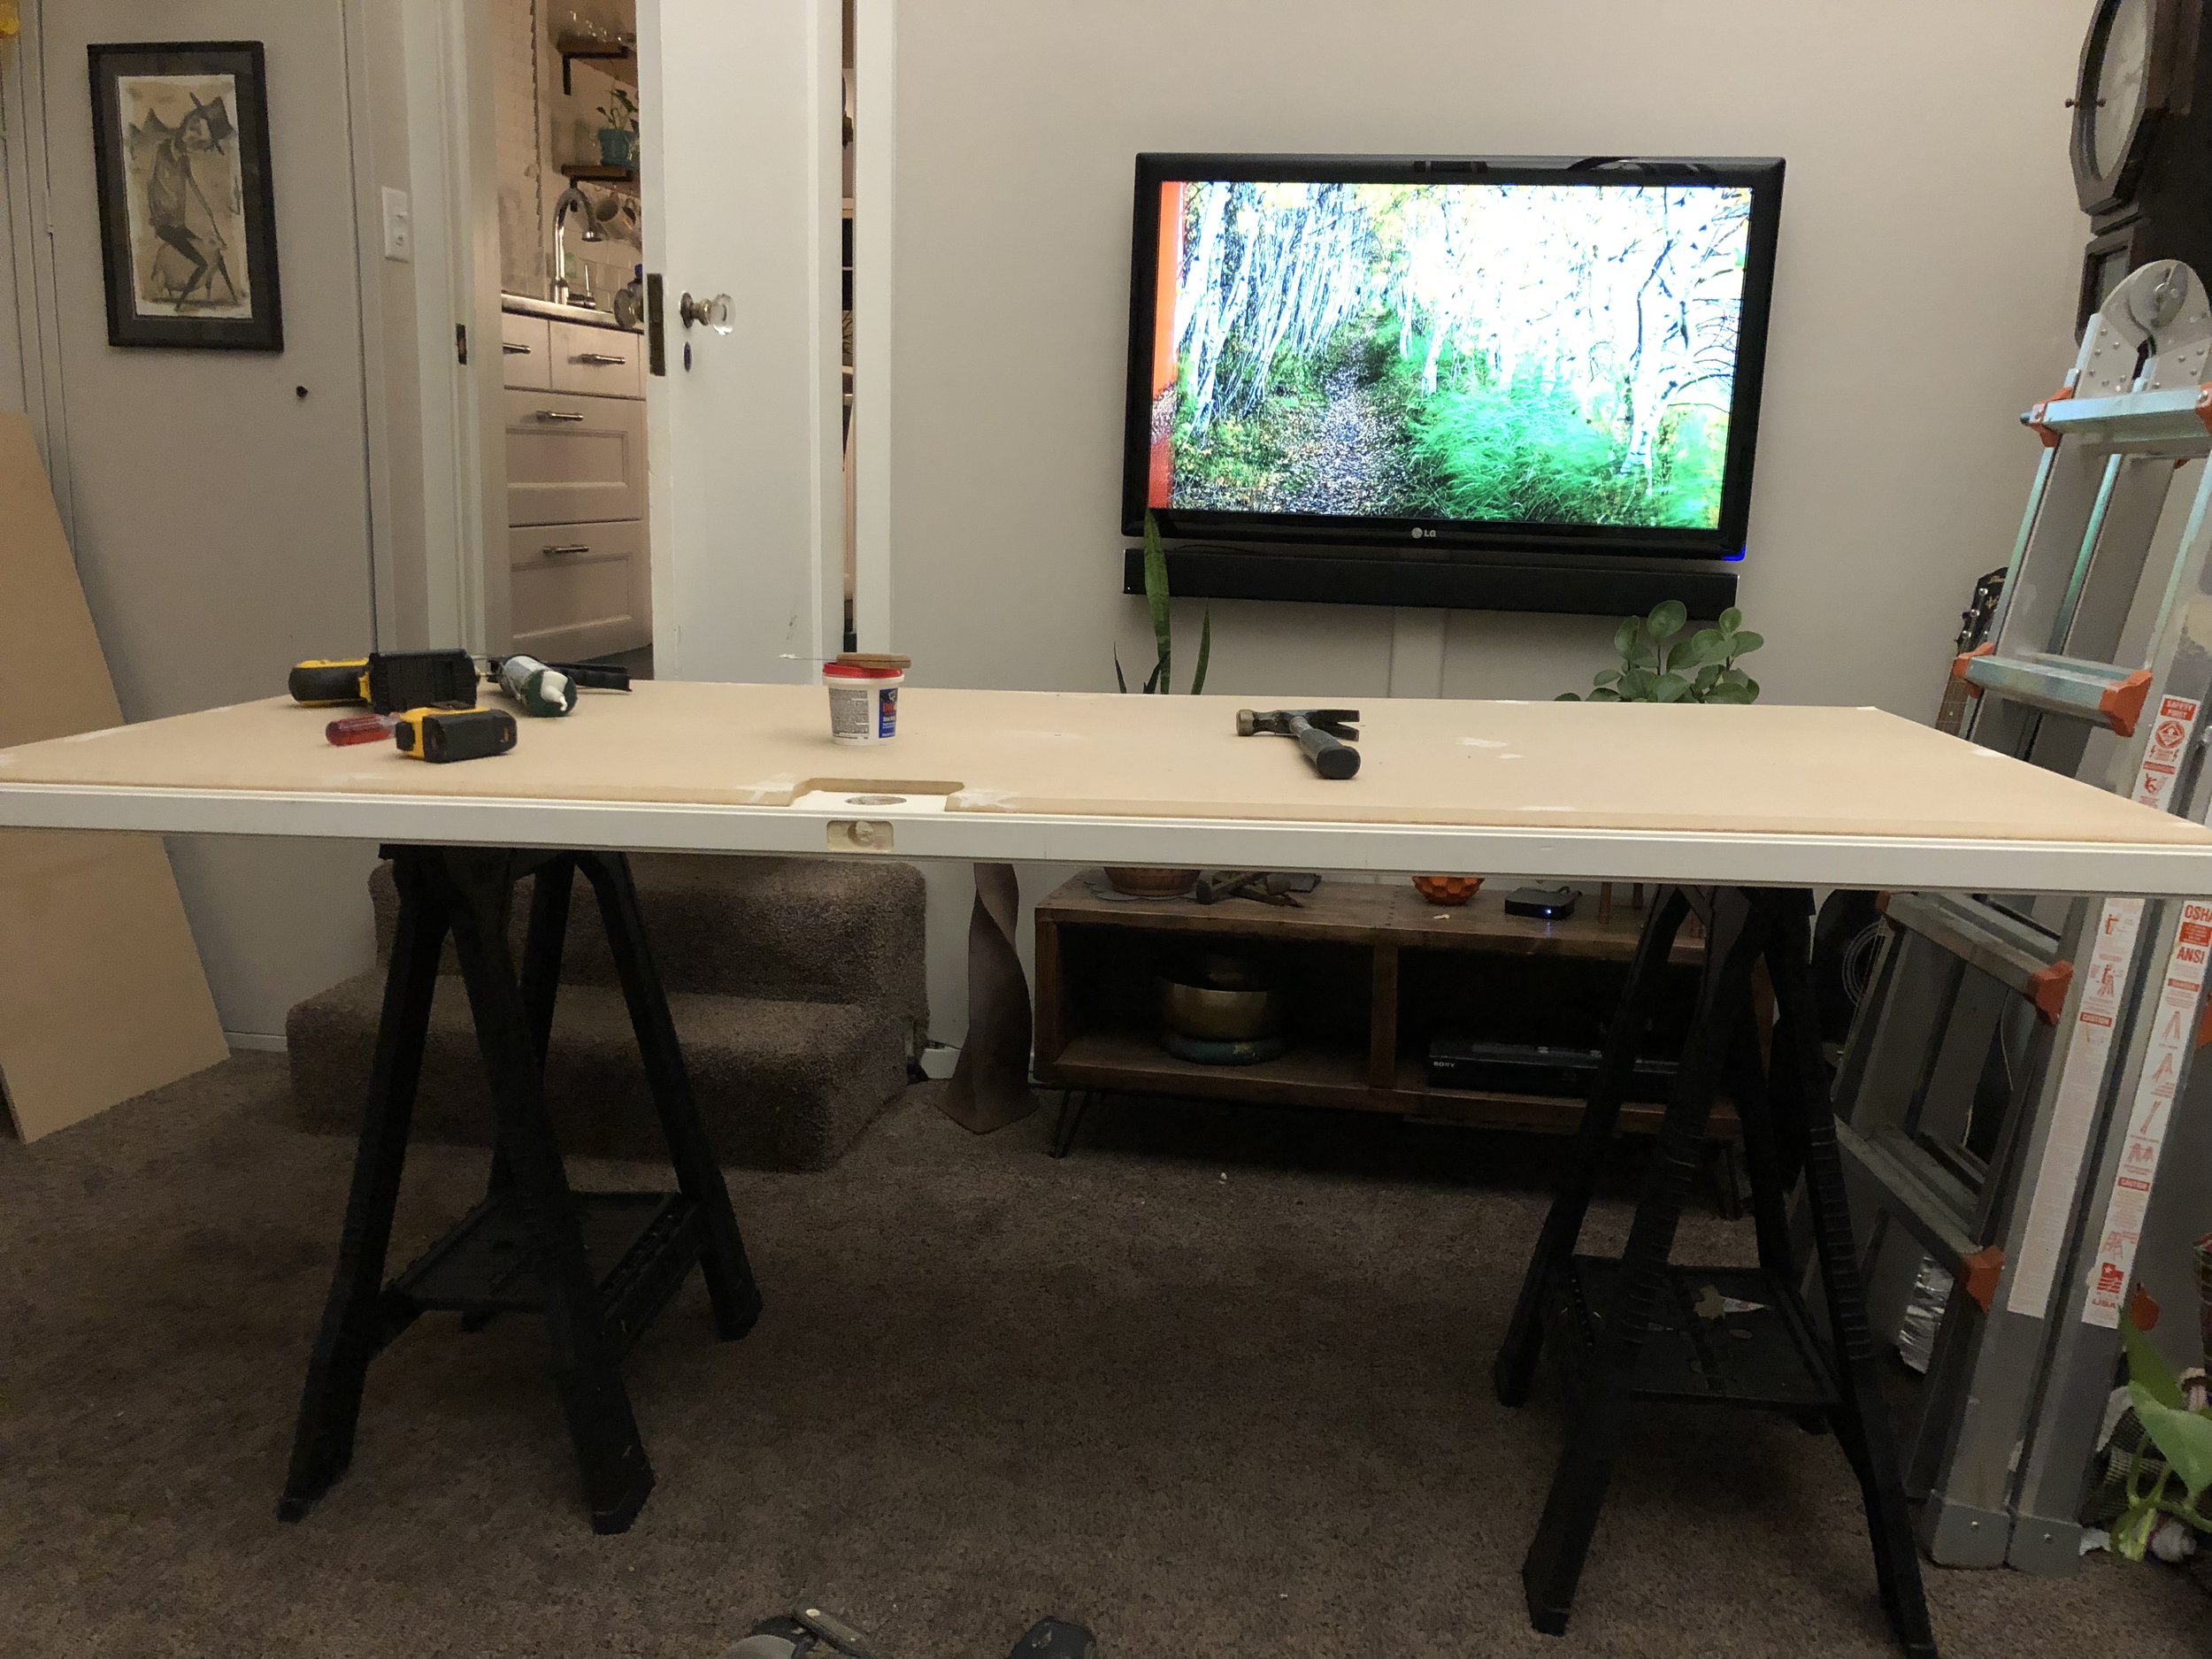
As you'll see in earlier photos, the unit shipped with a glass door, but for sound control, I switched this out with a solid door, reinforced with a layer of 1/2" MDF and green glue for added mass and sound absorption. To ensure the door still closed smoothly, I routed the edges of the MDF at a 45-degree angle, and had to carefully cut out where the door knob would be installed. This was also my first time using a router, which I quickly learned produces a LOT of dust!
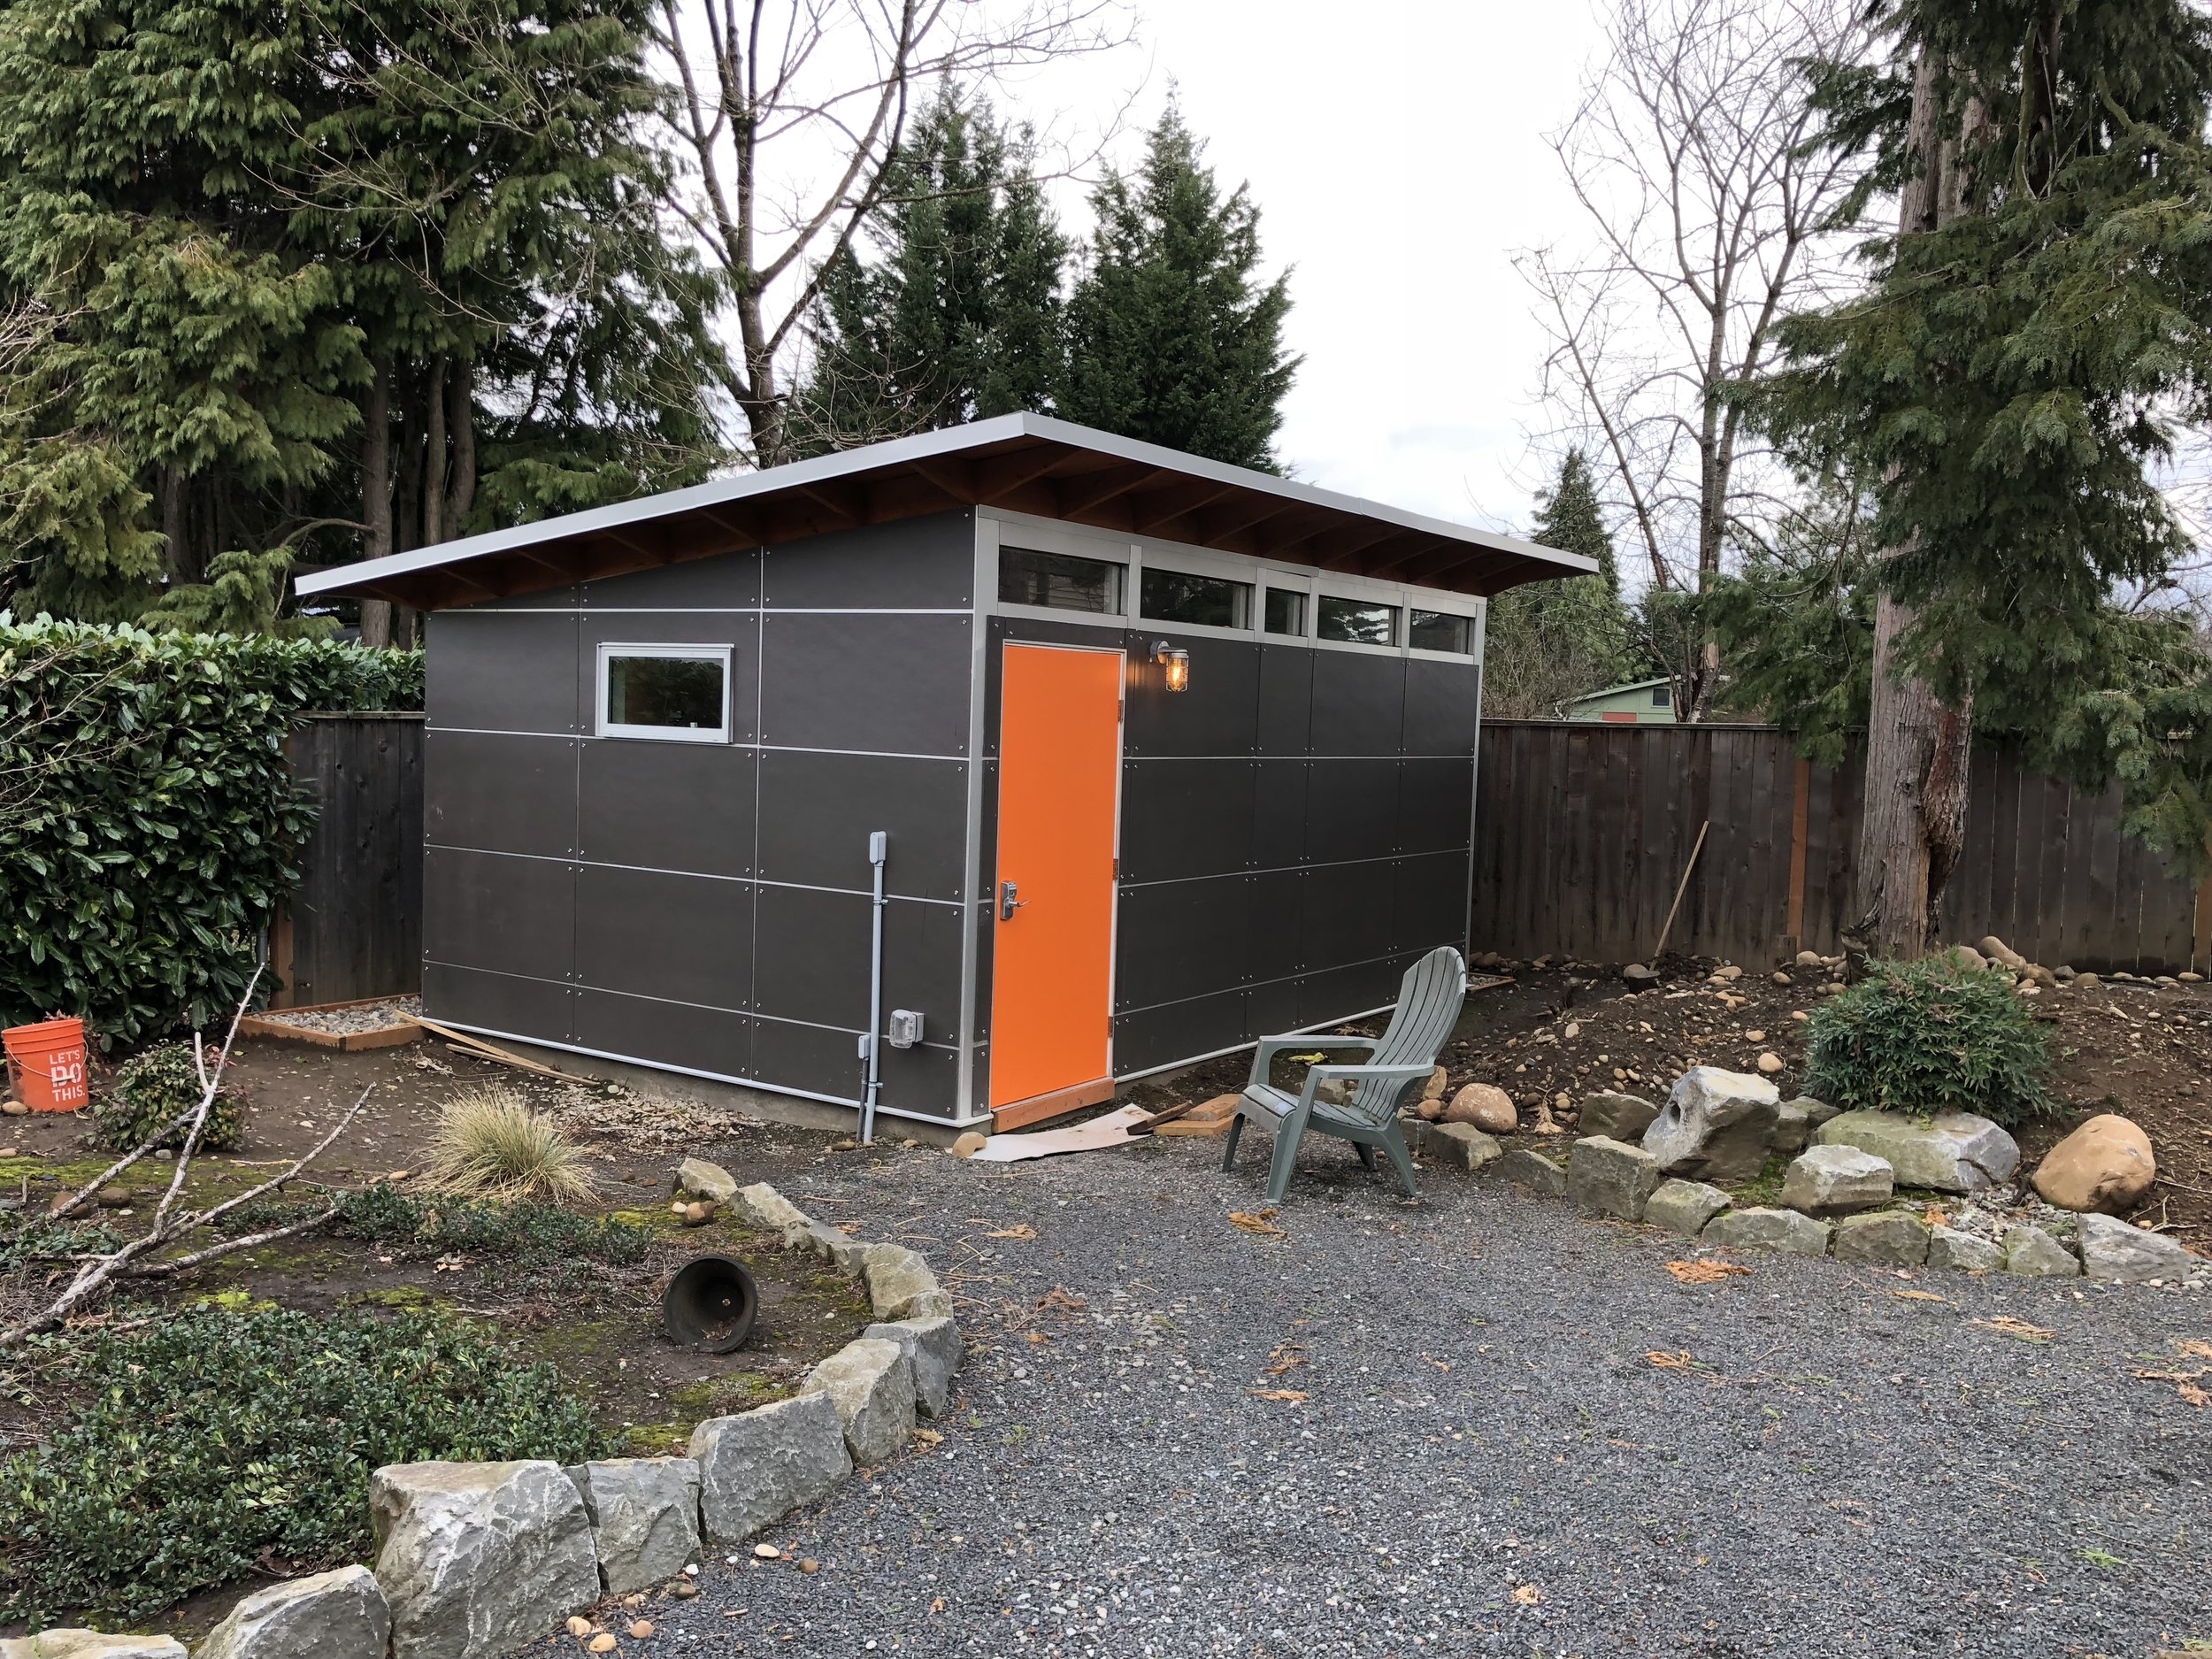
With the door reinforced and beefed up, and a few coats of orange paint applied the glass door was swapped out with this new and improved version!
I also installed extra gaskets around the top and sides, as well as an automatic door bottom along the bottom which would help reduce airflow and sound leak around the edges of the door. This is probably the weakest point of sound control in most rooms.
Move in!
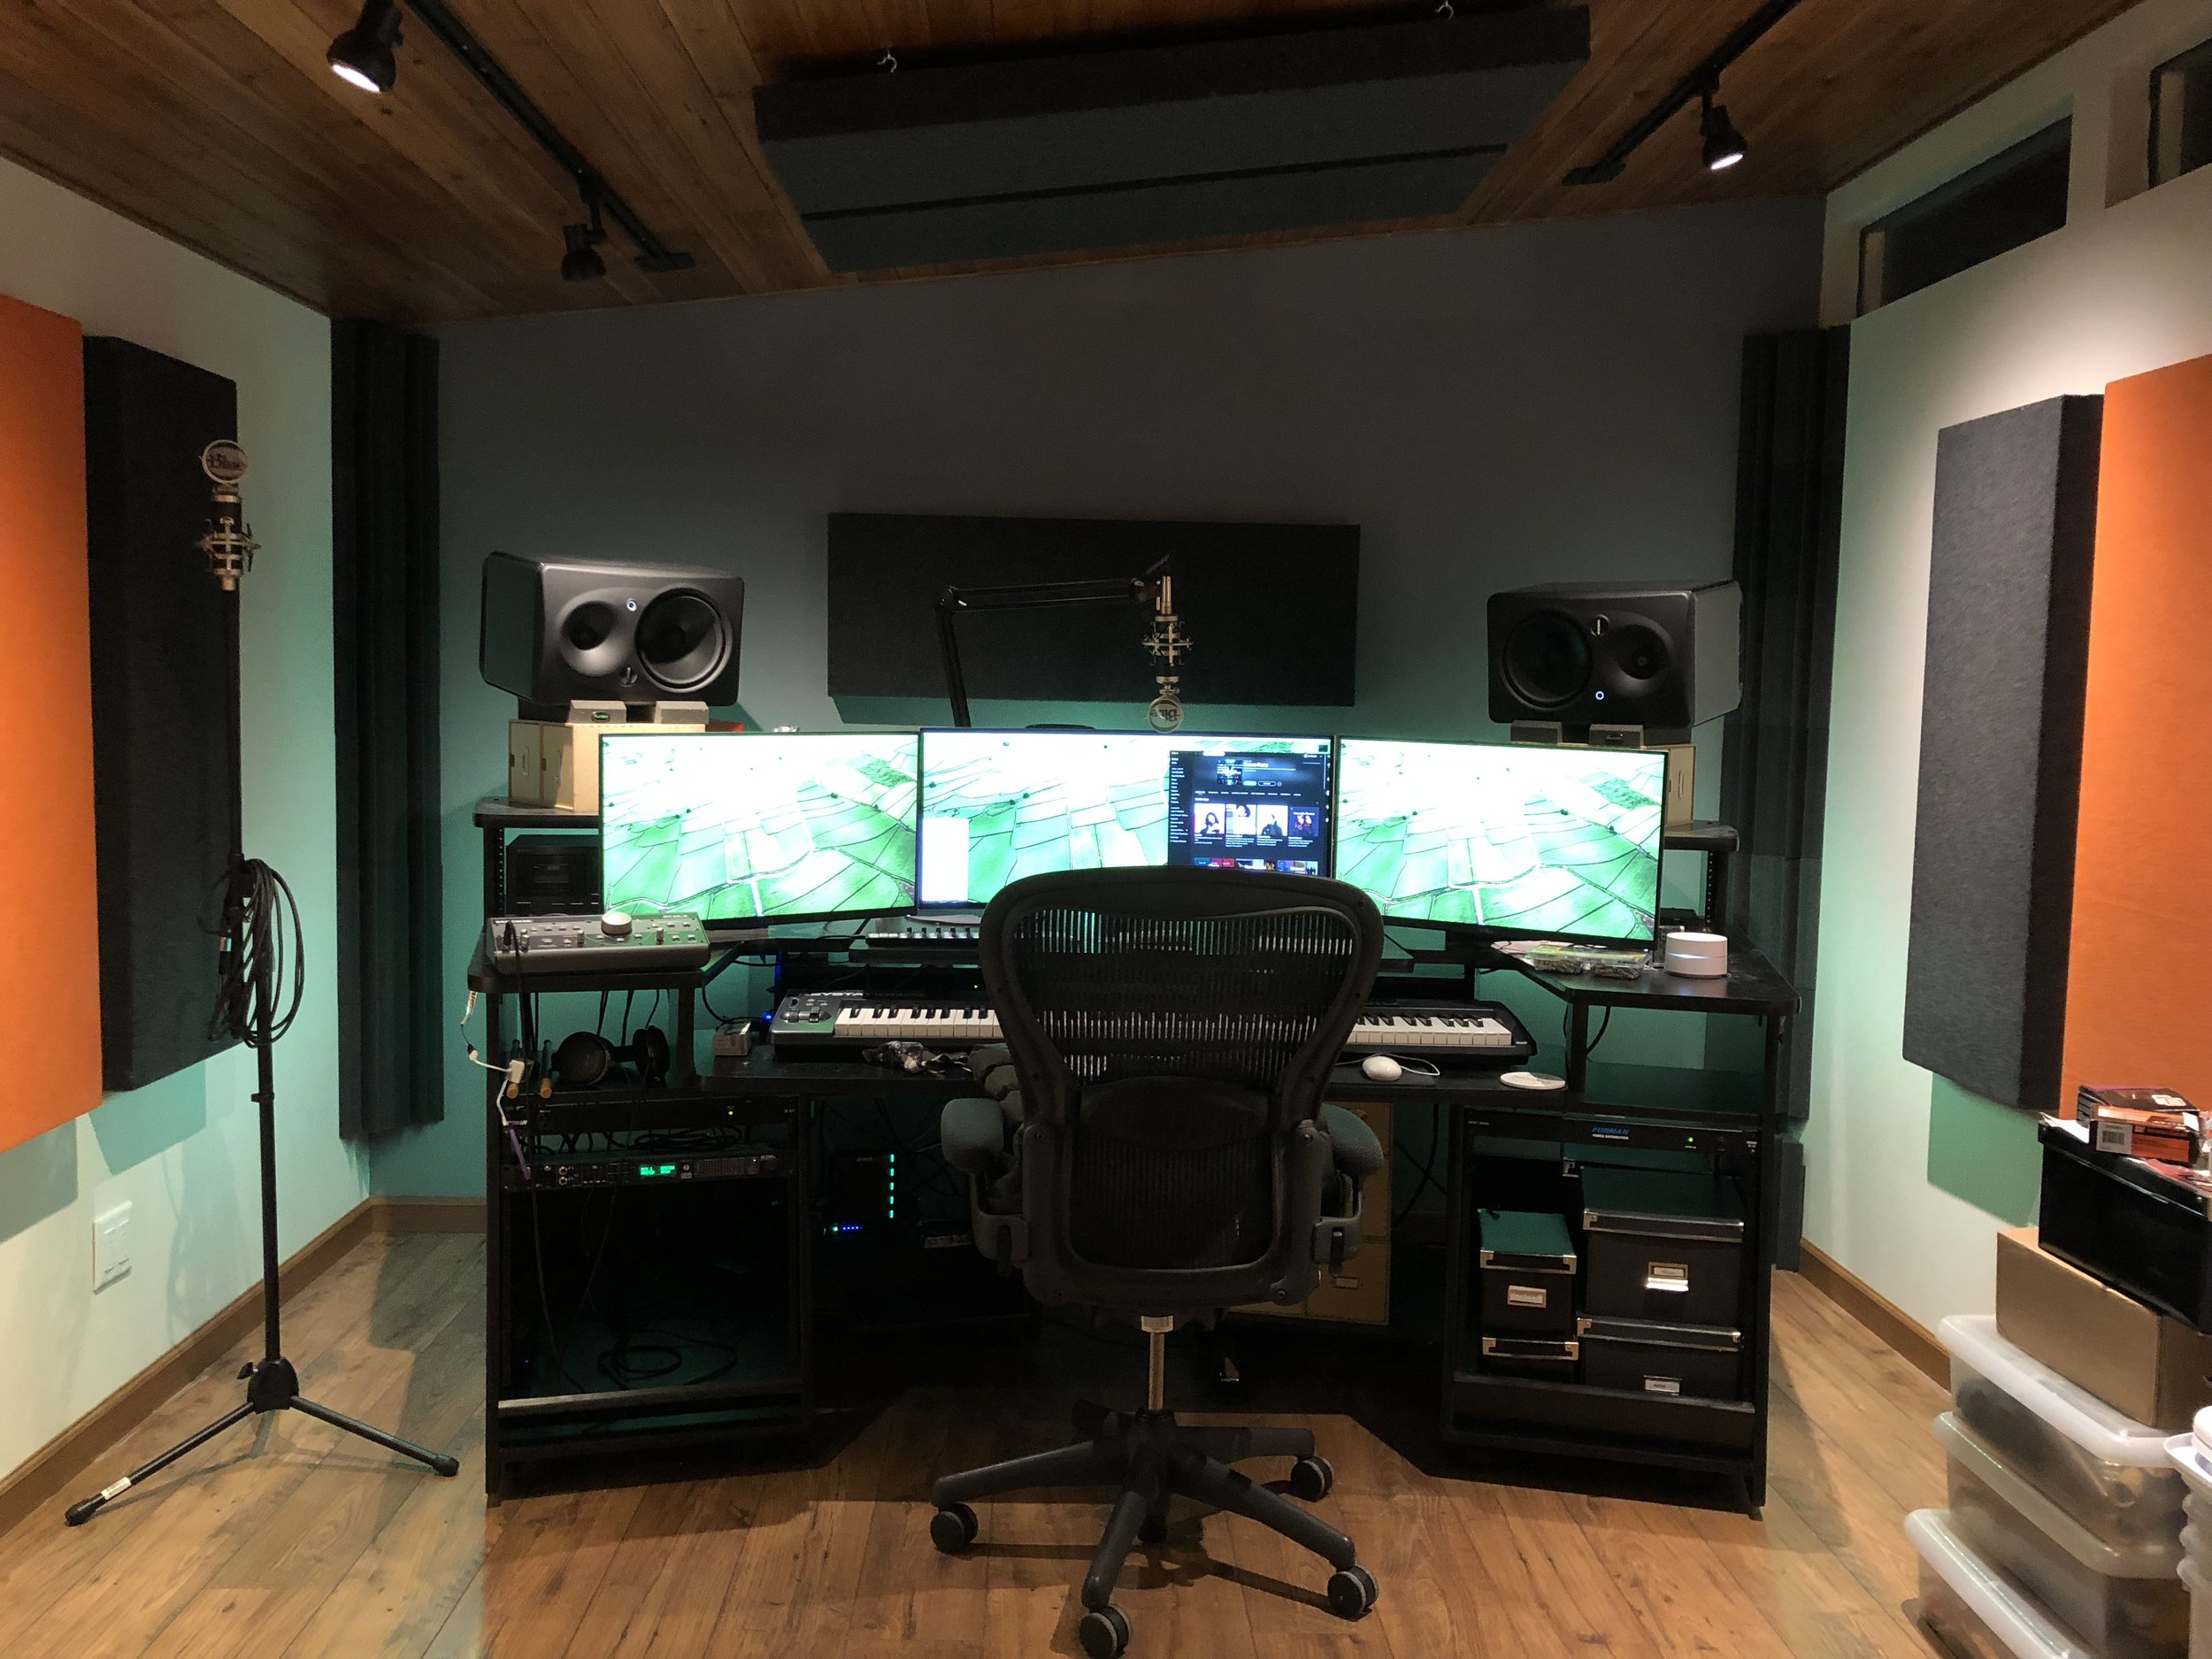
It's time to bring my workstation rig into the space. For the past 10 years, my primary composing rig had been stationed in my space at the Tapspace office. Disassembling it and moving it is a major ordeal, so this transition took a few days.
Acoustic Panels
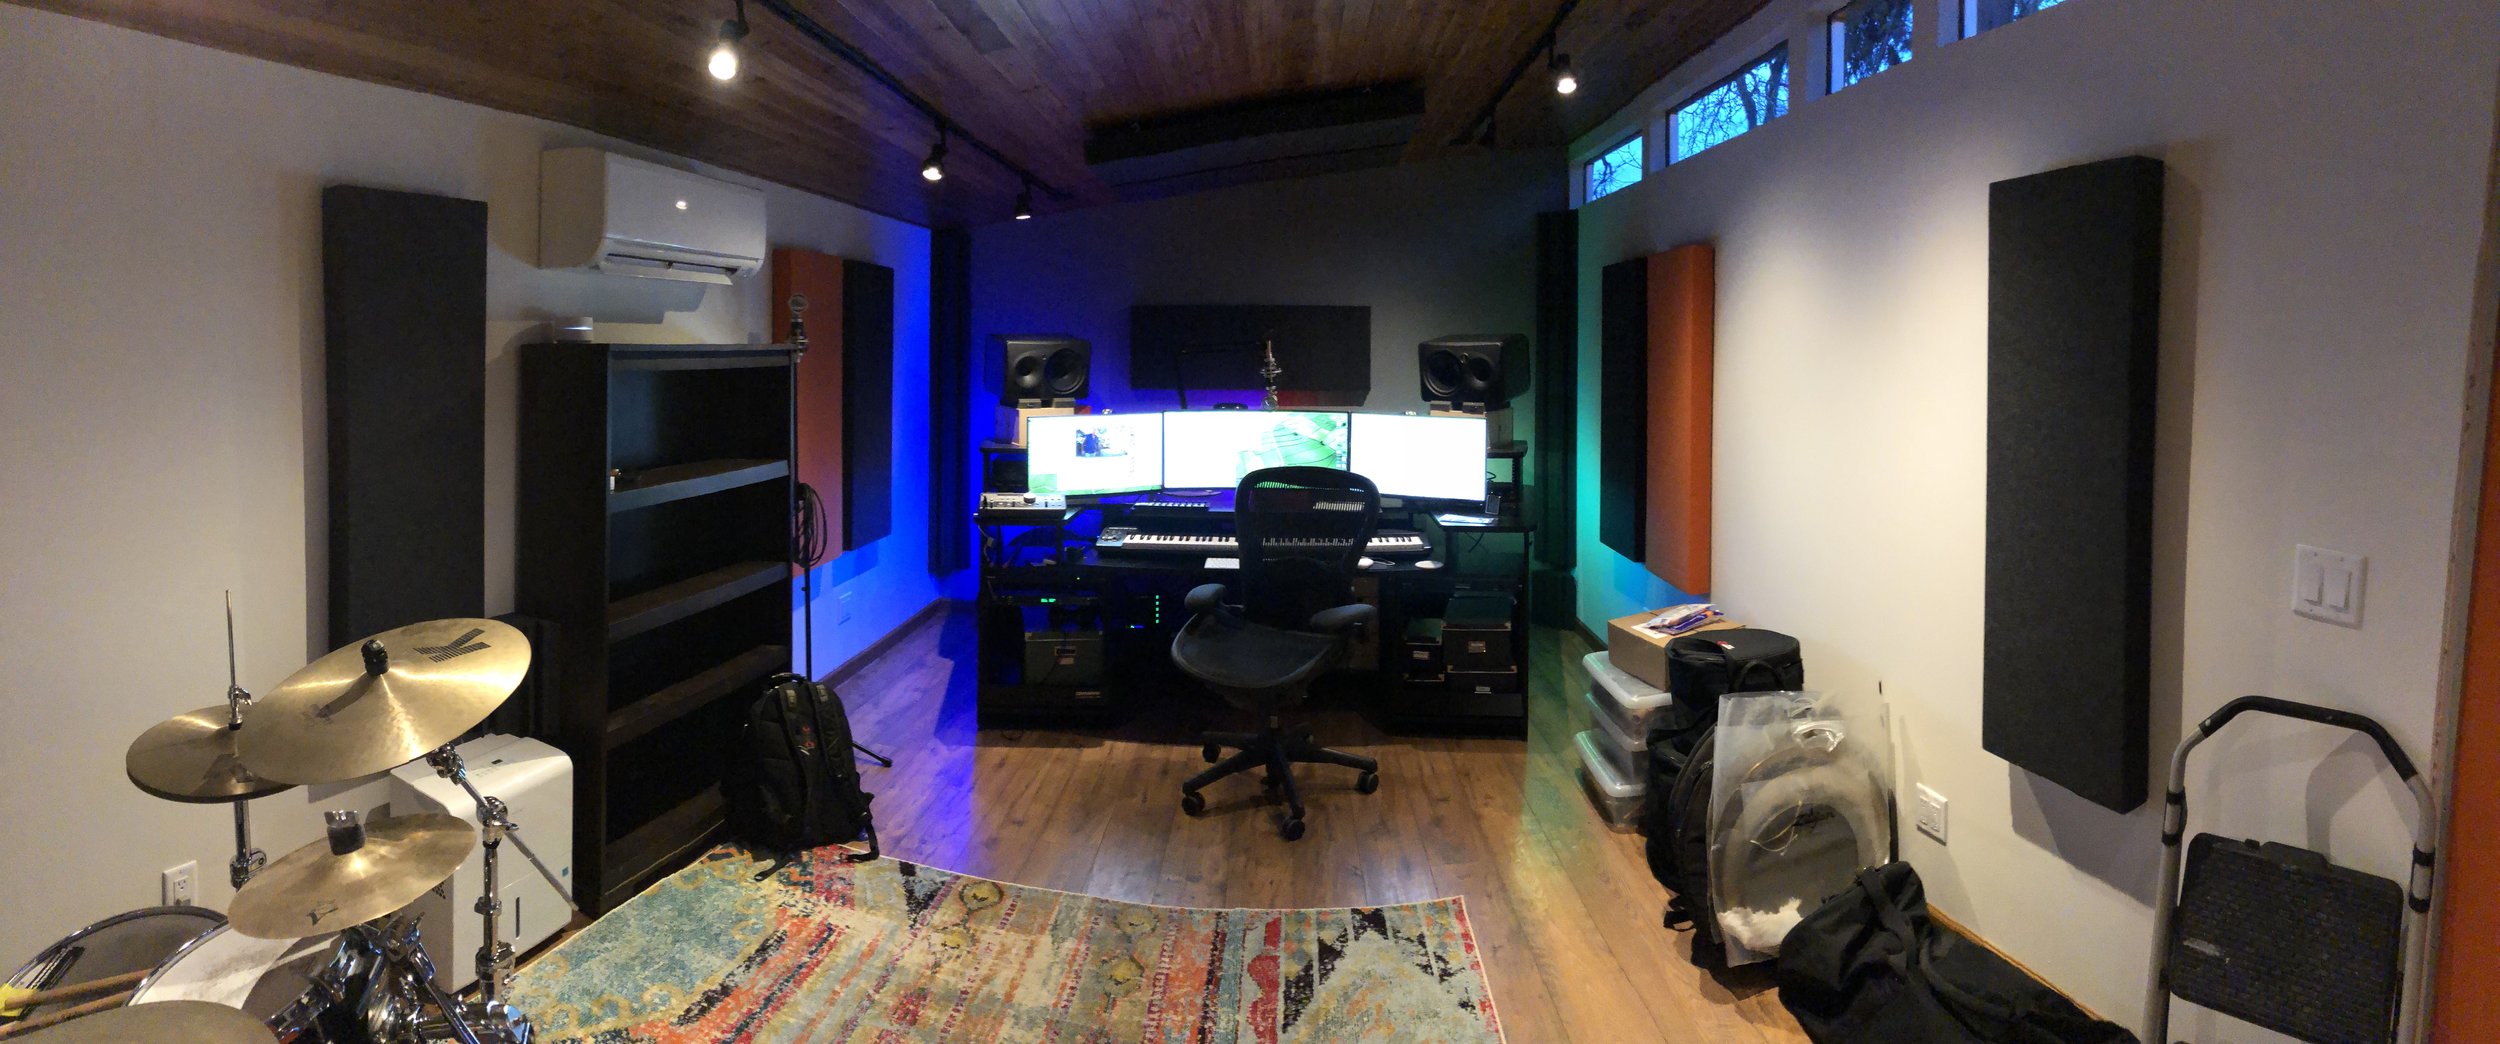
While it was great to be moved in and able to work in my brand new space, I hadn't yet added any sound treatments to control the sound. Once nice thing about working in this isolated space is that I can use my studio monitors (speakers) more regularly rather than being confined to headphones. But without proper acoustic treatment, it's impossible to truly hear the pure sound from the monitors.
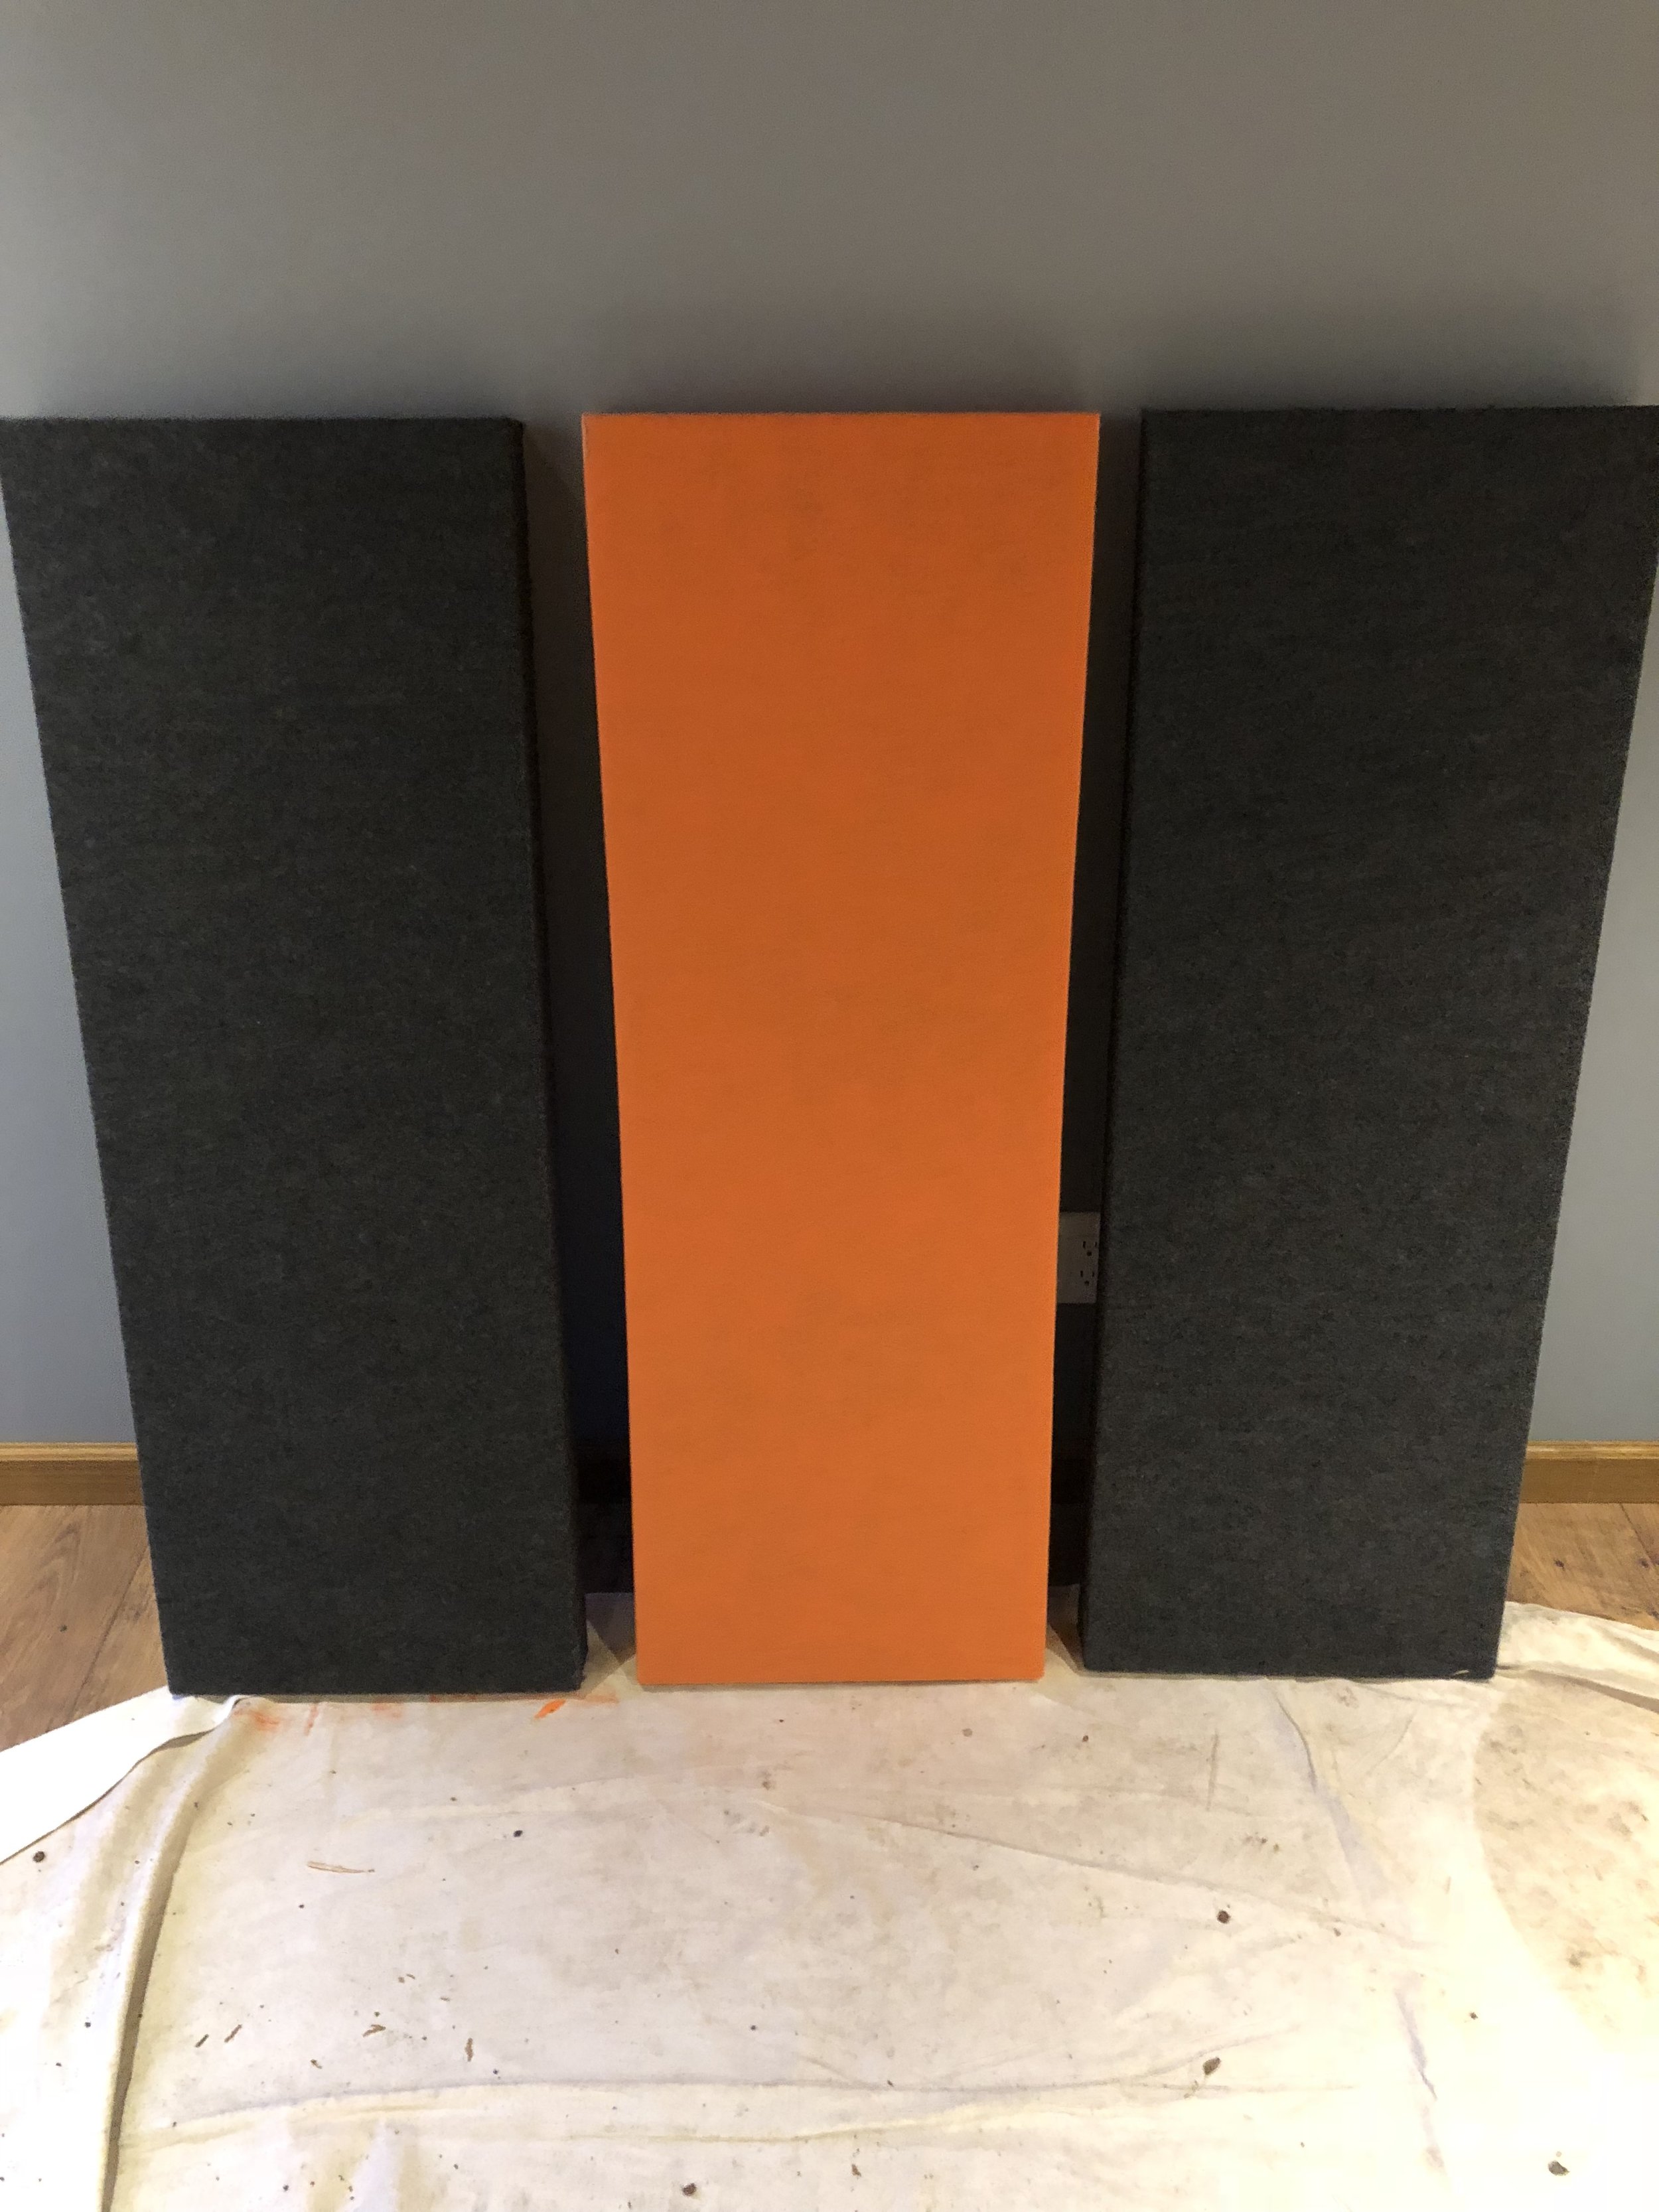
For my birthday, my parents came to visit and my dad helped me assemble nine DIY acoustic panels made on the cheap following this guy's tutorial. It was pretty simple, but also a bit time consuming. Mostly, it was rewarding to have a project on which my dad and I could work together.
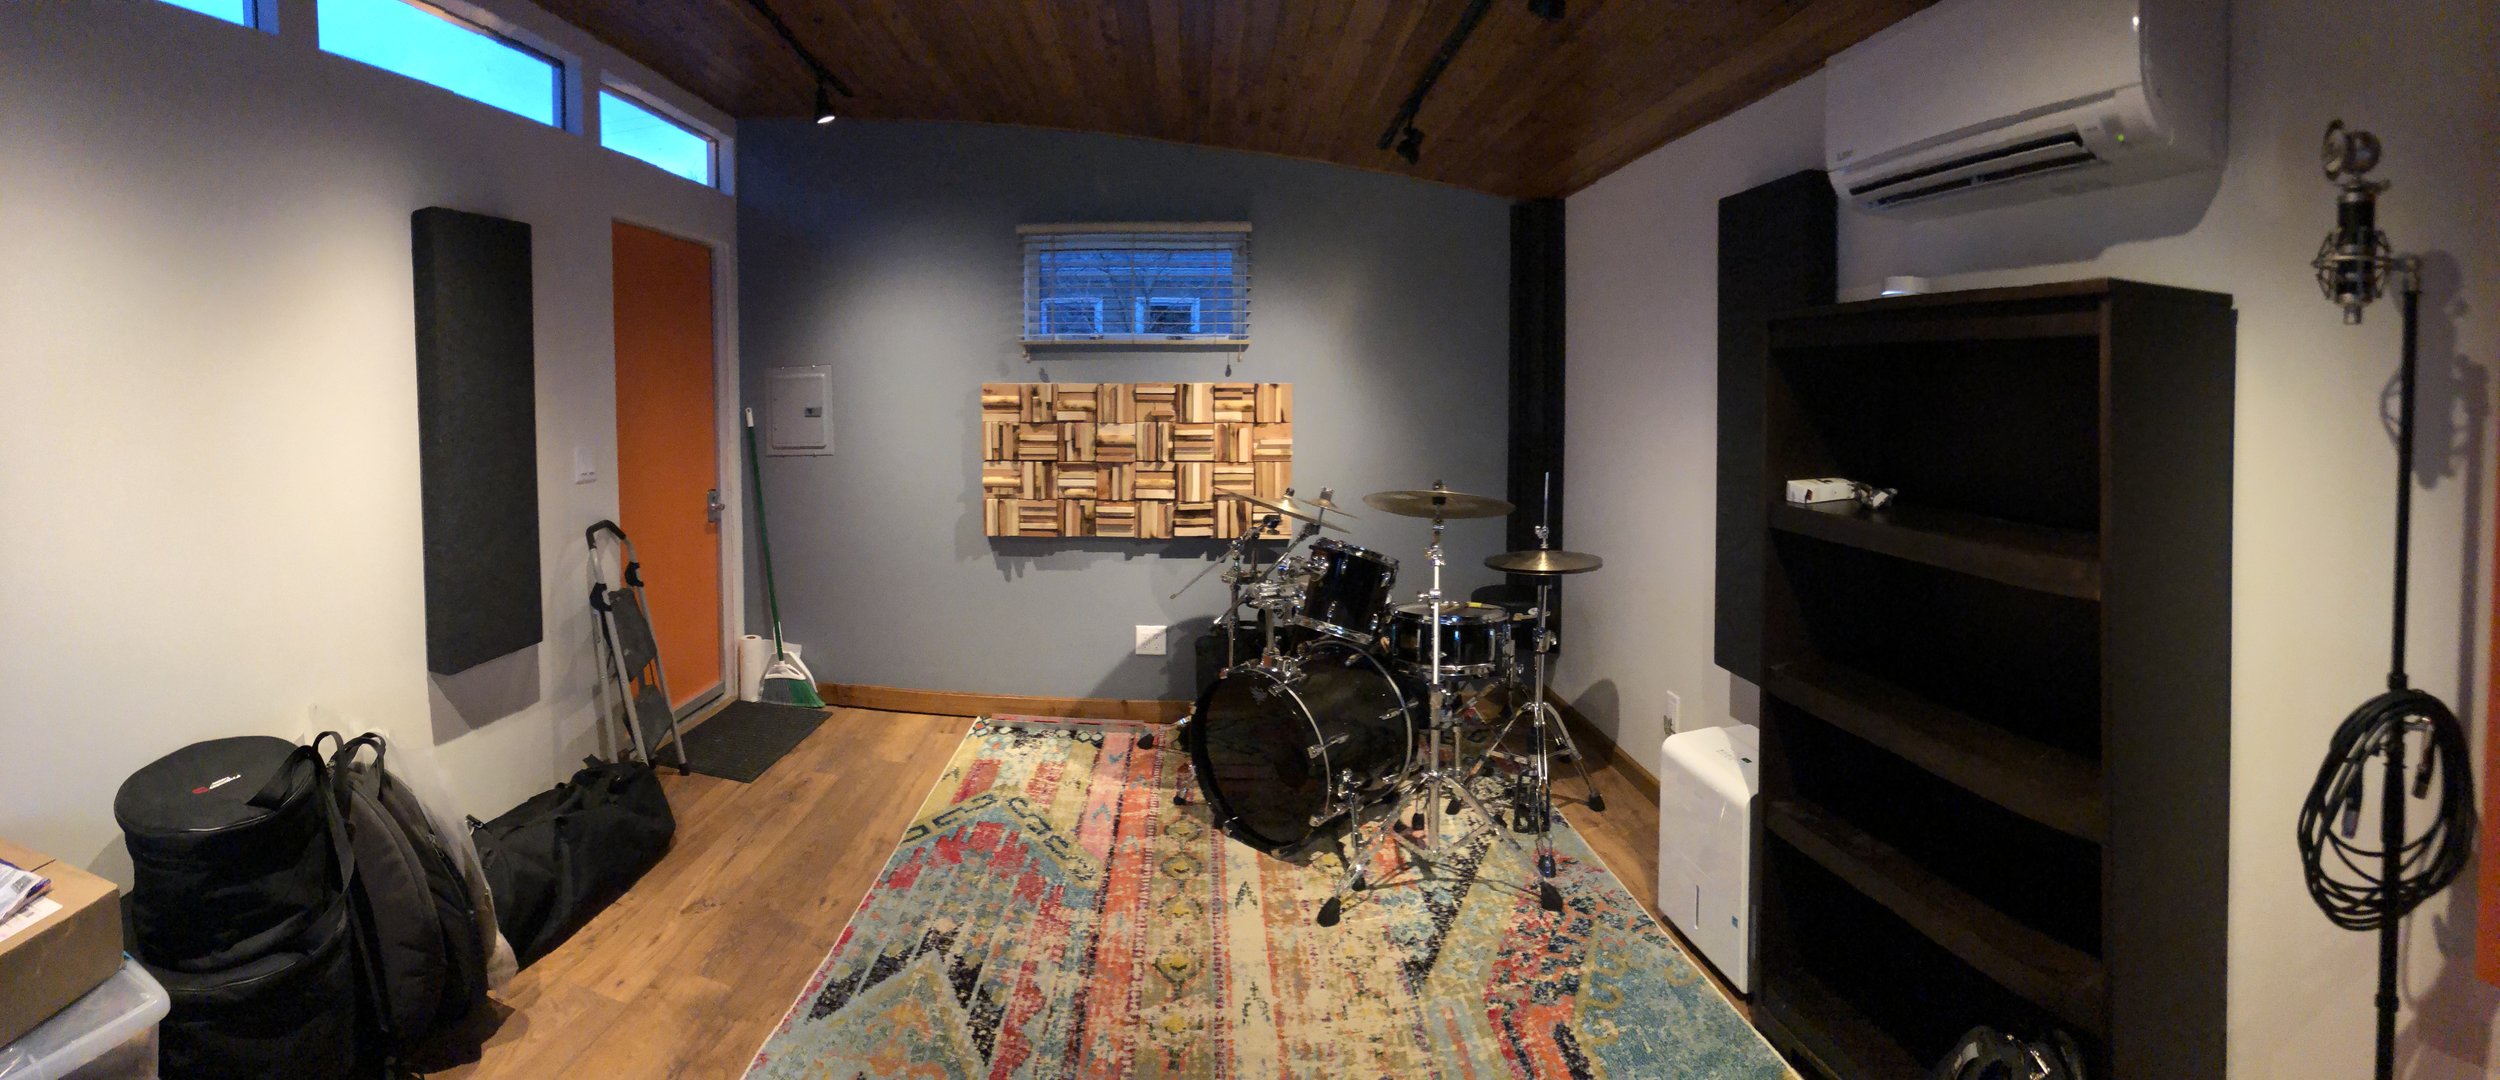
I placed a couple panels on the right and left walls at the primary first reflection points, one behind the desk, two overhead as a cloud, and two farther back at secondary reflection points. Between those, bass traps in three of the available corners, a wood diffuser I added to the back wall, and a rug I put down, it sounds MUCH better now! I could probably even use a few more absorption panels for good measure.

With flagstone entryway and Sara’s landscaping, including river rocks dug up from excavation. Studio sign was a gift, hand painted by my sister.